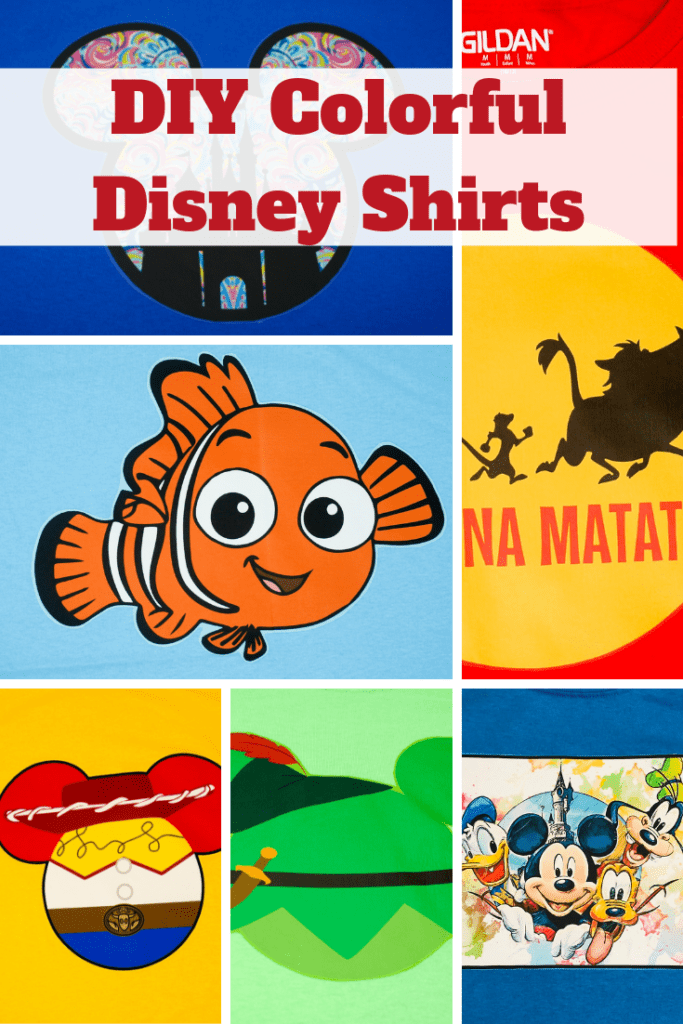
One of the fun things about visiting Disney parks is seeing all the families and groups that are wearing matching Disney-themed T-shirts. With these Keys to Success, you can make your own colorful Disney shirts that will be totally unique.

Key to Success #1 – Use Iron-on Transfer Paper for Dark Fabrics
These DIY Disney shirts use an iron-on transfer to copy the image to the t-shirt. When using iron-on transfer paper, it’s important to know if you are putting your design on a white shirt or a colored shirt.
For these Disney shirts, we’re going to put our designs on brightly colored shirts so we need iron-on transfer paper that is specially designed for dark fabric. I have had great success with this Avery Printable Heat Transfer Paper for Dark Fabrics.
You can order the transfer paper online on Amazon.com or you can find it in your local office supply store, like Office Depot. This paper is 8 1/2 X 11-inches and you will need one piece of paper per shirt.

Key to Success #2 – Choose Your Images Wisely
Etsy is a great place to look for Disney images for your shirts. You’ll want to look for an image that has a good, solid border around it. The border can be any color of your choosing. And look for images that are available for Instant Download. (TIP! Put the Instant Download keywords into your search!)
Keep in mind that any white area on your image will be white on your shirt and your shirt color will NOT show through the image.
I’ll show you an example of what I mean.
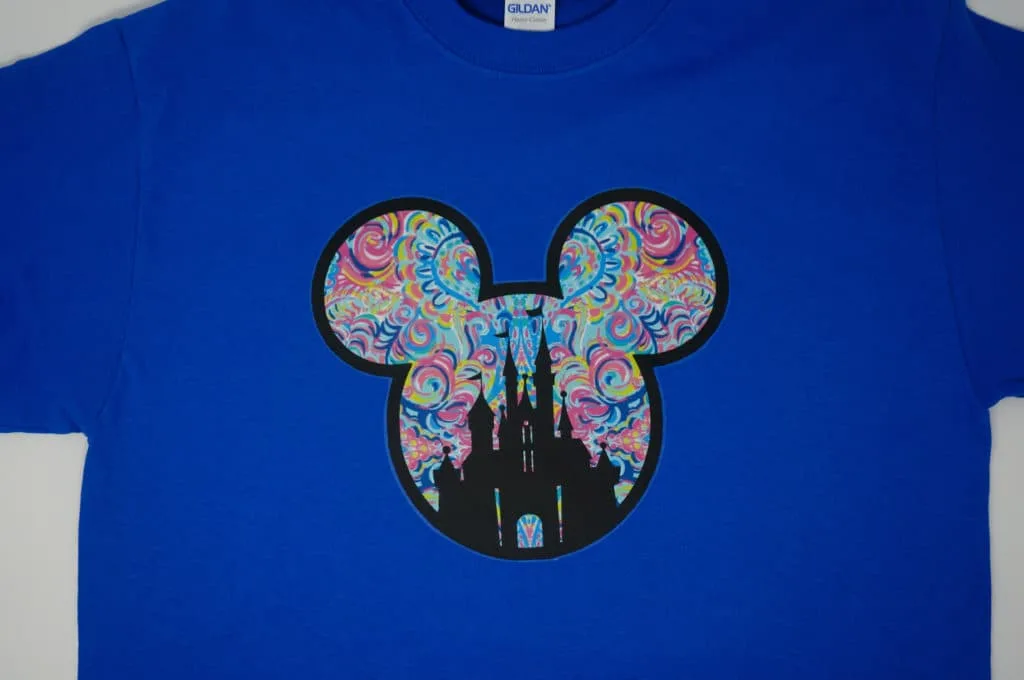
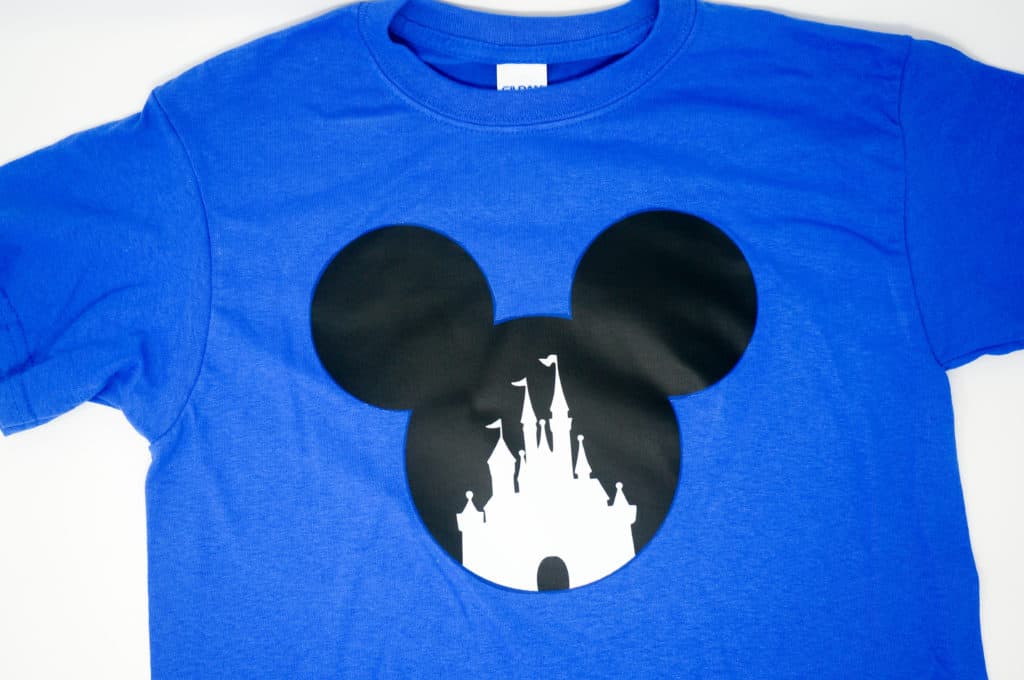
This image on Etsy is a really cute cutout of the Disney castle, but the castle an all the words will be stark white on your shirt. In addition, it will be very difficult to cut out the Mickey ears because it does not have a defined border below the castle. Not a good image for our project although it is perfect if you’re using a Cricut or a Silhouette cutter.
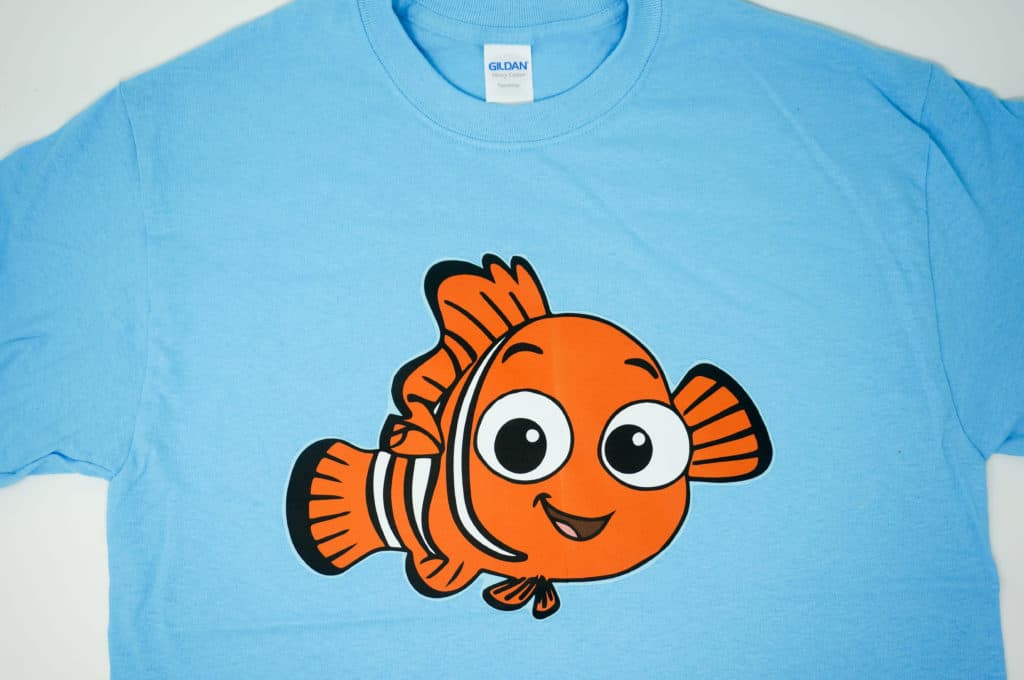
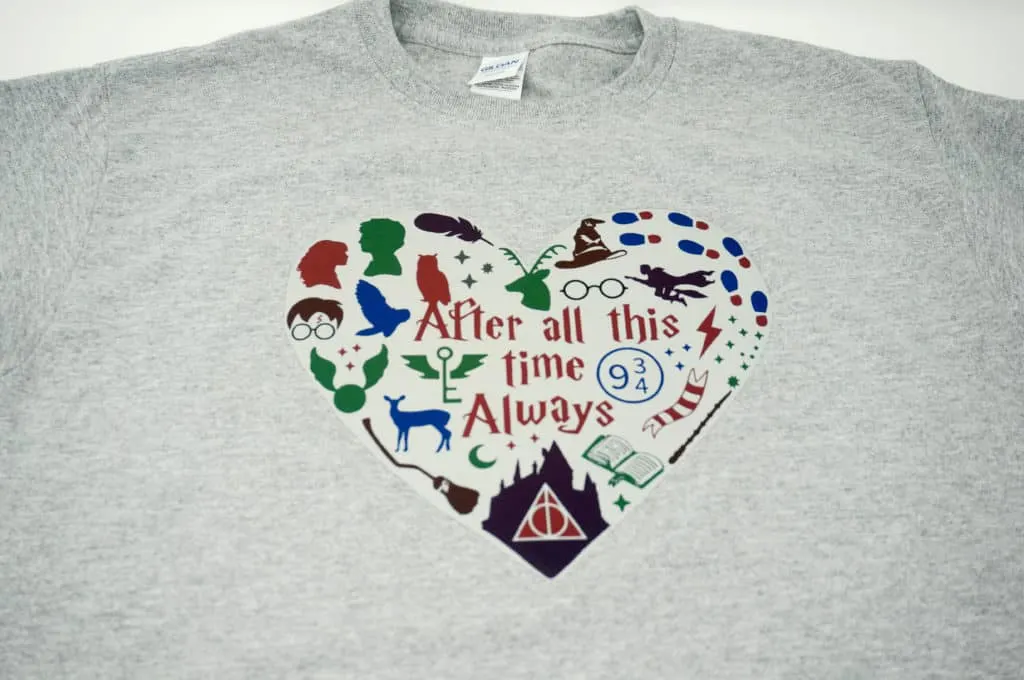
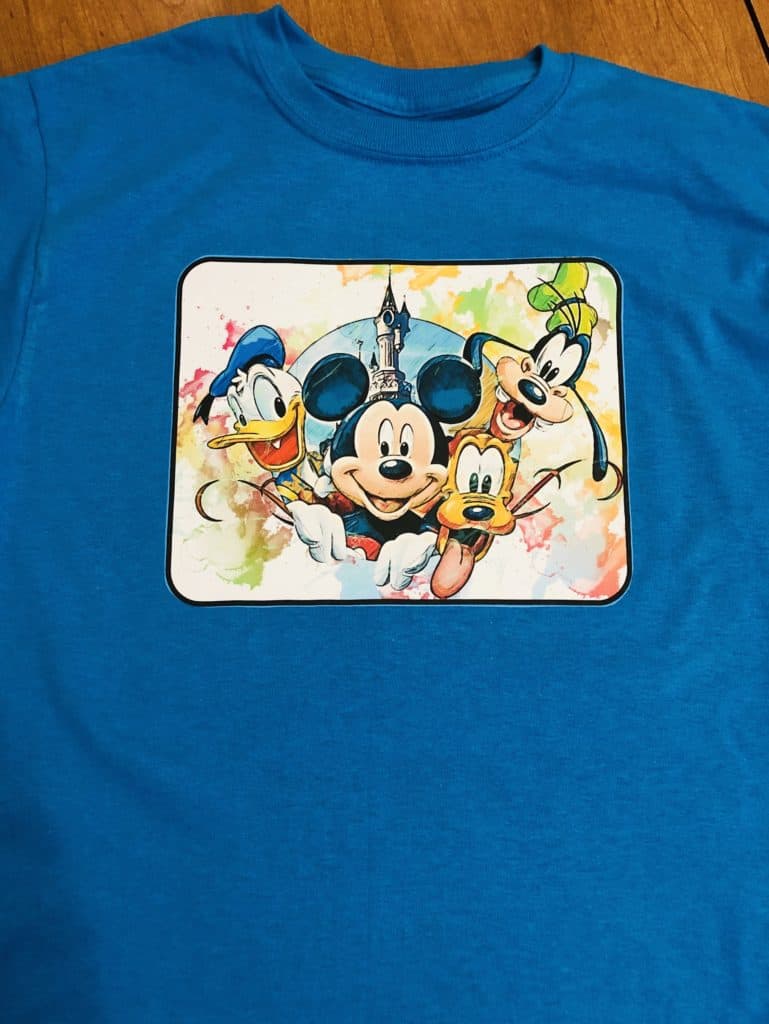
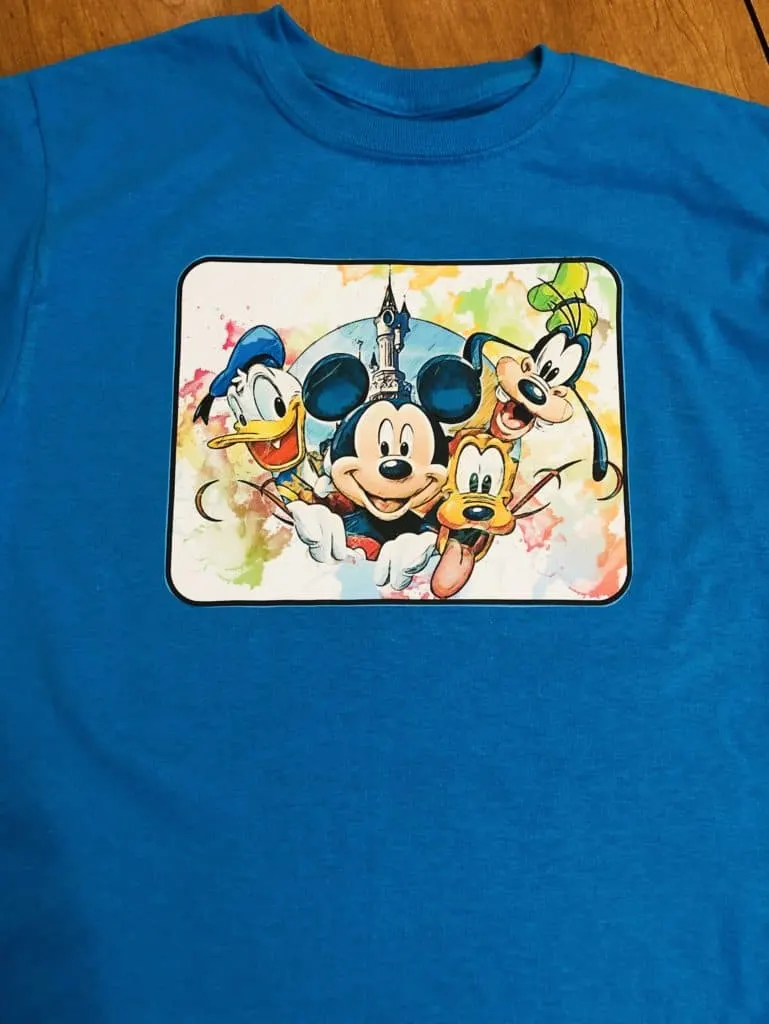
This image is perfect for our iron-on transfer project. It has a well-defined border around it and is brightly colored. The images are also a simple shape that would be easier to cut out.

Key to Success #3 – Edit the Background of Your Images
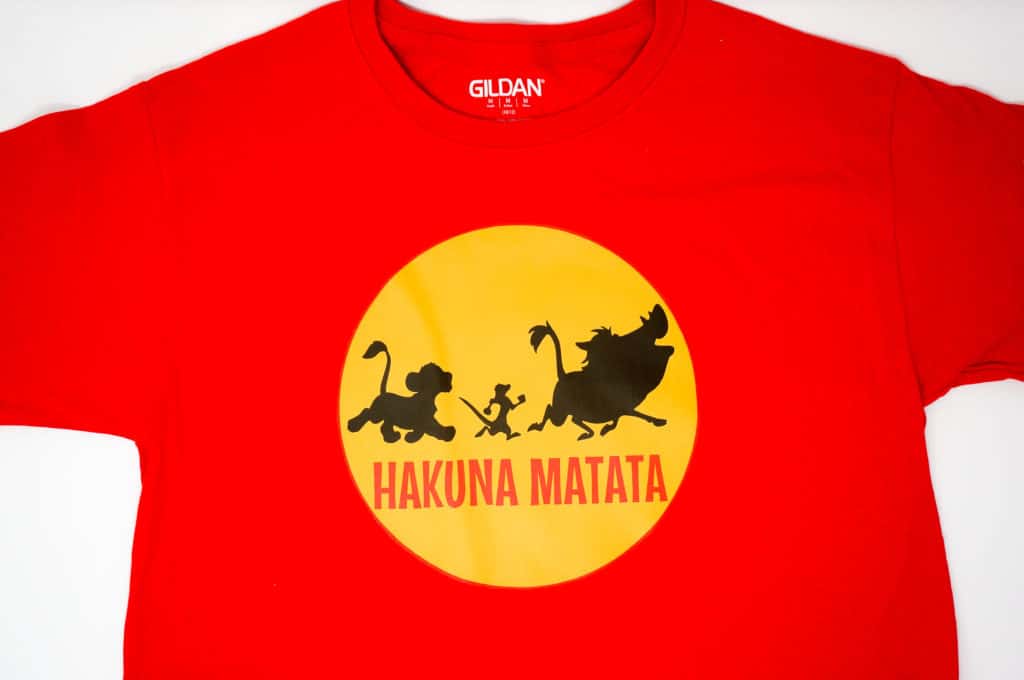
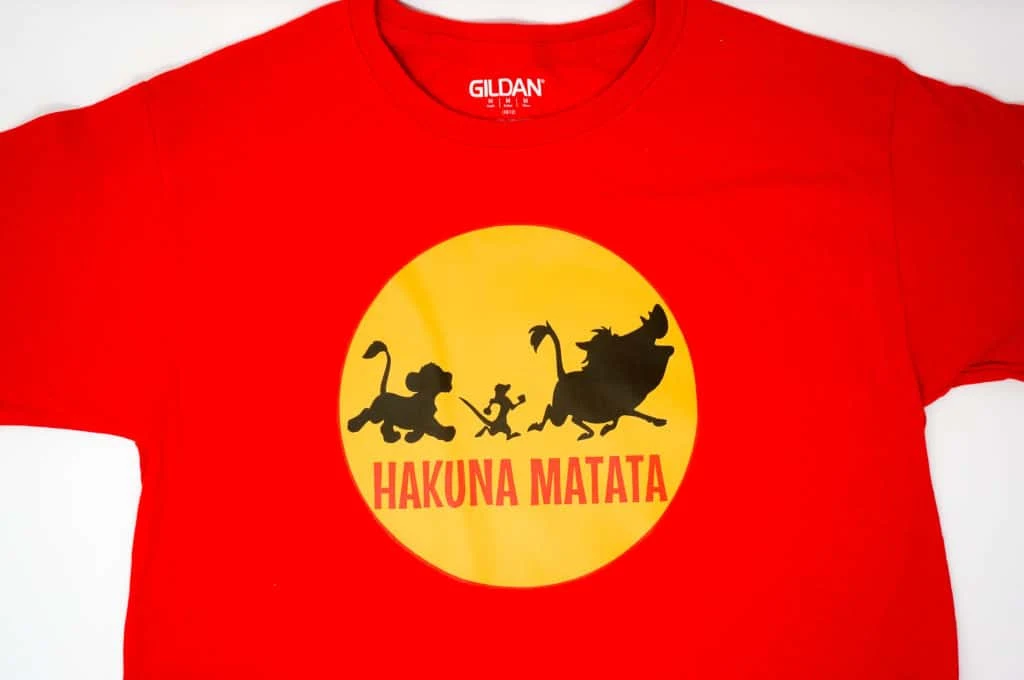
Since we are putting our image on a colored shirt, we’ll have to keep in mind that the background of our image will show on our shirt. One of my biggest tips for putting iron-on transfers on colored shirts is to make the background around your image the same color as your shirt.
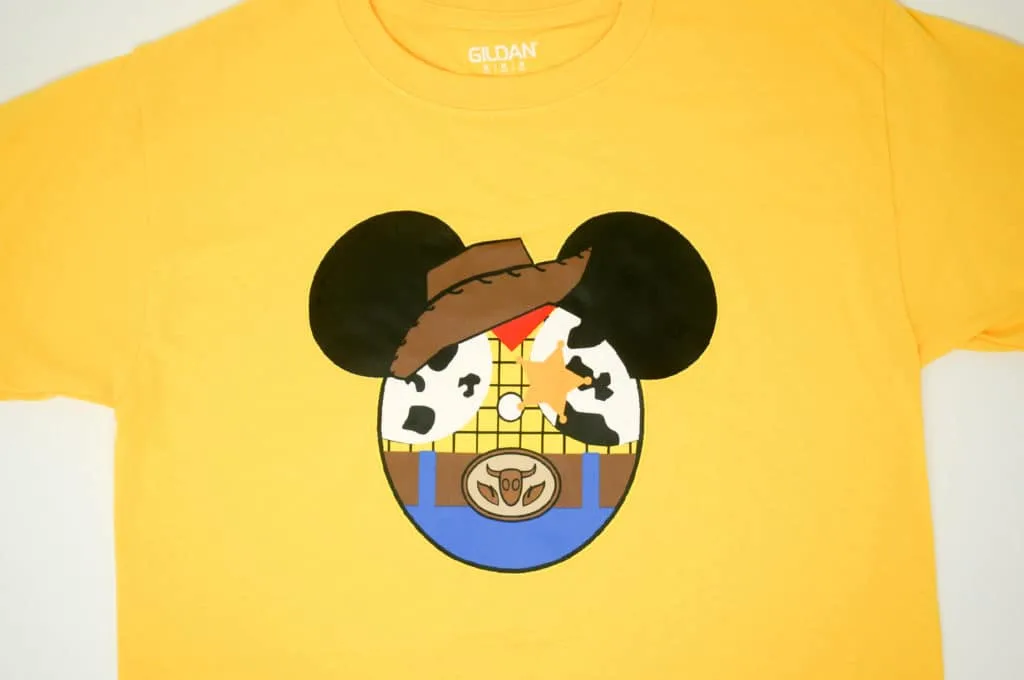
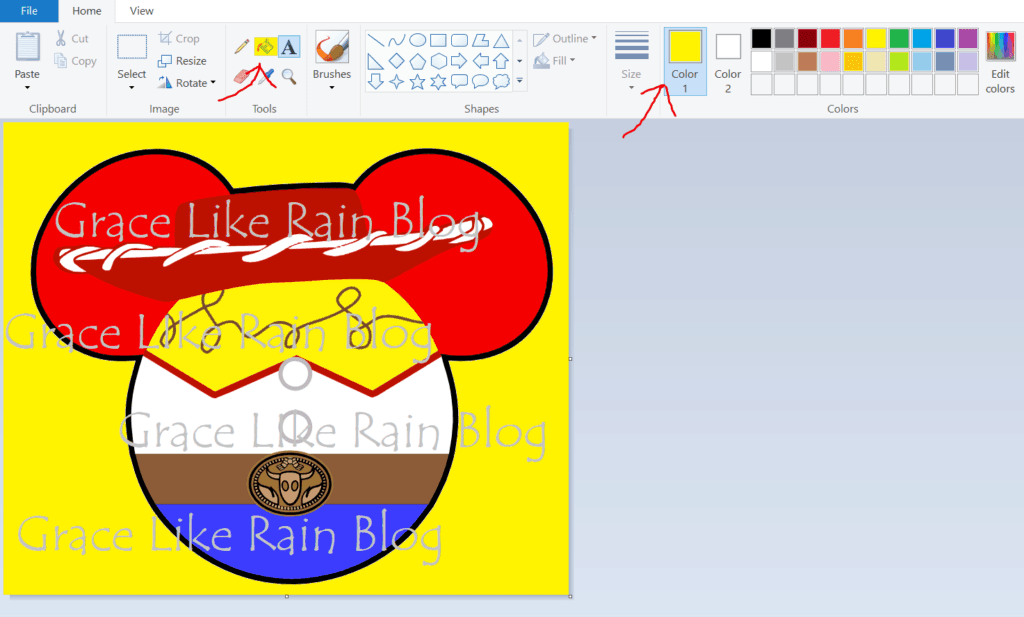
You can use pretty much any photo editor to add a background color to your images. I used Microsoft Paint to do my image editing. Look for the icon that looks like a bucket that is pouring color out. Choose a color that closely matches the color of your shirt. My image was going on a bright yellow shirt so I chose a yellow background. Click the white background around your image to apply the background color.

I purchased my images on Etsy so I can’t share it but you can find great Instant Download images for just a few dollars.
These are links to some of my favorite Etsy shops for Instant Download images. I am not associated with these shops but I think they have really nice images.
Key to Success #4 – Print using Photo Paper Setting (and Use an Inkjet Printer!)
With iron-on transfers, you MUST use an Inkjet printer. It will not work if you use a laser printer or anything other than an Inkjet printer.
For the brightest and most crisp colors, you should use the Photo Paper Setting when you print your images. Every printer and computer is different, but look for a Paper Type setting and select a setting for Photo Paper.
Caution – Be careful if your printer has an iron-on transfer setting. Many times, these settings cause the image to print as a mirror image. It’s meant for iron-on transfer onto white fabrics where the image is printed as a mirror image then transferred face-down onto the fabric. It will not work with the iron-on transfer sheets for dark fabric.

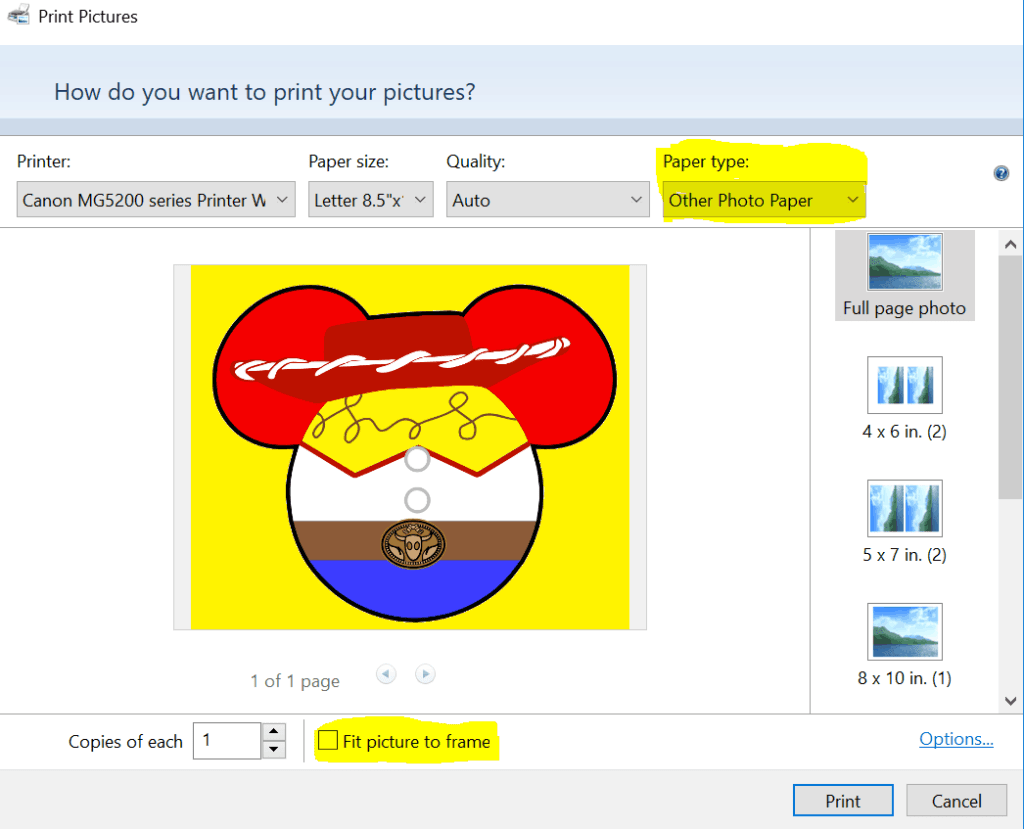
Check the print preview for your images to make sure that no part of your image is cut off. If it is, look for a setting that says something like “Fit Picture to Frame” and make sure it is unchecked.
If your printer has a quality setting, I would suggest printing in high-quality so that you get the best color quality on your shirt.

Key to Success #5 – Cut Outside the Lines
This is one time that you can break the rules and cut outside the lines. When you cut out your iron-on transfer images, you will want to leave a little bit of background color around the image itself.
Your background color should closely match the color of your shirt so the little bit of color that is outside the lines will not be noticeable. It will make sure your border is a clean line though.
You don’t have to be super careful about how you cut out the images. Having the background color the same as your shirt color gives you a lot of grace with your cutting.
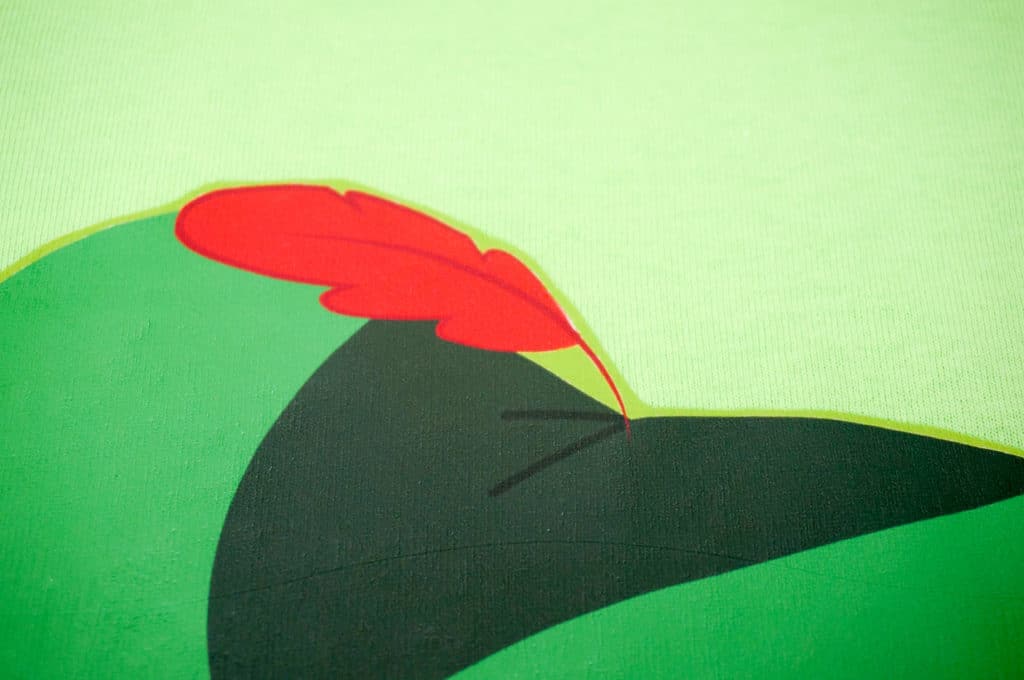
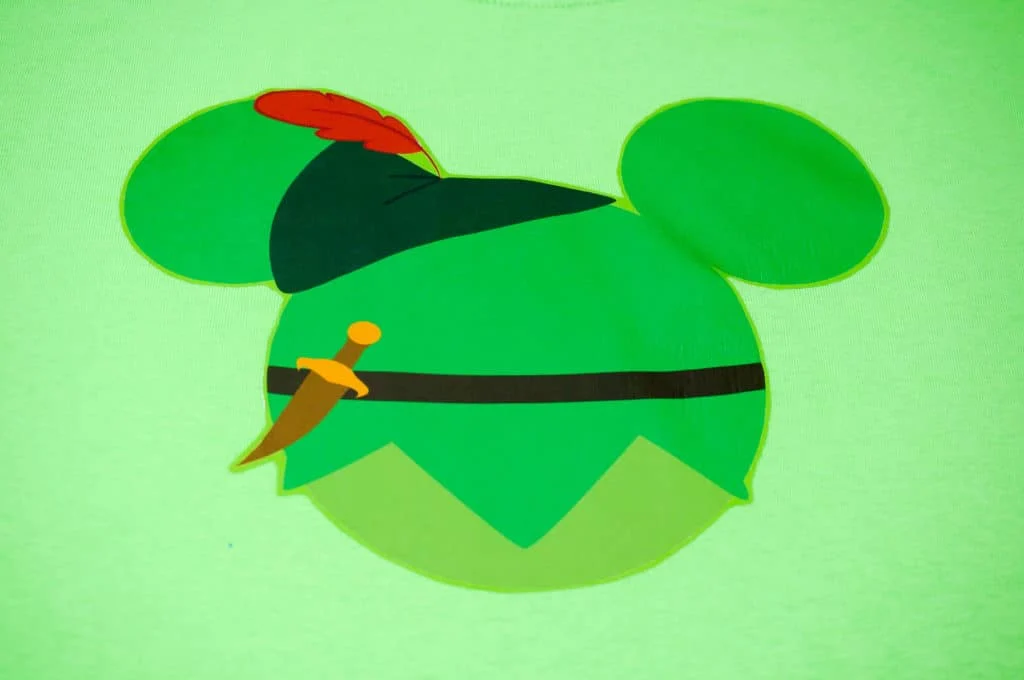
Look at the example below. The green around the base of the feather is the background color. There’s no need to cut out the background between the feather and the hat.

The green background color around the tip of the knife is also a good example of this.


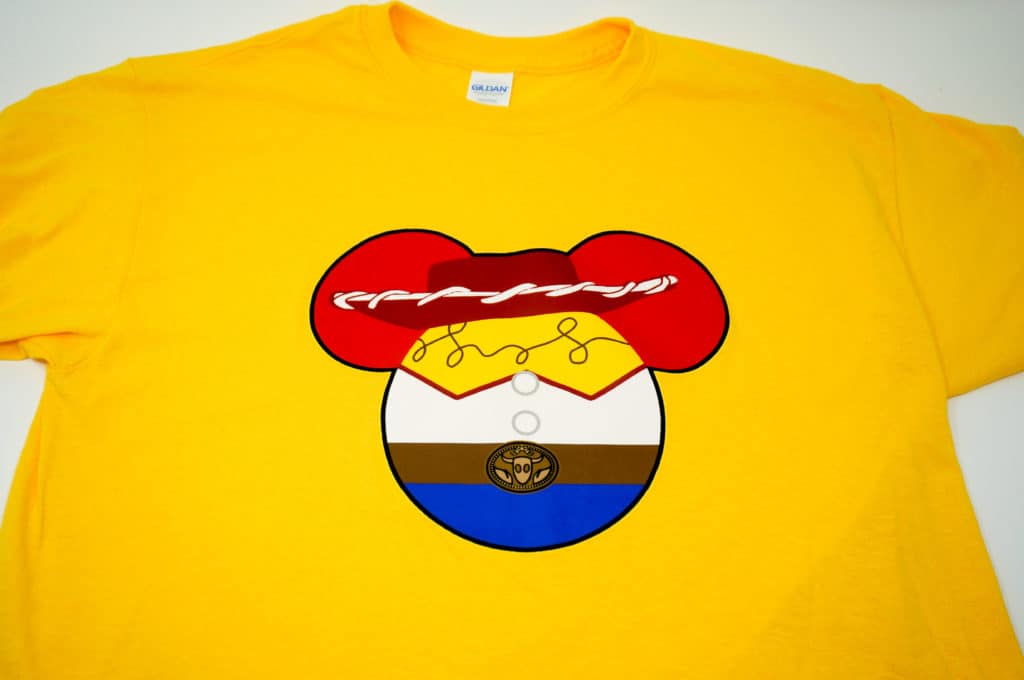
When you look at the shirt with the image on it, you don’t even notice those tiny bits of background color around the image. It just looks like it’s meant to be there.

Key to Success #6 – Set up Your Perfect Ironing Spot
The instructions for the iron-on transfer papers say not to iron on your designs on top of an ironing board. I iron my designs on my granite kitchen countertop. A wooden table is recommended.

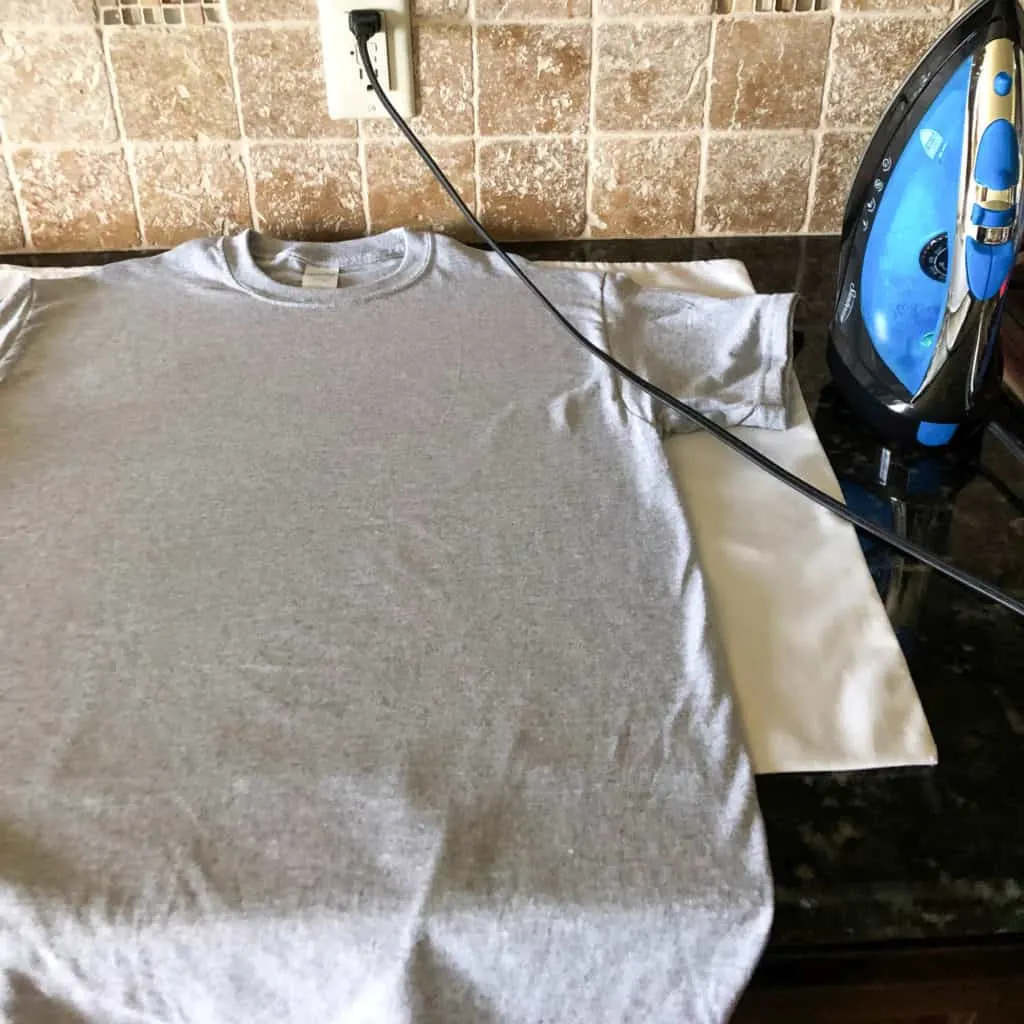
Put a cotton pillowcase down on your hard surface and preheat your iron for 5 minutes. You’ll want to use a medium-high heat setting. My iron has a cotton setting and that’s what I use for this shirt project.
After your iron preheats, iron your pillowcase to remove any wrinkles. Then lay your shirt over the pillowcase and iron it as well. I don’t iron the whole shirt, but I do smooth out the area where the design will go.

Key to Success #7 – Decide Where You Want Your Design
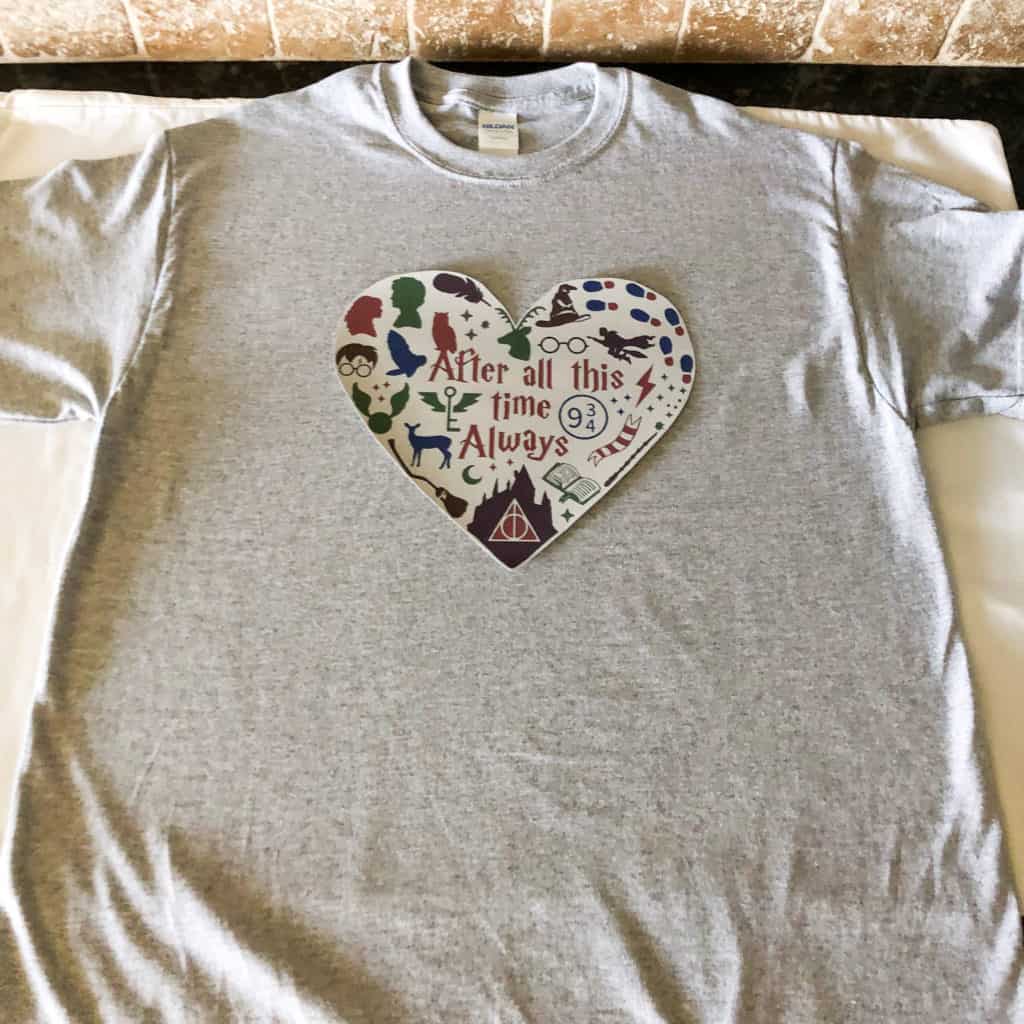
Once you have your shirt ironed, you need to decide where you want the image to appear on your shirt. You have to make sure it’s centered on the chest or back of the shirt and choose how high or low you want the design to appear.
It’s hard to give an guideline on how high or low you should position your image. A lot of it depends on the size and style of your shirt. I usually take my design that I’ve cut out and lay it out on my shirt to determine the appropriate placement.
Be sure your t-shirt is laid out squarely on the ironing surface. If the shirt is skewed, your design may be crooked when the wearer puts on their shirt.
Key to Success #8 – Completely Cover the Design with Tissue Paper
After you’ve found your perfect position, you’re ready to iron on your image. Carefully remove the paper backing from the transfer paper. Be sure you are not bending or creasing the image when you remove the backing. This could cause some of the color to rub off the image.
The iron-on transfer paper comes with sheets of tissue paper that go over the designs when you are ironing. This protects the image from getting too hot and melting. Make sure the tissue paper completely covers every millimeter of your image.
If you need to overlap two sheets in order to cover the whole image, you can do that. I had to use two sheets of tissue paper with my Nemo images because they were slightly too tall.
If your hot iron touches the image directly without the tissue paper, it may cause the transfer paper to melt onto your iron so be extra careful when ironing on your images.

Key to Success #9 – Set a Timer
After you’ve completely covered the image with the tissue paper, you’re ready to iron on your image. The amount of time you should iron the image depends on the size of your image.
According to the package, if your image takes up almost the entire transfer sheet, you’ll want to iron the image for two minutes. I would recommend adding about 20 seconds to this time.
Set a timer so that you’ll know how much time has elapsed. I use the timer on my phone to keep track of my ironing time.
Be sure to keep the iron moving for the entire time. Spend a little extra time on the edges, especially if you have any sharp points in your images. The corners have a tendency to pull up so they’ll need some extra attention.
Move the iron from top to bottom and from side to side to make sure your image is completely secured to the fabric.
Key to Success #10 – Be Patient – Let it Cool
After your image is ironed on the fabric, it’s important to let it cool completely before you try to remove the tissue paper. You CAN carefully pick up your shirt and move it to another location so that you can move on to your next shirt.
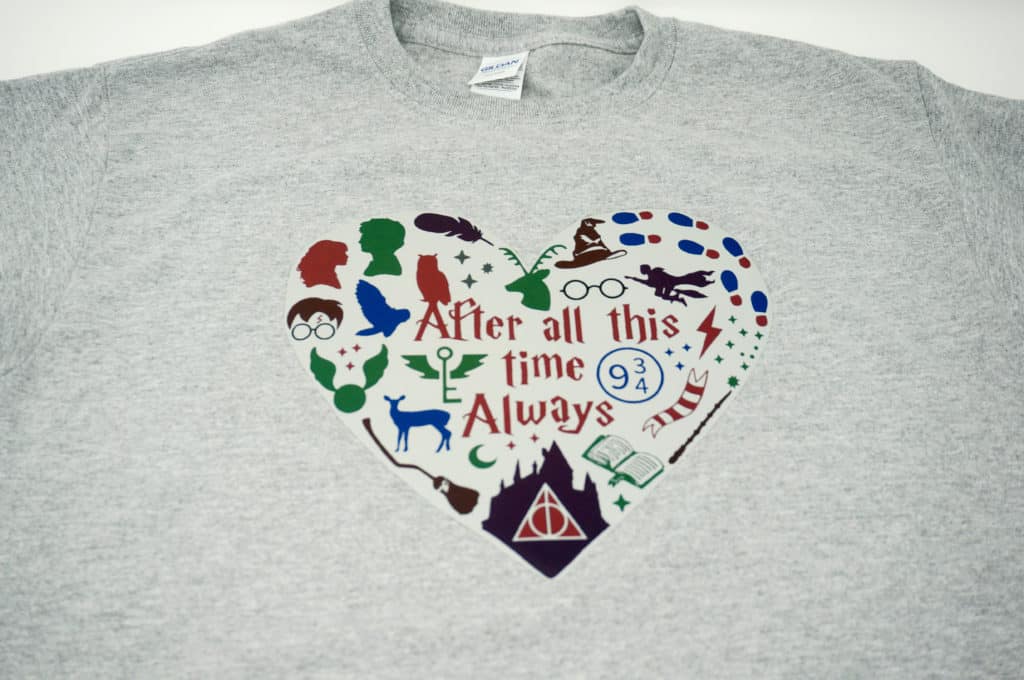
The tissue paper will stick to the design and you should leave it in place until the design is completely cooled, about 2-3 minutes. After it’s cool, gently peel the tissue paper back to reveal your beautiful image.
I hope you’ve found these Keys to Success to be helpful. I want you to know that if I can do this, you can too! If you have any questions, please drop them in the comments and I’d be happy to help. If you’re curious about any of the images I used, I can add the links to them – they all came from Etsy!
Please Pin the DIY Colorful Disney Shirts to your favorite Disney or DIY board.