Learn how to make shaved ice with the help of this helpful guide! Find out what supplies you need and which snow cone syrups in many flavors will make it taste delicious. Let’s get started!
See our Shaved Ice videos on social media!
Summer is here and what is more refreshing than a sweet, icy treat?
Shaved ice is the perfect way to cool down on a hot day, and it’s surprisingly easy to make at home.
With just a few key supplies, you can create various flavors and enjoy the delicious taste of your homemade shaved ice.
So, let’s get started!

Key to Success #1 – Get the Right Supplies
Having all the right materials and tools is essential to any successful kitchen project.
Before you start making your shaved ice, you’ll need to make sure you have the right supplies.
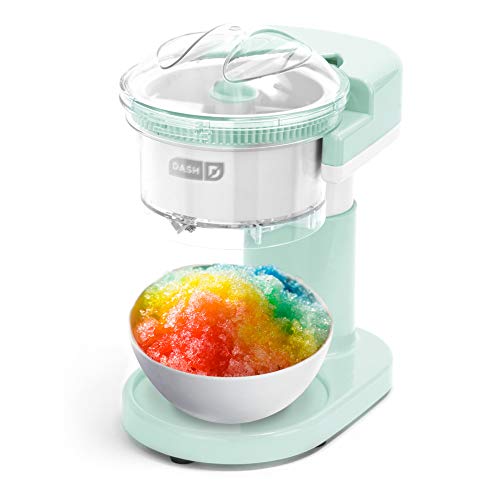
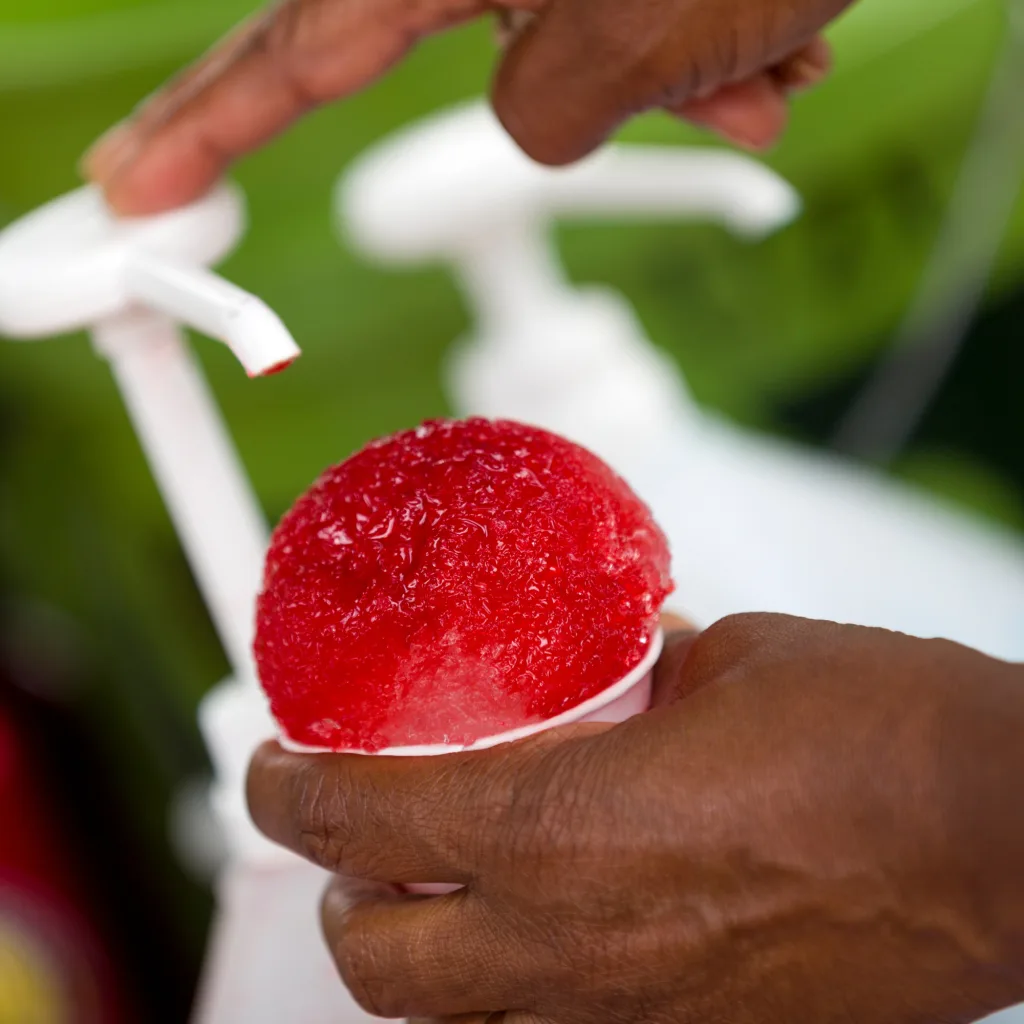
First and foremost, you’ll need a shaved ice machine.
You can purchase one online or at a store that sells kitchen appliances.
Make sure to read reviews and choose one that is of good quality to ensure it lasts for the entirety of the summer season.
The Dash Shaved Ice Maker is a fantastic machine for making shaved ice for snow cones.
It can also be used to make slushies at home.
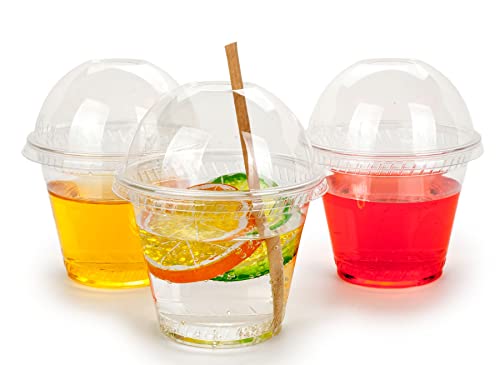
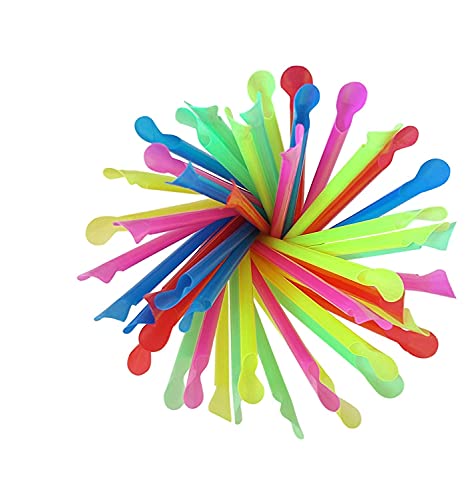
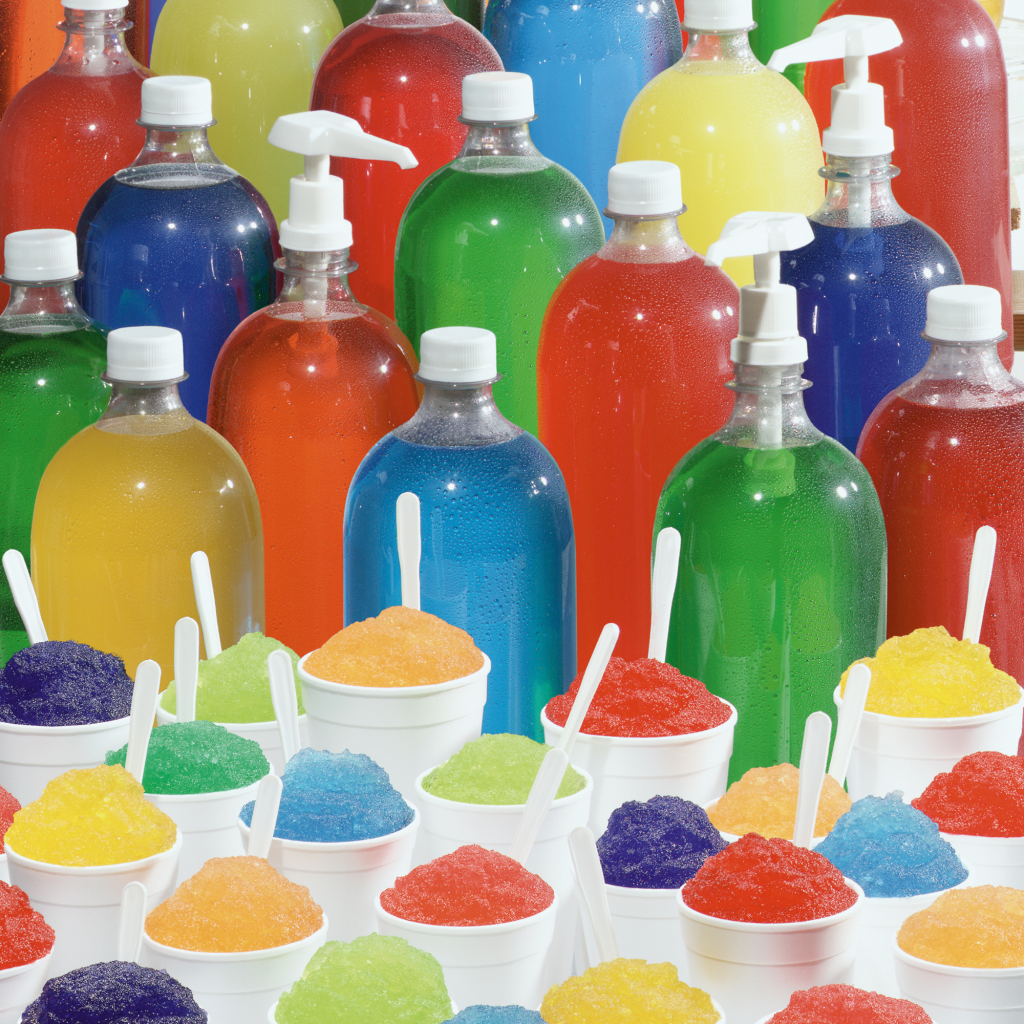
Next, you’ll need ice, flavor syrups, cups, and spoons.
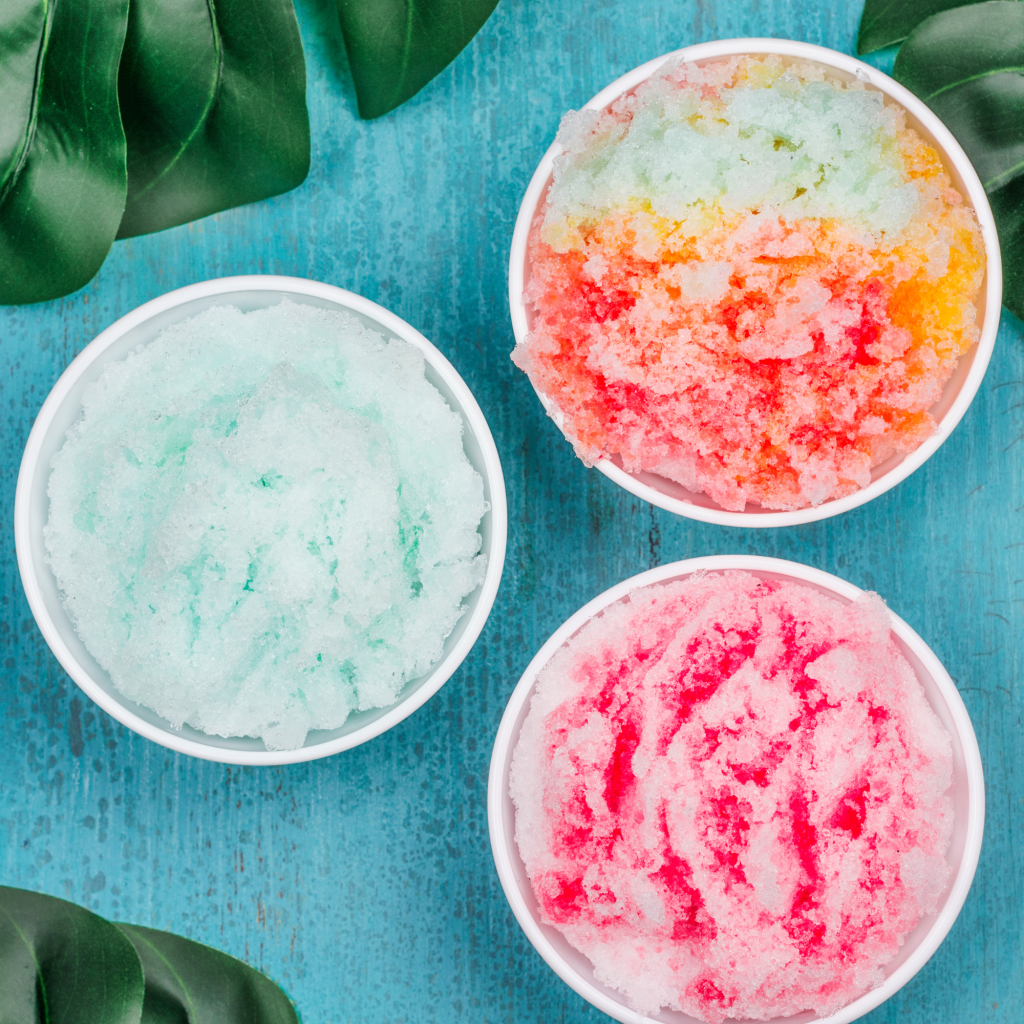
There are many different flavors to choose from, so pick a few different ones to experiment with.
Lastly, you’ll need to have a good amount of space to set up your shaved ice station.
A clean and dry surface is necessary to avoid any spills or accidents.
See our ultimate Shaved Ice Supply List down below.

Key to Success #2 – Make Your Shaved Ice
Once you have all your supplies in place, it’s time to make your shaved ice.
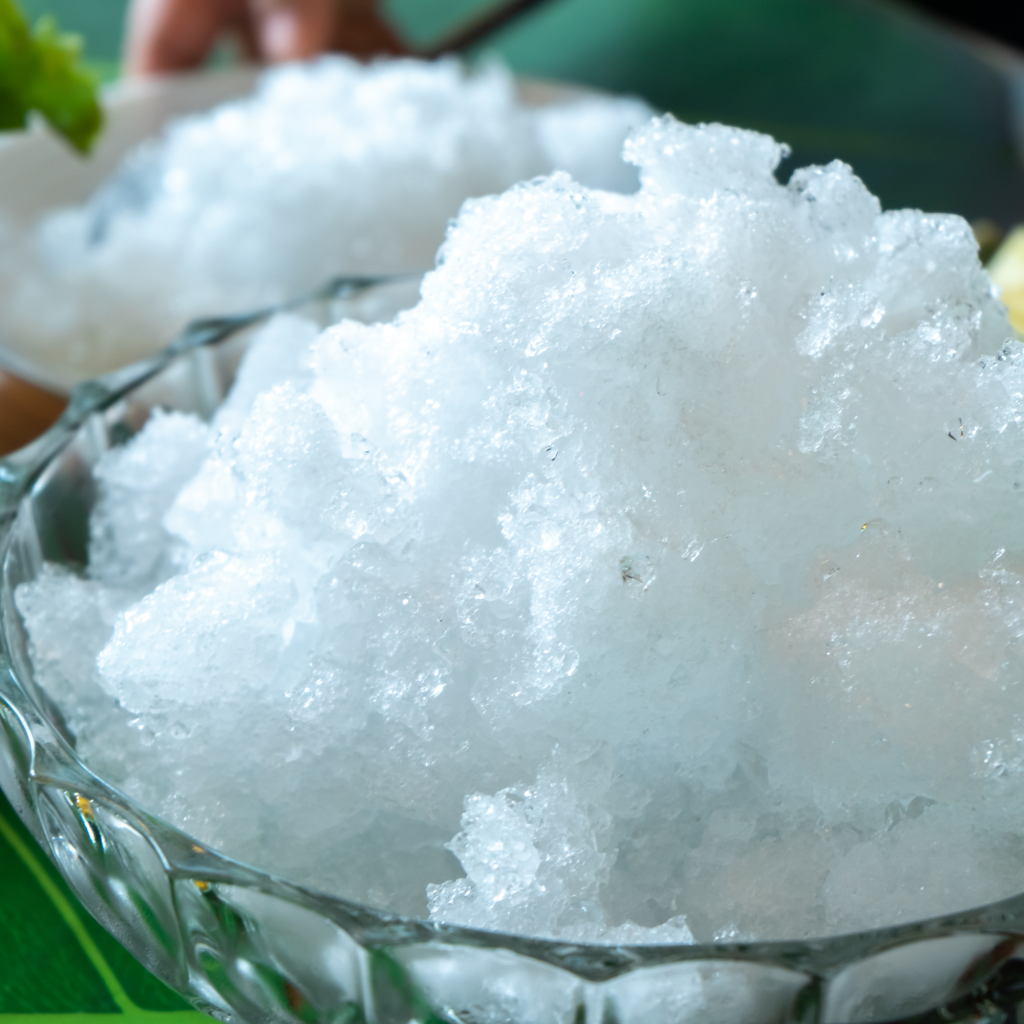
Begin by filling your shaved ice machine with ice and turning it on.
Run the ice through the machine until it’s all shaved, and then place it in a cup.
Next, you’ll want to add your flavor syrup on top of the ice.
Be sure to drizzle it evenly to get the best flavor in every bite. Add a spoon and enjoy!

Key to Success #3 – Experiment with Flavors
Not sure which flavors to try?
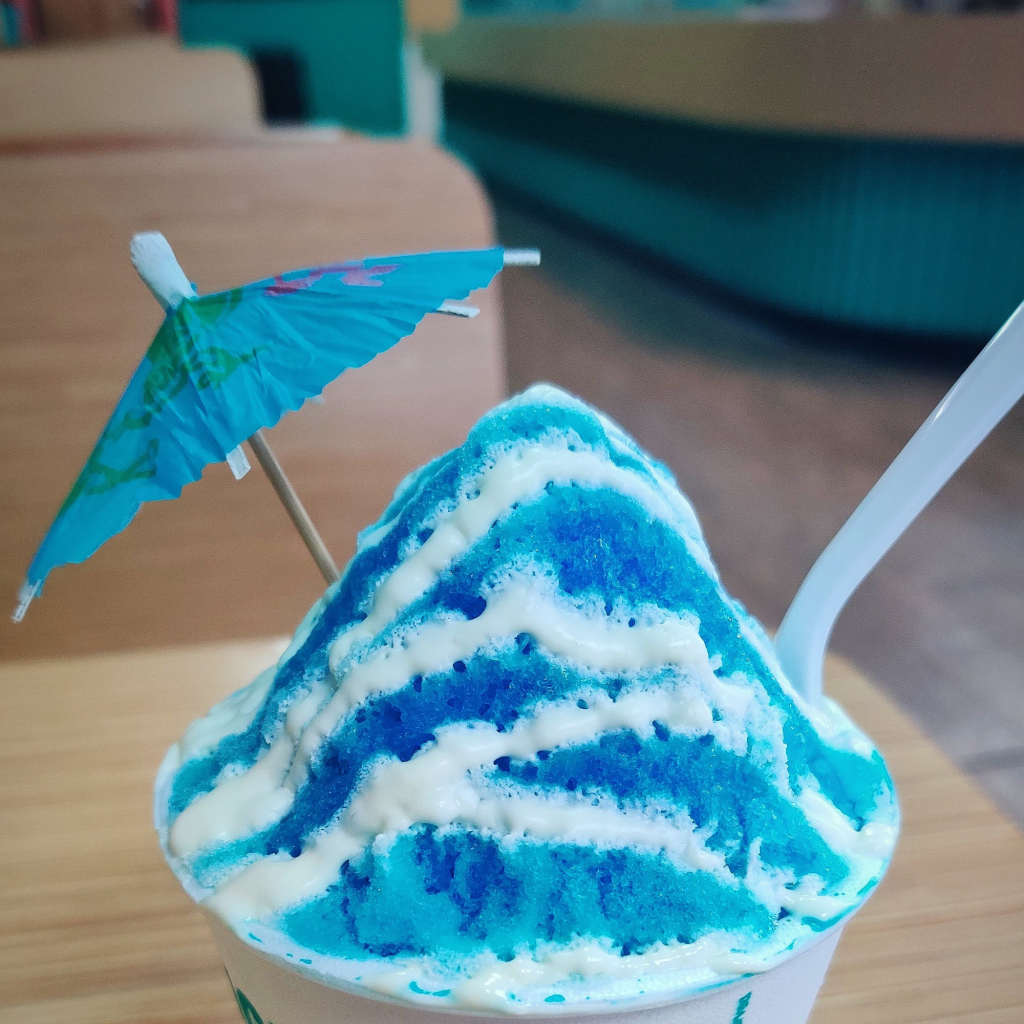
Some of our favorites include cherry, grape, strawberry, and peach.
You can also experiment by combining different flavors to create unique and tasty combinations.
One excellent option is to mix two or more flavors to create a delicious tropical flavor, like strawberry kiwi or tropical punch.
Don’t be afraid to mix and match until you find your perfect flavor
Key to Success #4 – Add Toppings
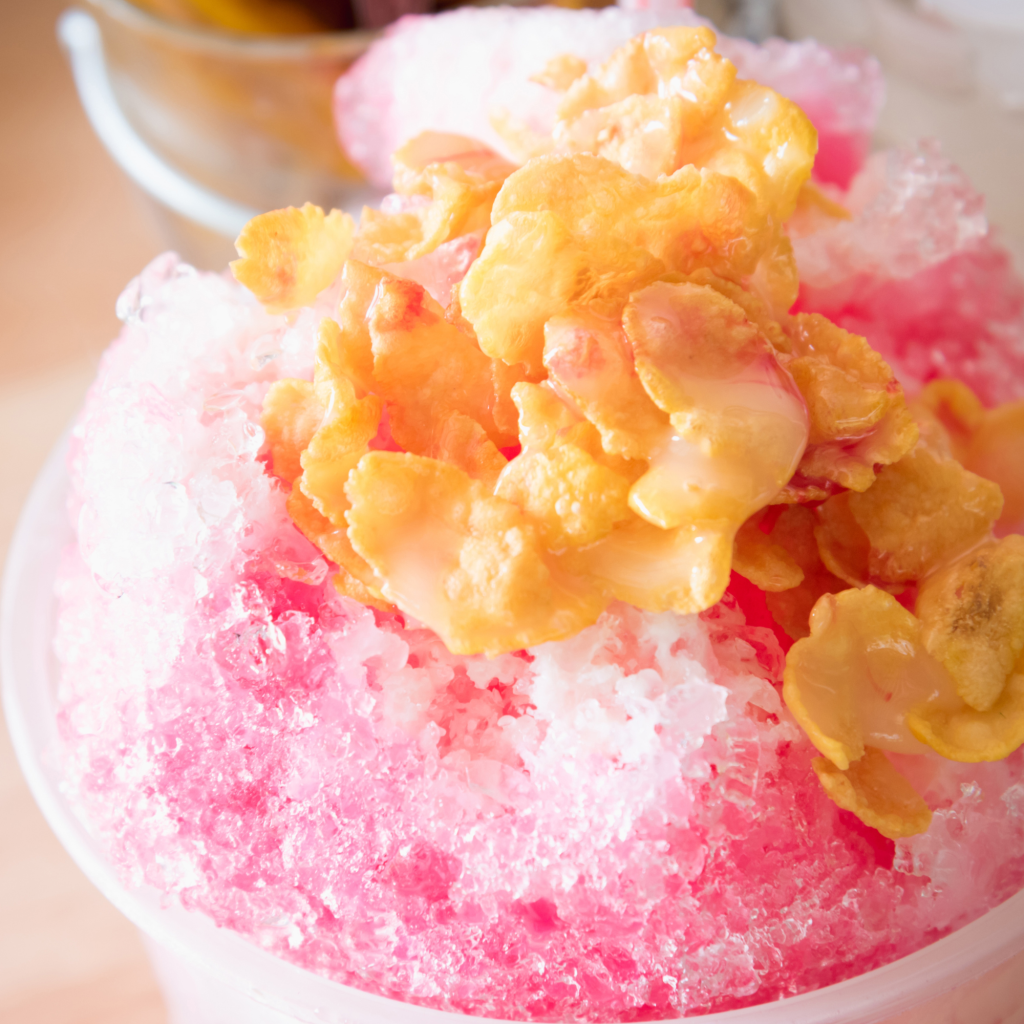
Another fun way to customize your shaved ice is to add toppings!
Some great options include whipped cream, gummy bears, sprinkles, and crushed cookies.
You can even create a specialty shaved ice by adding fresh fruit or nuts.
Remember, the sky is the limit, and you can get as creative as you want with your toppings.

Key to Success #5 – Clean Up
Once you’re finished with your shaved ice, be sure to clean up properly.
Turn off the machine and unplug it, and then empty out any unused ice.
Clean the machine and all other supplies with warm, soapy water, and let them dry completely before storing them back in their respective places.

Why You’ll Love Making Shaved Ice at Home
Making shaved ice at home is a fun and easy way to enjoy a refreshing summer treat.
By getting the right supplies, experimenting with flavors, adding toppings, and cleaning up properly, you’ll have everything you need to create delicious, homemade shaved ice for you and your family.
So, what are you waiting for?
Gather your supplies, experiment with flavors, and enjoy the sweet taste of summer in the comfort of your own home.