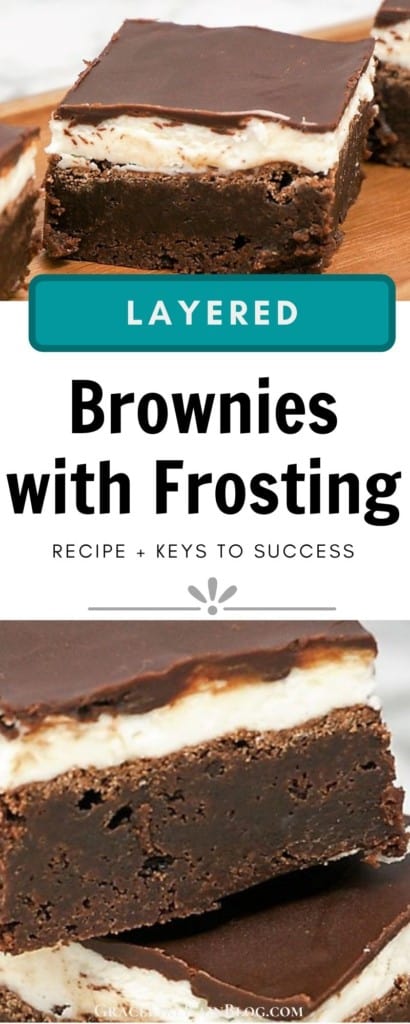
Holiday Layered Brownies with Frosting
Disclosure: This post may contain affiliate links.If you make a purchase through links on our site, we may earn a commission.
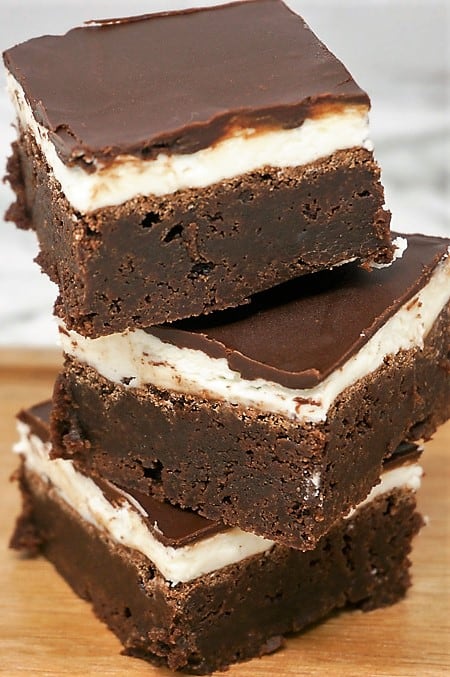
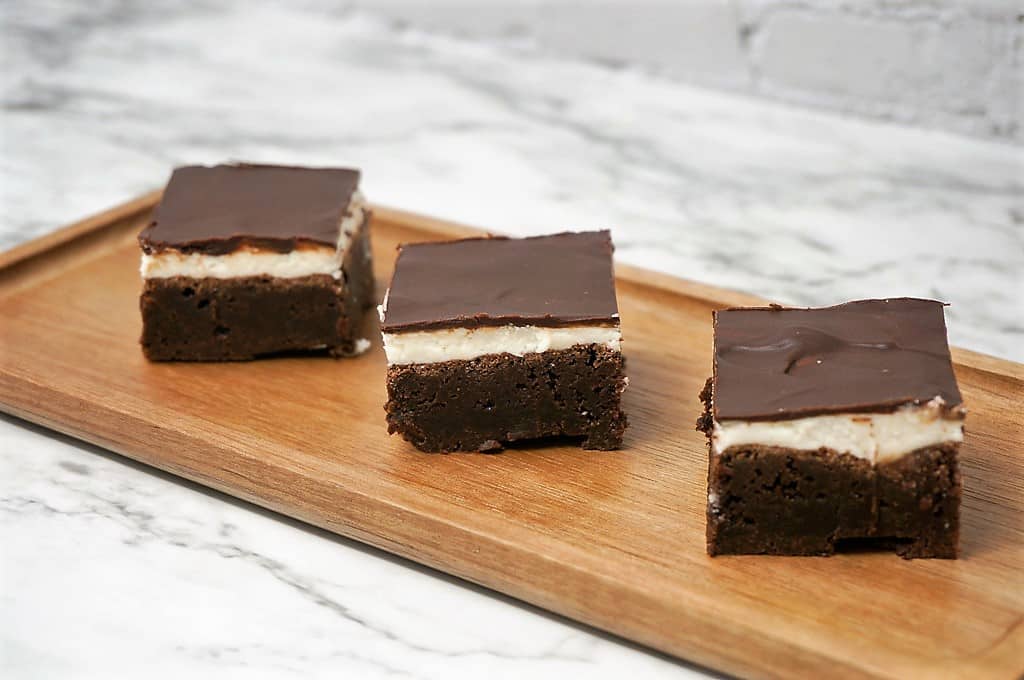
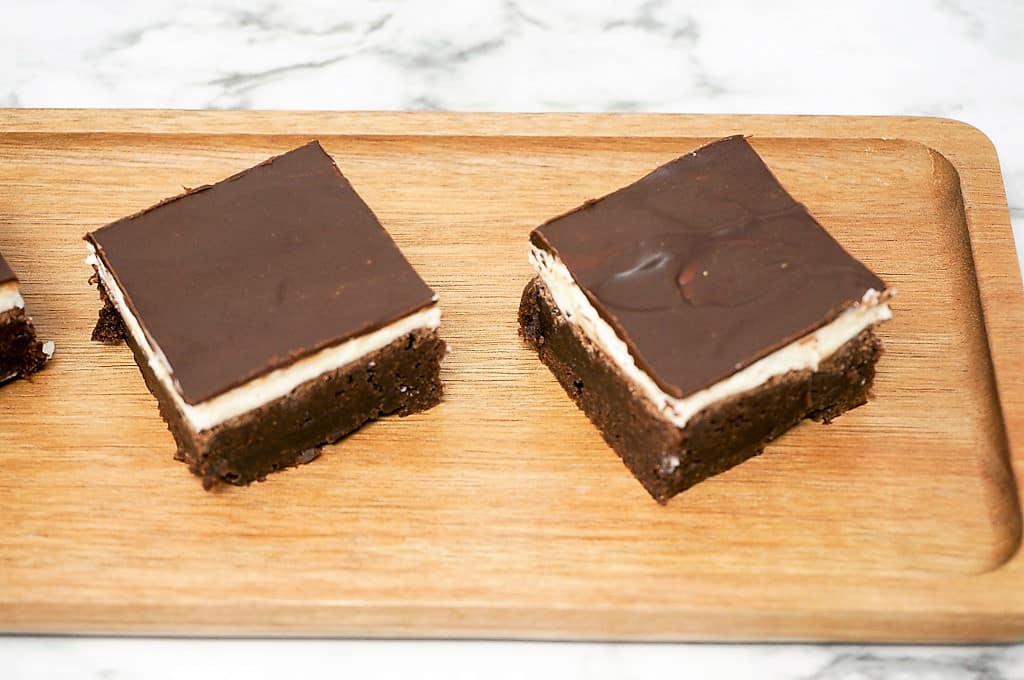
Layered Brownies with Frosting are delicious fudgy brownies topped with a thick layer of vanilla buttercream frosting then glazed with high-quality chocolate. The buttercream can be colored to make these brownies festive for any holiday. We’re sharing all the ways to dress them up for those occasions when you need a special dessert that is easy to make and easy to take.
Table of contents
- 🔑 Key to Success #1 – Make the Brownies Thick and Fudgy
- 🔑 Key to Success #2 – Top with Buttercream Frosting only when cool
- 🔑 Key to Success #3 – Drizzle on the Chocolate Glaze
- 🎃 Halloween Layered Brownies
- 📌 Save this Holiday Layered Brownies with Frosting recipe to your favorite Holiday Recipes board or your Brownies board.
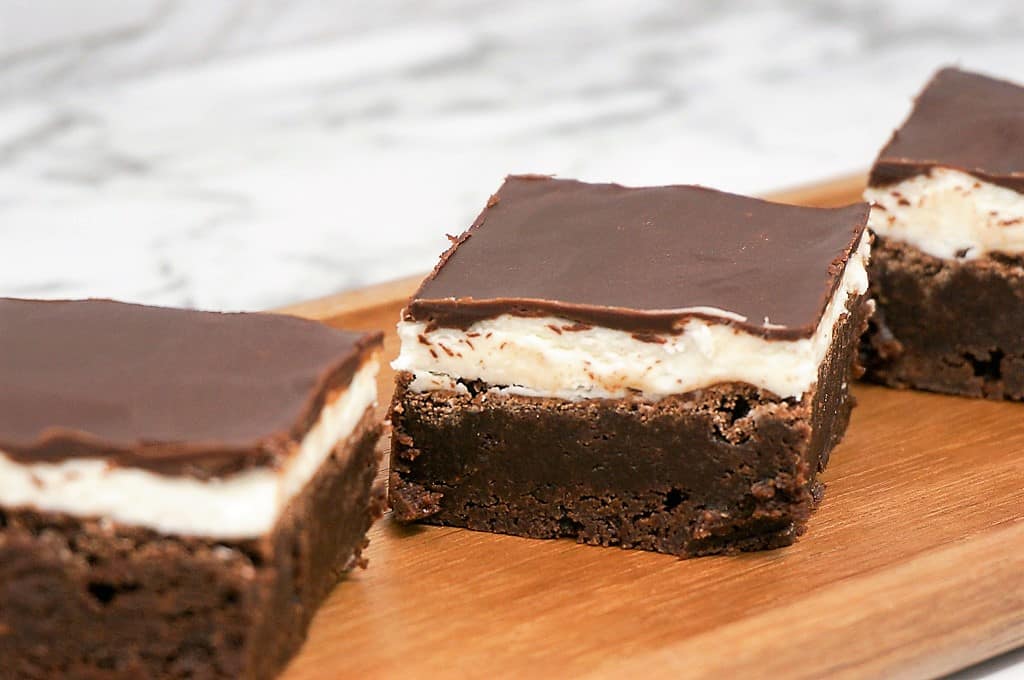
Layered brownies are the perfect dessert to take to your holiday get-together.
Kids love them and grown-ups do too.
They are delicious and so easy to dress up for any holiday by coloring the frosting layered a holiday-themed color – orange for Halloween, red for Christmas, green for St. Patrick’s day, pink for Easter.
The sky is the limit!
Ohhh, sky blue would be really pretty too.
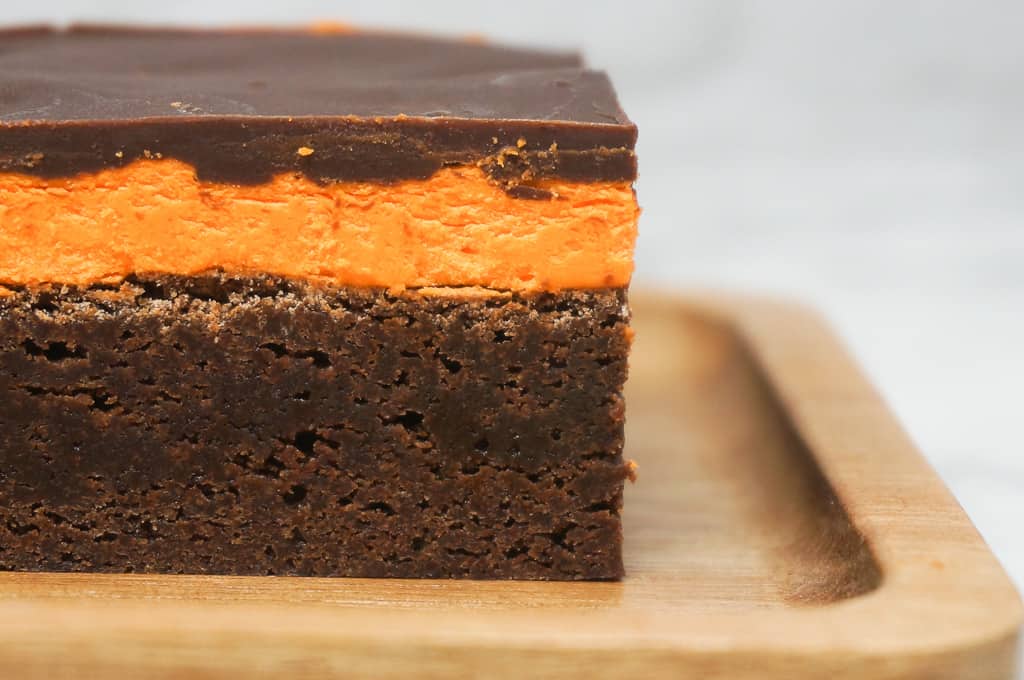
🔑 Key to Success #1 – Make the Brownies Thick and Fudgy
The brownies in these layered brownies are the brownie recipe that we used in our Buckeye Brownies so you know it’s good.
This recipe has no baking powder or baking soda so the brownies are fudgier and less cakey.
It also allows the brownies to bake up nice and flat so that the layers are even.
We’re using real chocolate in these brownies.
You’ll want to grab a couple of bars of good-quality baking chocolate. I like Baker’s Unsweetened Chocolate bar for this recipe.
I’m not talking about the Hershey’s chocolate bars that you find in the candy aisle.
Look for the high-quality chocolate bars in the baking aisle of your local supermarket.
This is where you will find the unsweetened chocolate.
The brownie batter uses 6 ounces of unsweetened chocolate.
Most of the baking chocolate bars are 4 ounces each so you will need to grab two packages.
Be sure to get the unsweetened chocolate. Y
our brownies will end up too sweet otherwise.
Chop up the chocolate then melt the chocolate and butter in the microwave.
Chopping the chocolate ensures that it will melt evenly into the butter.
The total time in the microwave is only about 1 minute.
You should be able to stir most of the lumps of chocolate out at that point.
Set the chocolate mixture aside while you whip up the eggs and sugar in a separate bowl.
Use a whisk to whip up the eggs then mix in the sugar.
Next, stir in the flour and salt.
Finally, stir in the chocolate and butter mixture.
Only stir the brownie batter until everything is combined to ensure that your brownies turn out super fudgy.
Finally, spread the batter evenly into a 9×13-inch baking dish.
I love the Fiesta bakeware pans for brownies and other baked goods. They are so pretty and colorful and I think they really show off my brownies.
🔑 Key to Success #2 – Top with Buttercream Frosting only when cool
The frosting layer on these brownies is a classic buttercream frosting. So delicious!
You might not traditionally think about buttercream on a brownie, but it is really terrific, especially when covered with a thin glaze of chocolate.
Make sure you let your butter come to room temperature before you make your buttercream.
When you take brownies out of the oven, remember to take your butter out of the refrigerator. I
t should be softened by the time the brownies are cool.
In a small mixing bowl, use a hand mixer to cream together the butter and the powdered sugar.
Add in the milk and the gel food coloring, if using.
The food coloring is completely optional.
But it’s a perfect choice when you want to jazz your layered brownies up for a holiday.
I recommend gel food coloring versus liquid food coloring because the gel will not thin out the frosting and make your frosting too runny.
Americolor Gel Food Coloring is a great choice.
You can get an Americolor Student Kit on Amazon for around $25 and it will have pretty much any basic color that you might want.
The bottles look small but they last a long time when you’re just using a few drops.
Add in a few drops of gel food coloring and continue mixing until your frosting is smooth.
The frosting will be relatively thick, but it’s still spreadable consistency.
After the brownies are frosted, put them into the refrigerator for 30 minutes or longer until the frosting has firmed up.
Refrigerating the frosted brownies will make it much easier to spread the chocolate glaze.
🔑 Key to Success #3 – Drizzle on the Chocolate Glaze
The yummy chocolate glaze is a mix of semi-sweet chocolate and butter.
For the semi-sweet chocolate, you’ll want to get a bar of high-quality chocolate like Baker’s Semi-Sweet Chocolate.
Again, this is the baking chocolate found in the baking aisle of your supermarket and not the chocolate in the candy aisle.
In a pinch, you can use semi-sweet chocolate chips, but I highly recommend the baking chocolate bars for this type of chocolate glaze.
In a small bowl, microwave the chopped chocolate bar and butter for 30 seconds.
Next, stir the mixture well.
If needed, continue microwaving the chocolate mixture in 15-second intervals.
It should take about 45 seconds total.
Finally, stir until the chocolate is smooth.
You mustn’t overheat the chocolate glaze. If chocolate is overheated, it could seize up.
This is especially true if you are using chocolate chips instead of the baking chocolate.
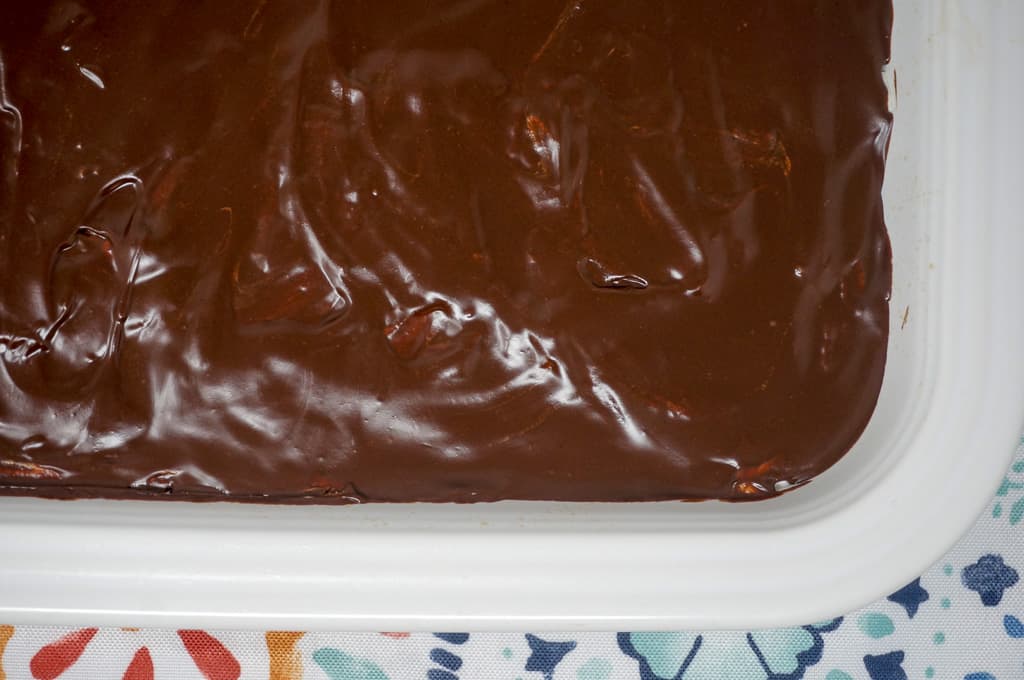
As soon as the chocolate glaze is smooth, you can drizzle it over the cold buttercream frosting.
Use the back of a spoon to spread the chocolate all the way to the edge of the pan.
For a different look, you can leave the chocolate drizzled over the frosting.
The glaze will be very thin but will firm up when cool.
You can slide the finished brownies back into the refrigerator for a few minutes to speed up the cooling process.
I know you’re not going to want to wait to eat these Layered Brownies!
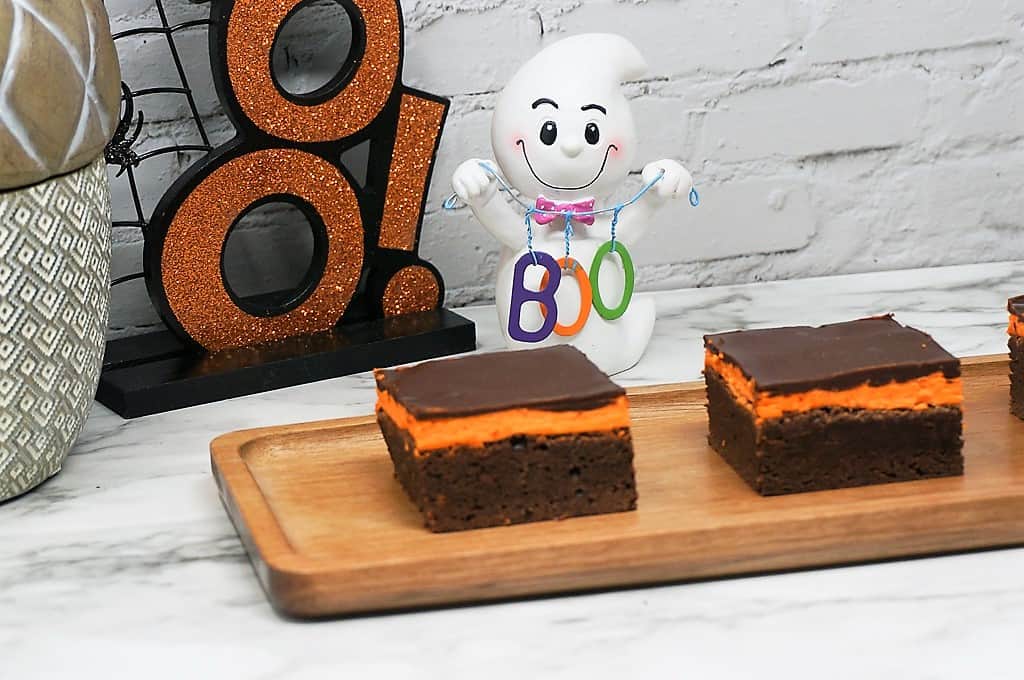
🎃 Halloween Layered Brownies
It’s an easy switch-up to customize these Layered Brownies for Halloween.
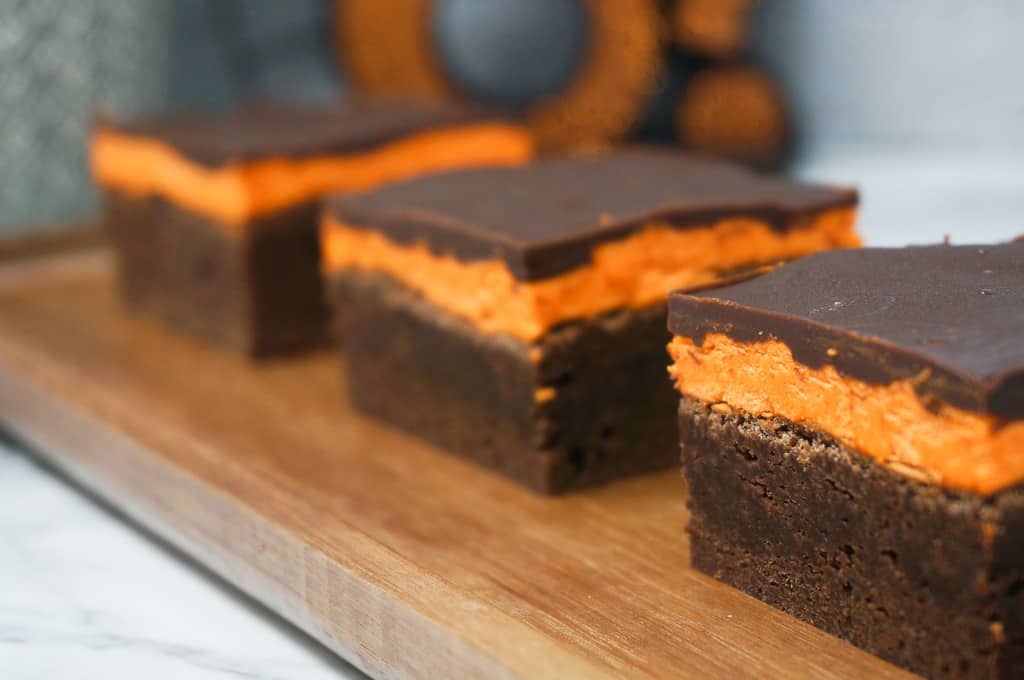
For the buttercream frosting layer, add about 6 drops of orange gel food coloring to the frosting after it is fully mixed.
I used the Americolor gel food coloring in color #113 Orange.
This color is part of the Americolor Student Kit or you can purchase it separately.
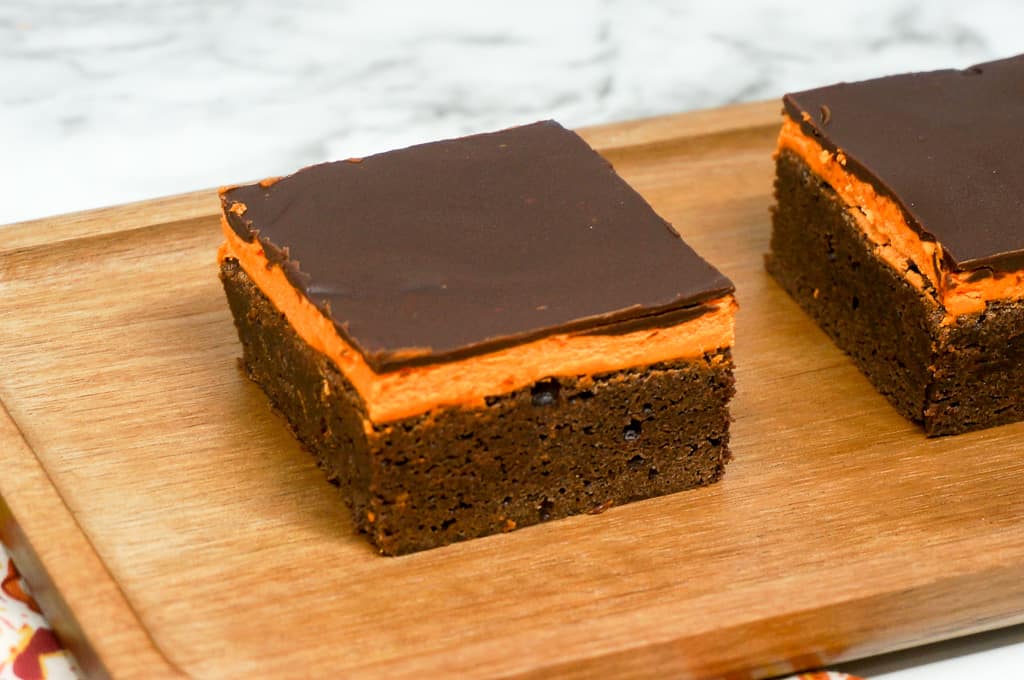
I think this is such a pretty orange color.
You can add more or less gel food coloring to personalize the color of your frosting.
If using a liquid food color, you may need to reduce or eliminate the milk from the frosting so that it will not be to thin.
These Halloween brownies would be really pretty with a light orange frosting too.
For an extra Halloween pop, you could add Halloween sprinkles or other decorations on top of the chocolate glaze layer.
If adding sprinkles, be sure to add them when the chocolate glaze is still wet so that they will stick to the chocolate and not fall off.
After the chocolate glaze has set, you could add candy eyes or other decorations to the top of the sliced brownies by adding a dot of melted chocolate then pressing the decoration into place.
These Halloween Layered Brownies are so versatilie and easy, but they will really add a nice pop of color to your holiday table.
📌 Save this Holiday Layered Brownies with Frosting recipe to your favorite Holiday Recipes board or your Brownies board.
Holiday Layered Brownies with Frosting
Ingredients
- ½ cup butter
- 6 oz unsweetened baking chocolate, chopped
- 2 cups granulated sugar
- 4 eggs
- 1 cup all-purpose flour
- ¼ tsp salt
- 1 tsp vanilla extract
For the Frosting
- 2 cups powdered sugar
- ½ cup butter, softened
- 2 Tbsp milk
- 1 tsp vanilla extract
- holiday food coloring
For Chocolate Topping
- 4 oz semi-sweet baking chocolate, chopped
- 4 Tbsp butter
Directions
- Preheat oven to 350 degrees F. Grease 9×13-inch baking pan.
- In small microwave-safe bowl, combine 6 oz unsweetened chocolate and 1/2 cup butter. Microwave on high power for 30 seconds then stir well. Continue heating in 30-second intervals then stirring until chocolate is fully melted and mixture is smooth. Set aside.
- In medium bowl, whisk together eggs, sugar, salt, and flour until combined. Stir in chocolate mixture and vanilla extract. Pour into prepared pan.
- Bake 25-30 minutes until brownies start to slightly pull away from the sides of the pan. Cool completely.
Make the Frosting
- In medium bowl using a hand mixer, blend together frosting ingredients until fluffy. Spread over cooled brownies. Refrigerate at least 30 minutes until frosting is firm.
Add the Chocolate Topping
- In small microwave-safe bowl, combine 4 oz. semi-sweet chocolate and 2 tablespoons buter. Microwave on high power for 30 seconds then stir well. Continue heating in 15-second intervals then stirring until chocolate is fully melted and the mixture is smooth. Spoon over frosting layer. Use back of spoon to smooth to edges.
Equipment
Nutrition Facts
⭐ Leave a comment and rating below — it helps other readers!
👩🍳 Did you make any changes or substitutions?
I’d love to hear how it turned out in your kitchen.
📌 Save this recipe so you can make it again.
📧 Want more easy family dinners like this in your inbox?
Join my free Dinner Idea Box newsletter for simple family dinners every week.
Handpicked Recipe Favorites from My Kitchen, Just for You!
The Perfect Chocolate Buttercream Frosting


