No-Bake Peanut Butter Bars Without Graham Crackers
Disclosure: This post may contain affiliate links. If you make a purchase through links on our site, we may earn a commission. As an Amazon Associate, I earn from qualifying purchases.
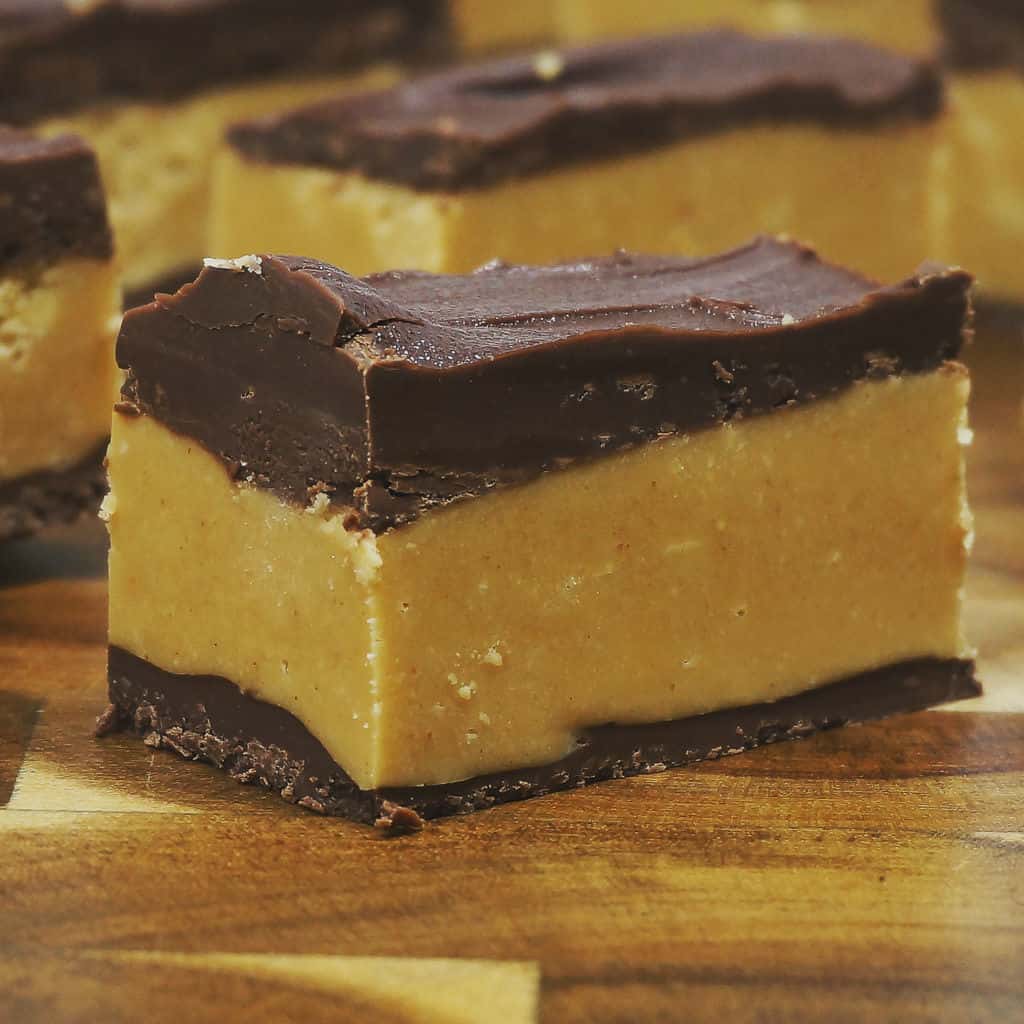
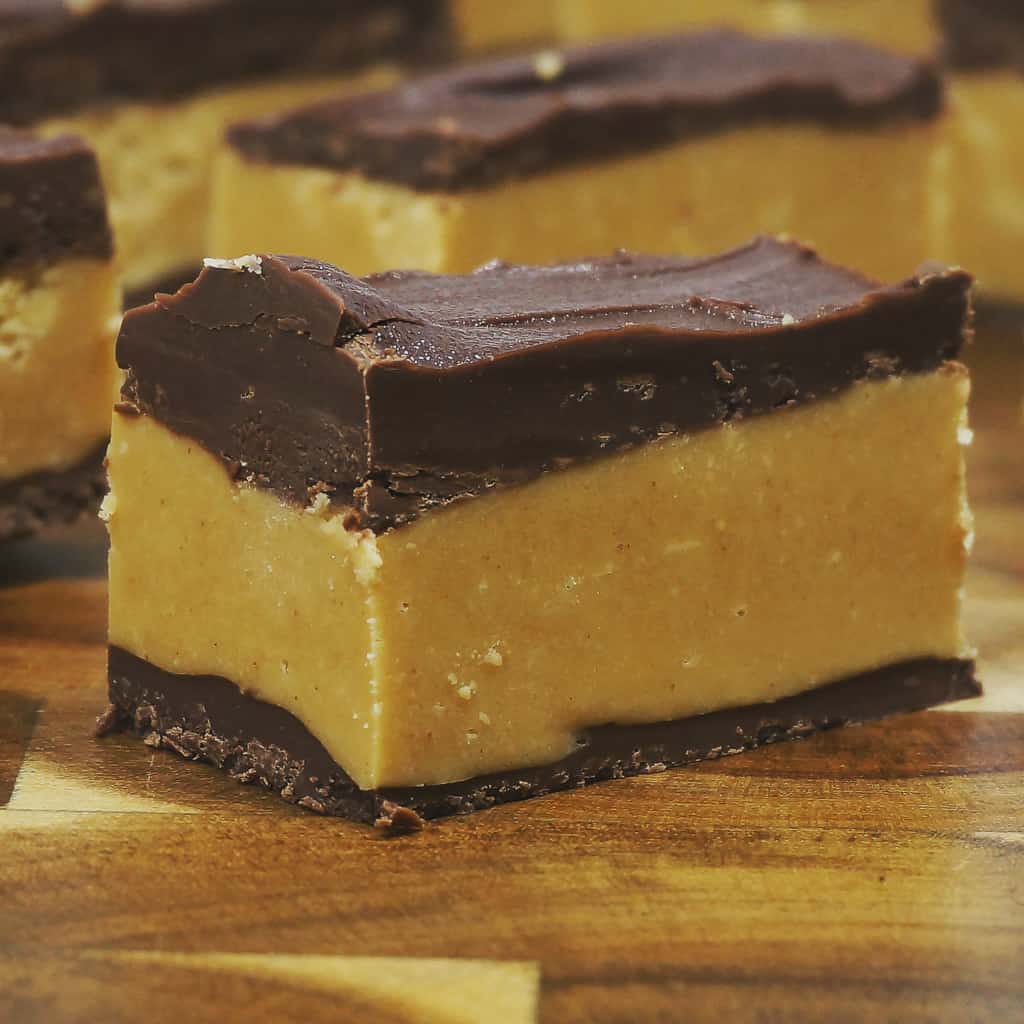
These No Bake Peanut Butter Bars Without Graham Crackers have a smooth peanut butter center tucked between two rich layers of chocolate. They taste like homemade Reese’s peanut butter cups, but they are easier to prepare in a pan and slice into bars.
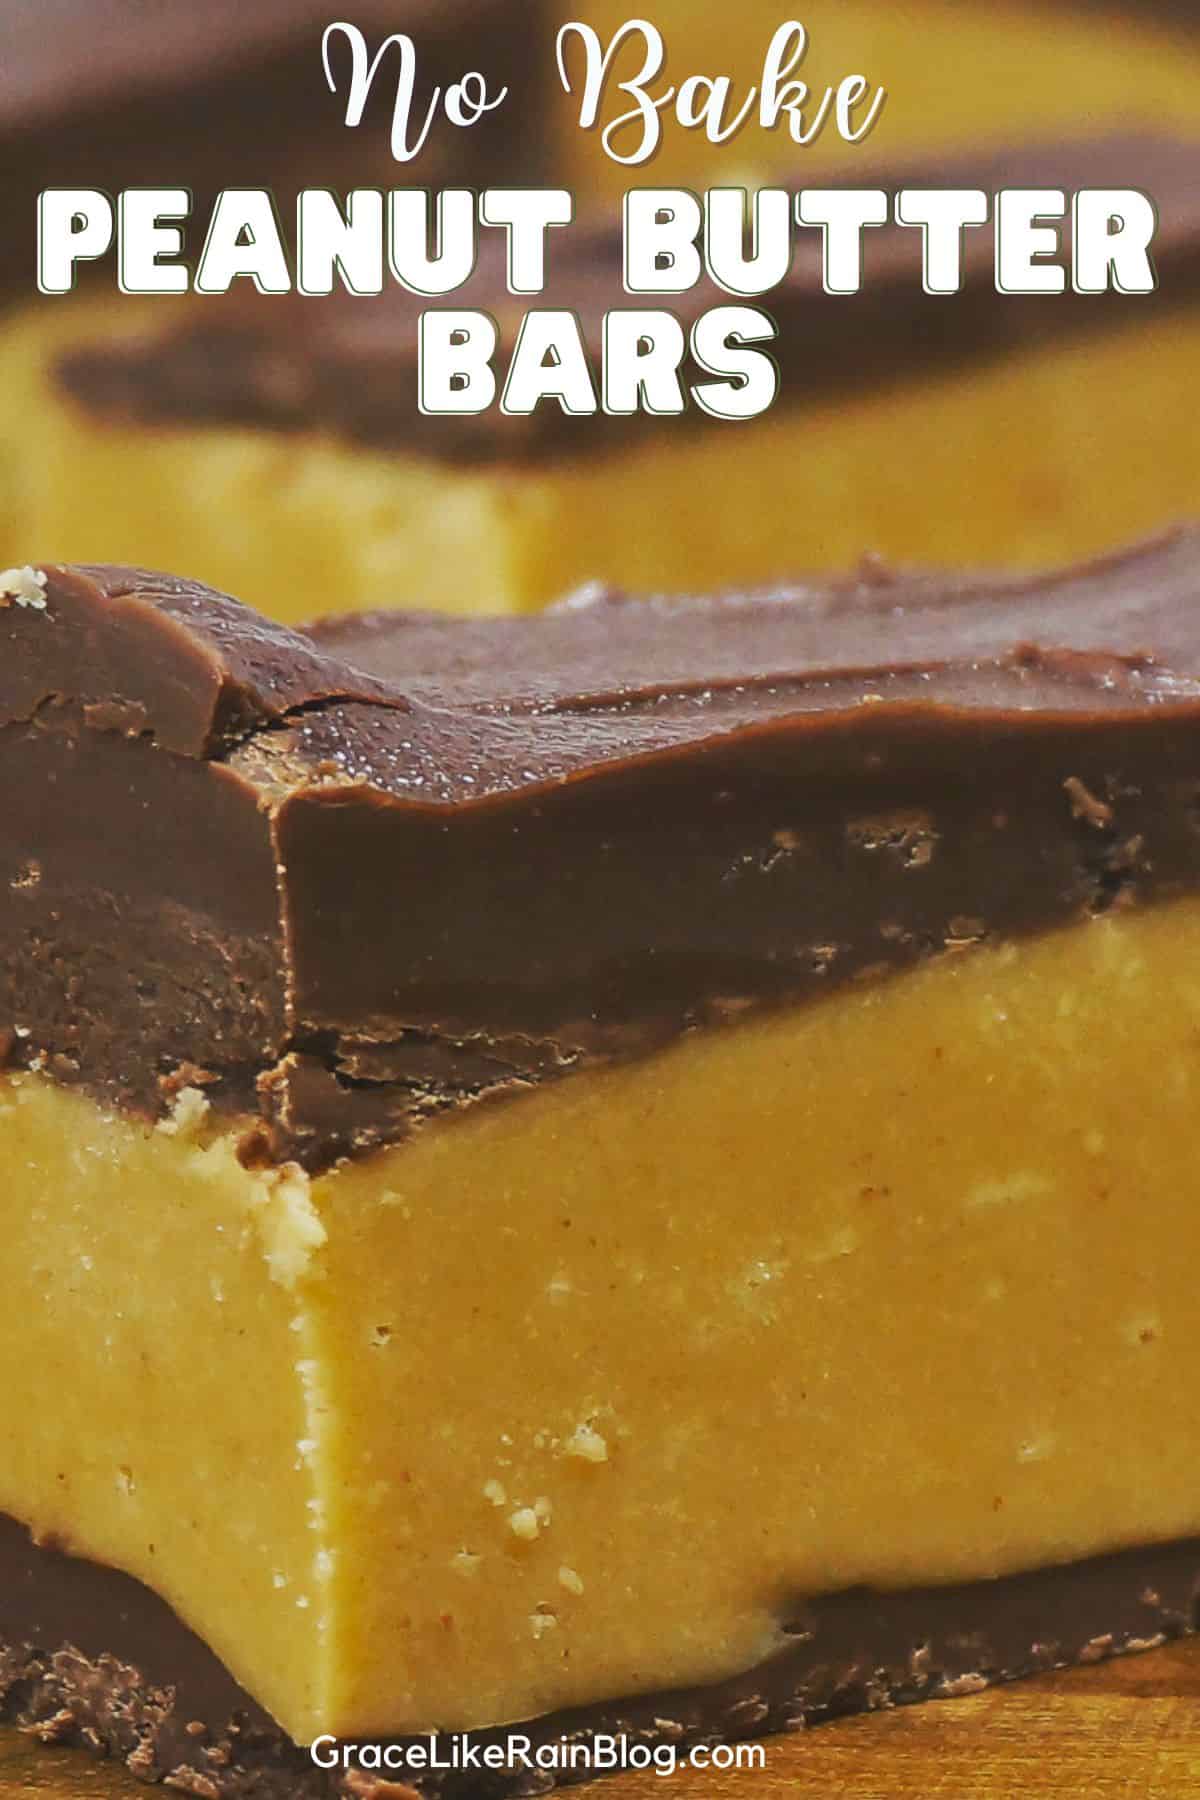
My sister and I made these peanut butter bars when we were kids, and they were always one of the most popular treats on our family’s Christmas dessert table. I still love making them for Christmas parties, candy trays, and any occasion that calls for an easy chocolate and peanut butter dessert.
If you enjoy this classic flavor combination, you may also like my Crock Pot Reese’s Cake, Nutter Butter Banana Pudding Trifle, and White Chocolate Macadamia Nut Cookies.
Table of contents
- Why You’ll Love Peanut Butter Bars Without Graham Crackers
- What Replaces the Graham Crackers?
- Ingredients You’ll Need
- How to Make No Bake Peanut Butter Bars Without Graham Crackers
- Pro Tips for the Best Chocolate Peanut Butter Bars
- How to Serve Homemade Reese’s Bars
- Recipe Variations
- How to Store Peanut Butter Bars
- Frequently Asked Questions
- More Easy Chocolate and Peanut Butter Desserts
Why You’ll Love Peanut Butter Bars Without Graham Crackers
I love that these no bake chocolate peanut butter bars are different from the more common recipes made with graham cracker crumbs. The powdered sugar gives the peanut butter filling enough structure to hold its shape while keeping the center smooth and creamy.
These bars also have chocolate on both the top and bottom. The bottom chocolate layer is a simple addition that makes every bite extra rich and helps the finished bars stack neatly once they are chilled.
Here are a few more reasons this recipe has remained a family favorite:
- No oven is required.
- The bars are made without graham crackers.
- The smooth center tastes like peanut butter cup filling.
- The recipe makes 24 bars in a 9-by-13 inch pan.
- The chocolate and peanut butter layers can be prepared in the microwave.
- They are easy to make ahead for Christmas, parties, and dessert trays.
What Replaces the Graham Crackers?
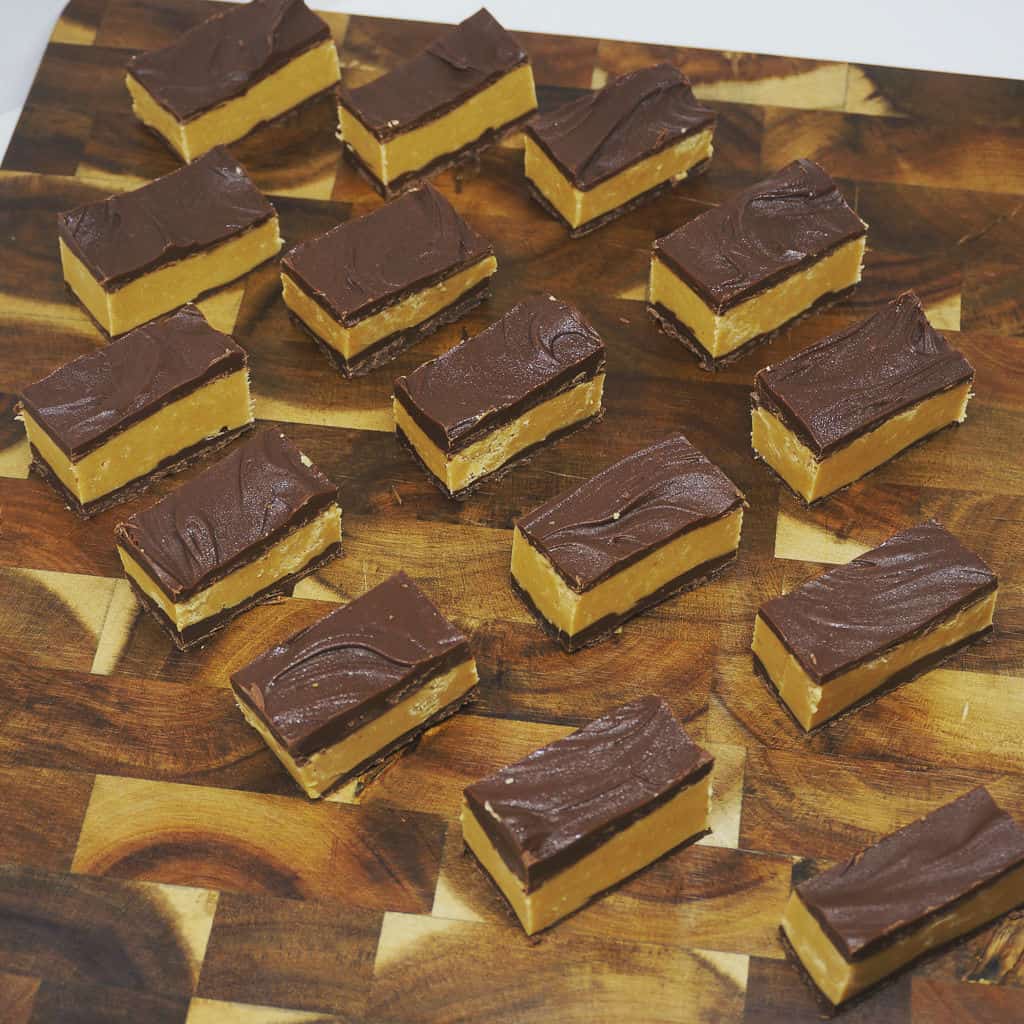
Nothing needs to replace the graham crackers in this recipe. Instead of relying on crumbs to give the peanut butter layer structure, this recipe combines creamy peanut butter, melted butter, and powdered sugar to make a thick filling that firms as it chills.
The result is smoother and more candy-like than traditional peanut butter bars made with graham cracker crumbs. If you prefer the creamy center of a Reese’s peanut butter cup over a crunchy peanut butter base, this is the recipe for you.
Ingredients You’ll Need
Only five simple ingredients are needed to make these three layer chocolate peanut butter bars.
- Creamy peanut butter: Peanut butter creates the rich, creamy center of the bars. I recommend a regular no stir peanut butter such as Jif or Skippy. Natural peanut butter can separate and may make the filling oily or too soft.
- Butter: Butter melts with the peanut butter to create a smooth filling and adds richness. I use regular butter in the peanut butter layer.
- Powdered sugar: Powdered sugar sweetens and thickens the peanut butter filling. It also gives the center enough structure to hold its shape without graham cracker crumbs. Powdered sugar is sometimes labeled confectioners’ sugar.
- Semisweet chocolate chips: Chocolate chips form the top and bottom layers. I like semisweet chocolate because it balances the sweetness of the peanut butter filling. Milk chocolate chips may be used if you prefer sweeter homemade Reese’s bars.
- Margarine: Margarine helps the chocolate melt smoothly and makes it easier to spread into even layers. Coconut oil may be used in place of the margarine. The additional fat also makes the chocolate less likely to seize as it melts.
How to Make No Bake Peanut Butter Bars Without Graham Crackers
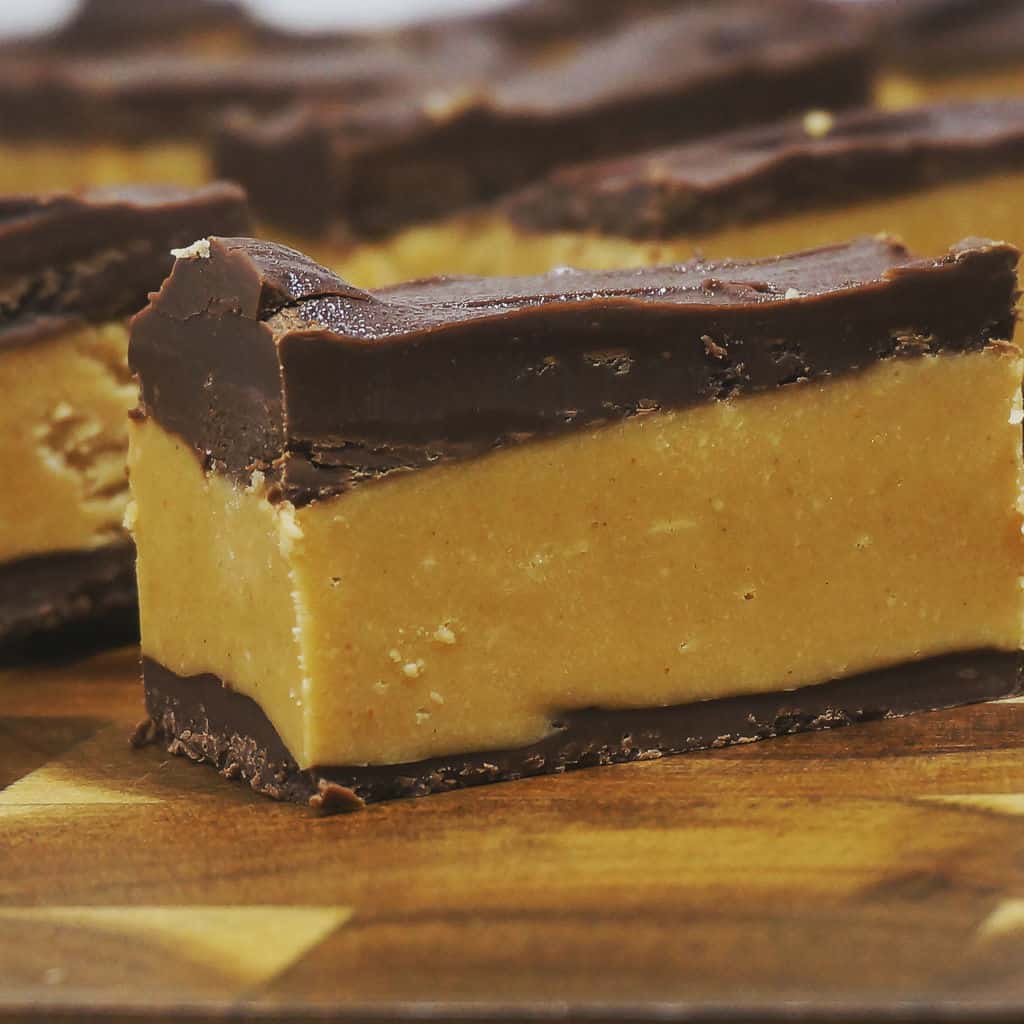
These homemade peanut butter bars are assembled in three simple layers. Allow each of the first two layers to chill before adding the next one so the layers remain distinct.
Chill until firm. Refrigerate the bars until all three layers are firm. Lift them from the pan with the parchment paper and cut them into 24 bars.
Prepare the pan. Line a 9 by 13 inch pan with parchment paper, leaving enough paper extending over the sides to use as handles later.
Make the bottom chocolate layer. Melt 2 cups of chocolate chips with 2 tablespoons of margarine in the microwave. Stir the chocolate mixture well, spread it evenly in the prepared pan, and chill for 15 minutes.
Prepare the peanut butter filling. Melt the peanut butter and 2 sticks of butter together in the microwave. Add the powdered sugar and mix well until a thick, smooth peanut butter filling forms.
Add the peanut butter layer. Spread the peanut butter mixture evenly over the chilled chocolate layer. Return the pan to the refrigerator and chill for another 15 minutes.
Add the top chocolate layer. Melt the remaining 2 cups of chocolate chips with the remaining 2 tablespoons of margarine. Stir well and spread the chocolate evenly over the chilled peanut butter filling.
Pro Tips for the Best Chocolate Peanut Butter Bars
- Use regular creamy peanut butter. Natural peanut butter has a different consistency and can make the filling too oily or soft. A no stir peanut butter produces a more dependable result.
- Chill each layer. Do not rush the two 15 minute chilling periods. The chocolate needs time to firm so the layers do not blend together as you spread the next mixture over it.
- Heat the chocolate carefully. Microwave the chocolate chips and margarine in short intervals, stirring between each one. Chocolate can scorch if it is heated too quickly.
- Keep water away from the chocolate. Even a small amount of water can cause melted chocolate to become thick or grainy. Make sure your bowl, spoon, and spatula are completely dry.
- Use parchment paper. One trick that always works for me in my kitchen is leaving plenty of parchment paper hanging over the sides of the pan. Once the bars are firm, I can lift the entire slab onto a cutting board instead of trying to cut it inside the pan.
- Let the bars rest before cutting. If the chocolate is extremely cold and hard, let the bars sit at room temperature for a few minutes. This helps reduce cracking when you slice through the chocolate layers.
- Clean the knife between cuts. Wiping the blade clean after each cut will give the bars neater edges, especially when you are preparing them for a dessert tray.
How to Serve Homemade Reese’s Bars
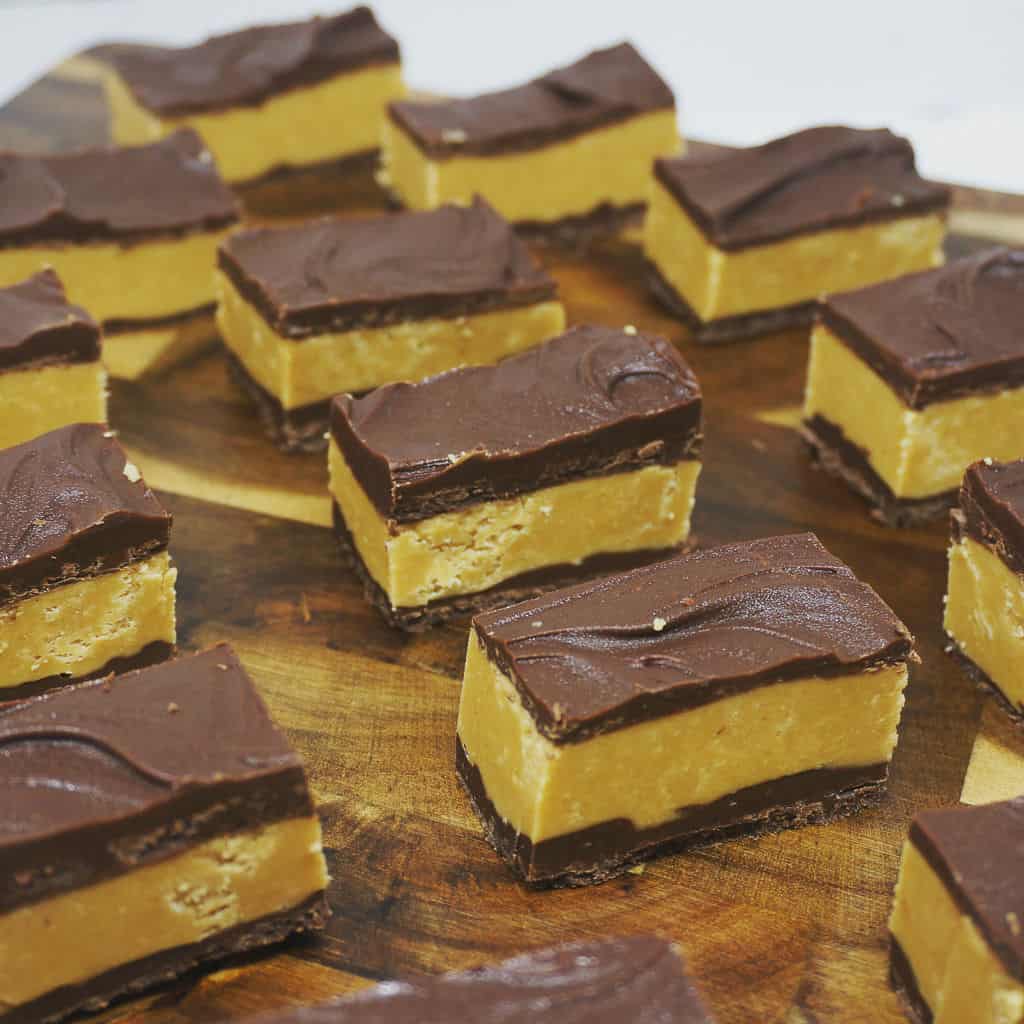
These no bake peanut butter bars are rich, so I usually cut them into relatively small squares. One pan makes 24 satisfying servings, making this an excellent recipe for parties, holiday gatherings, and Christmas candy trays.
Serve the bars chilled or let them sit at room temperature briefly before serving for a slightly softer peanut butter center. They pair especially well with cold milk, hot coffee, or a cup of cocoa.
For a holiday dessert platter, arrange the bars with cookies, fudge, peanut butter balls, and other bite sized candies. You can also place individual bars in decorative paper liners to make them easier for guests to pick up.
Recipe Variations
- Use milk chocolate. Replace the semisweet chocolate chips with milk chocolate chips for sweeter bars that taste even more like Reese’s peanut butter cups.
- Use coconut oil. Replace the margarine in the chocolate layers with coconut oil. It helps the chocolate melt smoothly and spread easily.
- Leave off the bottom layer. For more traditional peanut butter chocolate bars, omit the bottom chocolate layer and spread the peanut butter filling directly into the parchment-lined pan. Add the chocolate layer on top as directed.
- Make peanut butter balls. The peanut butter filling can be rolled into balls and dipped in melted chocolate instead of being pressed into a pan.
- Make peanut butter eggs. Shape the filling into small eggs, chill them until firm, and dip them in melted chocolate for an easy Easter candy.
How to Store Peanut Butter Bars
Store the peanut butter bars in an airtight container in the refrigerator. Place parchment or wax paper between the layers if you need to stack them.
Keeping the bars refrigerated helps the chocolate remain firm and the peanut butter center hold its shape. Let them rest at room temperature for a few minutes before serving if you prefer a softer texture.
These bars can also be made ahead and frozen. Arrange them in a freezer-safe container with parchment paper between the layers. Thaw the bars in the refrigerator so the chocolate layers remain firm and condensation is kept to a minimum.
Frequently Asked Questions
Yes. This recipe uses powdered sugar to thicken and give structure to the peanut butter filling, so no graham cracker crumbs are needed. The finished filling is smooth, creamy, and similar to the center of a peanut butter cup.
Yes. The chocolate, peanut butter, and butter are melted in the microwave, but the bars never go into the oven. The layers become firm as they chill in the refrigerator.
I do not recommend natural peanut butter for this recipe. Its oil can separate and produce a filling that is too soft or greasy. Regular no stir creamy peanut butter gives the bars the best texture.
The filling may still be warm from melting the peanut butter and butter. Make sure the ingredients are mixed thoroughly and give the filling time to chill. Natural peanut butter can also cause a softer or oilier filling.
Creamy peanut butter produces the smooth texture that makes these bars taste like homemade Reese’s peanut butter cups. Crunchy peanut butter would change that texture, so I recommend sticking with creamy peanut butter for the original recipe.
The bottom layer gives the bars more chocolate flavor and creates a neat three layer appearance. I also find that it makes the bars easier to stack and store once they are chilled. You may omit the bottom layer if you prefer.
These No Bake Peanut Butter Bars Without Graham Crackers are easy to make, wonderfully rich, and filled with the chocolate and peanut butter flavor my family has loved for years.
Give the recipe a try for your next party or holiday dessert tray, and please come back to leave a comment and let me know how your bars turned out!
Reese’s Peanut Butter Bars (No Graham Crackers)
Ingredients
For peanut butter filling
- 1 ½ cups peanut butter
- 1 cup butter
- 1 lb powdered sugar, about 3 1/2 cups
For chocolate topping
- 4 cups chocolate chips, divided
- 4 Tbsp margarine, divided
Directions
Layer 1
- Melt in microwave 2 cups chocolate chip with 2 Tbsp margarine. Stir well then spread into 9X13 pan. Chill 15 minutes.
Layer 2
- Melt together in microwave peanut butter and butter. Add powdered sugar and mix well. Spread on top of chocolate layer. Chill 15 minutes.
Layer 3
- Melt in microwave 2 cups chocolate chip with 2 Tbsp margarine. Stir well then spread on top of peanut butter layer. Chill until firm.
Notes
- Use high-quality peanut butter brand like Jif or Skippy. Natural peanut butter does not work well for this recipe. Peanut butter filling can be shaped into balls or eggs before dipping in melted chocolate.
- You may omit the bottom layer of chocolate on these bars.
- Coconut oil may be used in place of the margarine in the chocolate. This extra fat will help the chocolate melt smoother and it’ll be less likely to seize up when heating.
Nutrition Facts
⭐ Leave a comment and rating below — it helps other readers!
👩🍳 Did you make any changes or substitutions?
I’d love to hear how it turned out in your kitchen.
📌 Save this recipe so you can make it again.
📧 Want more easy family dinners like this in your inbox?
Join my free Dinner Idea Box newsletter for simple family dinners every week.
More Easy Chocolate and Peanut Butter Desserts
If you love the classic combination of chocolate and peanut butter, you will want to save a few more of my favorite easy desserts. These rich cakes, cookies, candy inspired treats, and no bake recipes are perfect for holidays, parties, and any time a chocolate craving strikes.