How to Make an Edible Animal Cell Cake
Disclosure: This post may contain affiliate links.If you make a purchase through links on our site, we may earn a commission.
Several weeks ago, Emily had the opportunity to make a cell cake for extra credit in her science class.
It could be made of any food as long as it was all edible and large enough to feed half of her class.
She chose to make an animal cell cake, which is round.
We did a lot of research to get some ideas for what to use for different parts of the cake.
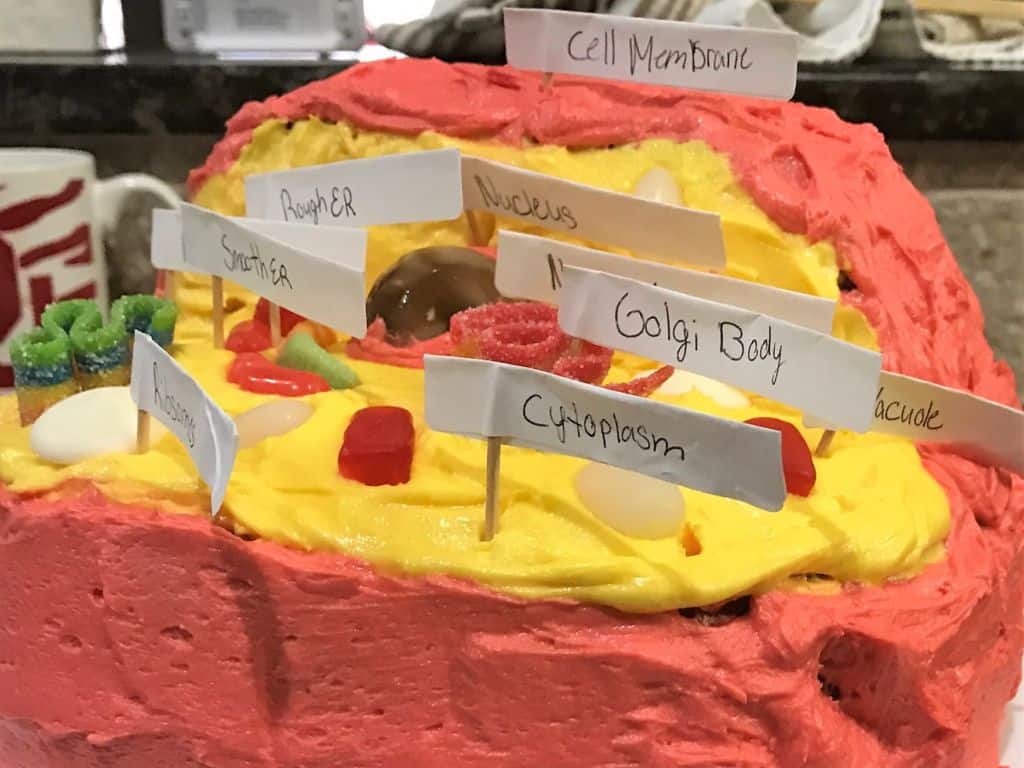
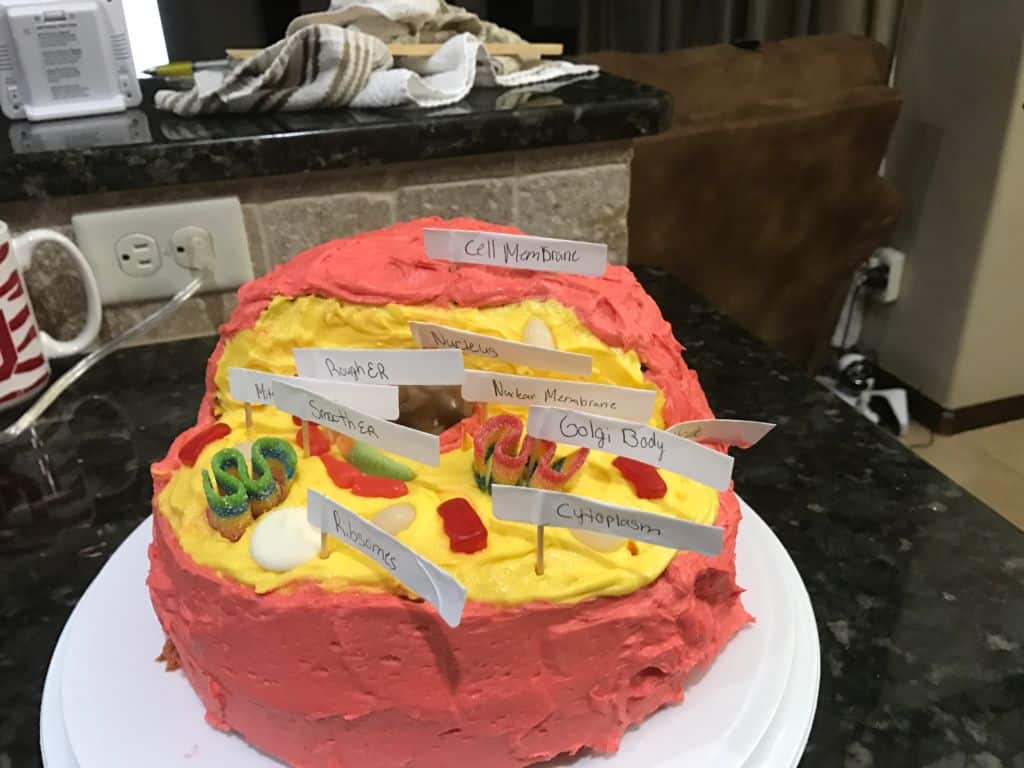
Emily wanted to look like the cell was cut open so we baked one cake in a large round baking pan and another cake in a large glass bowl to make a dome for the top of the cell.
We cut off some dome cake so that we could add in all of our cell parts.
Parts of an Animal Cell Cake Model
- Cytoplasm – yellow frosting
- Cell Membrane – orange frosting
Tip! Simply add red coloring to the remaining yellow frosting.
- Ribosomes – white candy melts
- Golgi body – Airhead Extreme candy belts
- Nucleus – Large round lollipops
- Rough ER – Sour gummy worms
- Smooth ER – Red Mike & Ike
- Nuclear Membrane – Orange frosting
Tip! Put some frosting in a plastic baggie and snip off the tip to pipe the frosting around the nucleus
If you make this cell cake, let us know in the comments if you used different candies for any of the elements.
- Mitochondria – Red gummy bears
- Vacuole = White Jelly Beans
We found almost all the candy at our local Walmart store.
The large lollipop was by the cash register.
Another good place to check would be Walgreens.
They have a large selection of unusual and hard-to-find candies.
How easy was the project?
B
We did have to bake a cake so the project was not the easiest.
Baking the cake in a glass bowl was something new that we’d never tried but it really turned out well.
If our bowl would have been the same side as our other cake pan, I think it would have been easier.
Our frosting job was not perfect – it’s a bit difficult to frost the cake without the yellow and the orange mixing.
How successful was the project?
A+
Emily got full credit for the assignment.
We checked off all the requirements.
Our cake was plenty big to serve half the class.
Everything was appropriately labeled – we used printer labels affixed to toothpicks.
All the candy looked approximately like animal cell parts.
If you try it, let me know how it goes for you.
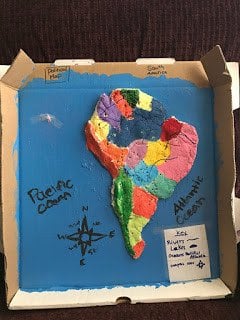
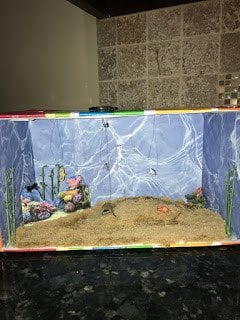
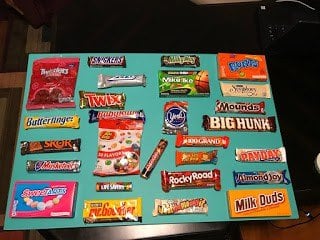
Here are some other awesome school projects for you to try:
How to Make an Animal Cell Cake
Equipment
- 8-inch round cake pan
- 8-inch diameter oven-safe bowl
- toothpicks
- 2-inch labels
Materials
- 1 cake mix + ingredients listed on the box
- 1 recipe Buttercream frosting
- yellow gel food coloring
- orange gel food coloring
- blue or green gel food coloring
- Airhead Extreme candy belts
- Tootsie pops
- white candy melts
- sour gummy worms or Twizzlers
- Red Mike & Ike candy
- Red gummy bears
- white jelly beans
Instructions
- Preheat the oven to 350 degrees F.
- Mix up a box of your favorite cake mix according to the package directions.
- Grease an 8-inch cake pan with non-stick cooking spray and pour in about 1/3 of the cake batter.
- Grease an 8-inch diameter bowl that is oven-safe and pour in the remaining 2/3 of the cake batter.
- Bake the cakes according to the instructions for an 8-inch pan, usually about 28-32 minutes. Check both cakes for doneness by inserting a toothpick into the centers. The cakes are done when the toothpick comes out with a few moist crumbs. The cake baked in the bowl will probably need to be baked 6-10 minutes longer than the one in the cake pan. Allow the cakes to cool for 10 minutes then remove the cakes from the pan and bowl to a sheet of waxed paper. Cool cakes completely.
- Level the flat cake using a serrated knife. Level the flat side of the domed cake, if needed. Cut the domed cake in half across the middle.
- Mix up the Buttercream frosting.
- Divide the frosting. Put half of the frosting in a bowl and dye it orange using a few drops of orange food coloring. Remove about a half cup of the remaining white frosting and dye it blue or green. Tint the remaining frosting yellow.
- Place the flat cake on a serving platter. Place the domed cake toward the top of the flat cake. The domed cake will be smaller than the flat cake and this is okay. Spread the yellow frosting on the top of the flat cake that is visible and the cut side of the domed cake that is adjacent to the flat cake. The yellow area represents the inside of your cell, the cytoplasm.
- Spread the orange frosting on the top of the domed cake and all along the outside of the cake. The orange area represents the cell membrane.
- Use a pair of scissors or a sharp knife to cut off the end of the Tootsie Roll Pop stick, leaving about 1 inch. Insert the lollipop into the center of the cell where the flat cake and the domed cake meet. This is the nucleus.
- Spoon the blue or green frosting into a plastic zip-top baggie then snip off the tip and use it to pipe a ring of frosting around the lollipop. This is the nuclear membrane.
- Take an Airhead Extreme candy belt and gently fold it into a zig-zag pattern. Place it in the yellow portion of the cake for the Golgi body.
- Place white jelly beans (substitution: white candy melts) on the cake for ribosomes.
- Cut Twizzlers into 1 1/2-inch pieces and place them on the cake for the endoplasmic reticulum. If you need to identify rough ER and smooth ER, you can use sour gummy worms for the rough ER and red Mike & Ike candy for the smooth ER.
- Place red gummy bears on the cake for mitochondria.
- Place gummy Skittles on the cake for vacuole.
- Create labels either by hand-writing the cell parts on white printer labels or by printing the cell parts on a piece of paper. Affix the labels onto toothpicks.