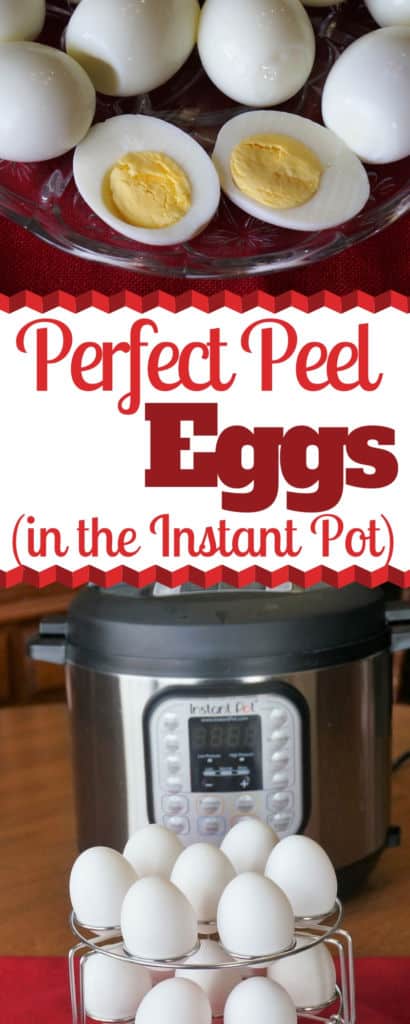
Instant Pot Hard-Boiled Eggs
Disclosure: This post may contain affiliate links.If you make a purchase through links on our site, we may earn a commission.
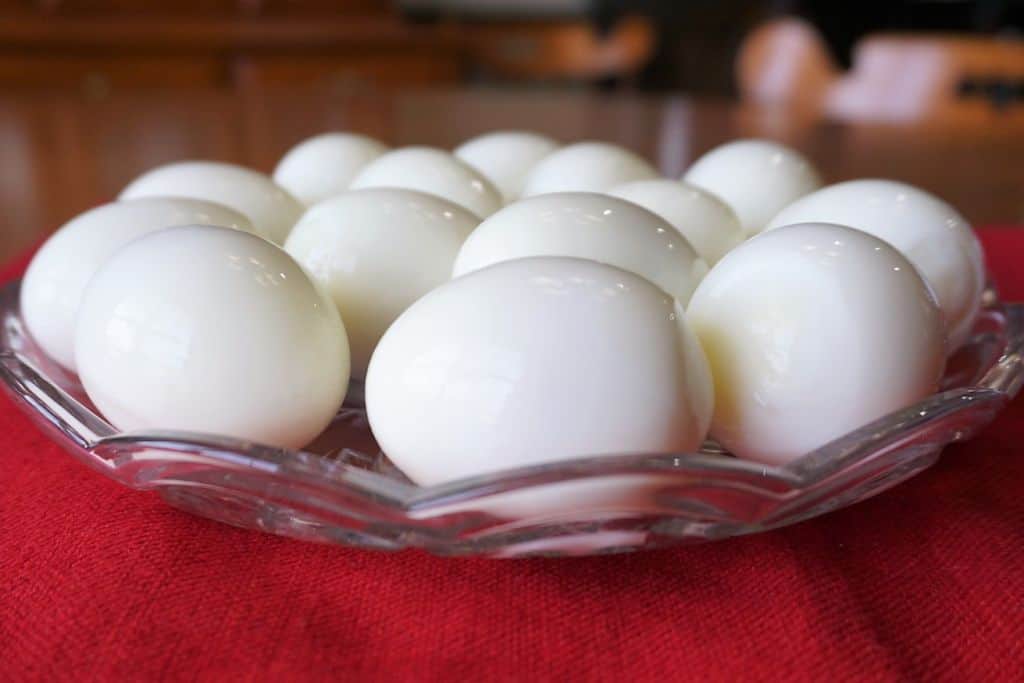
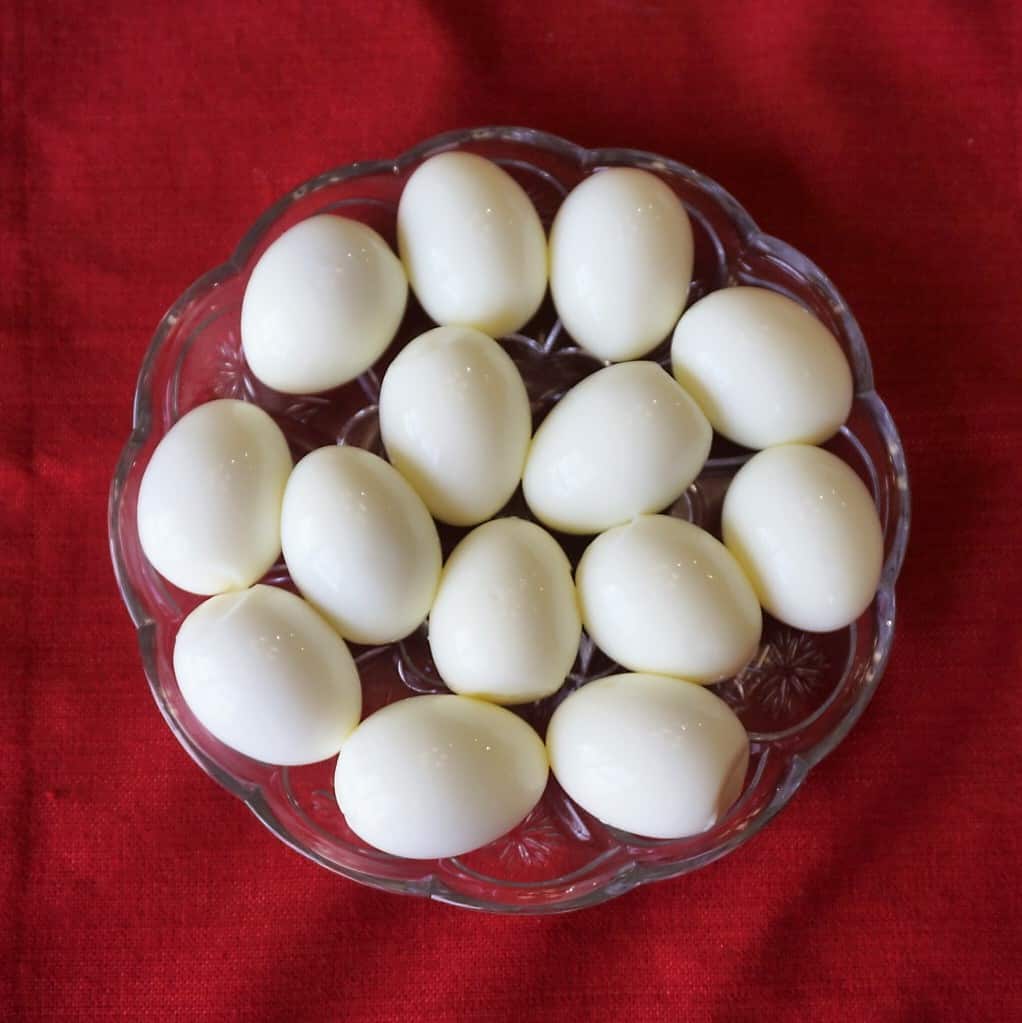
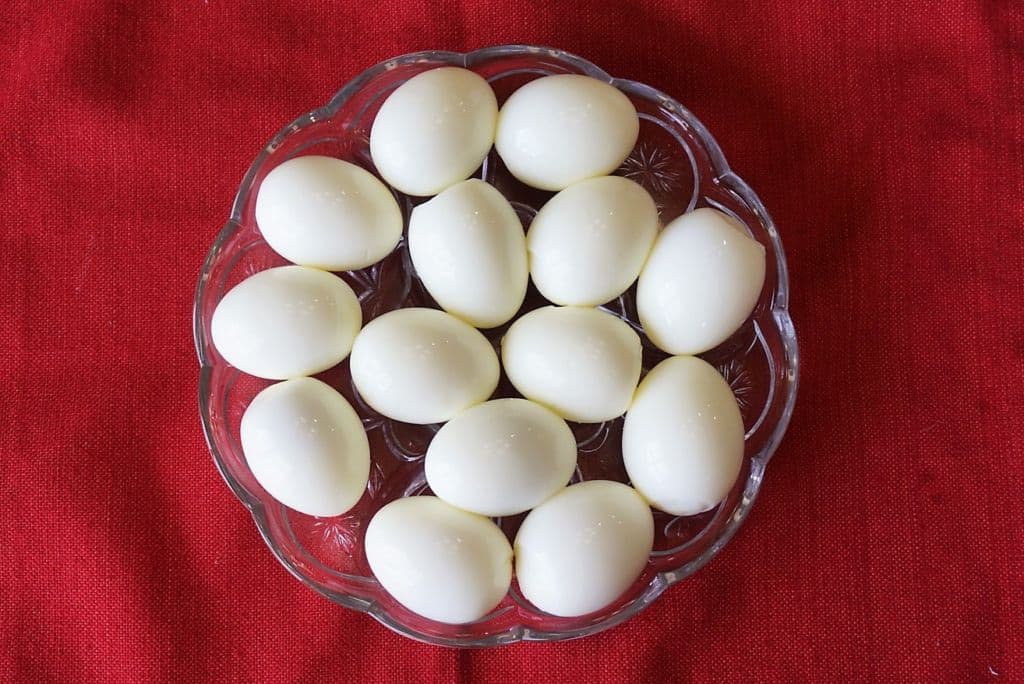
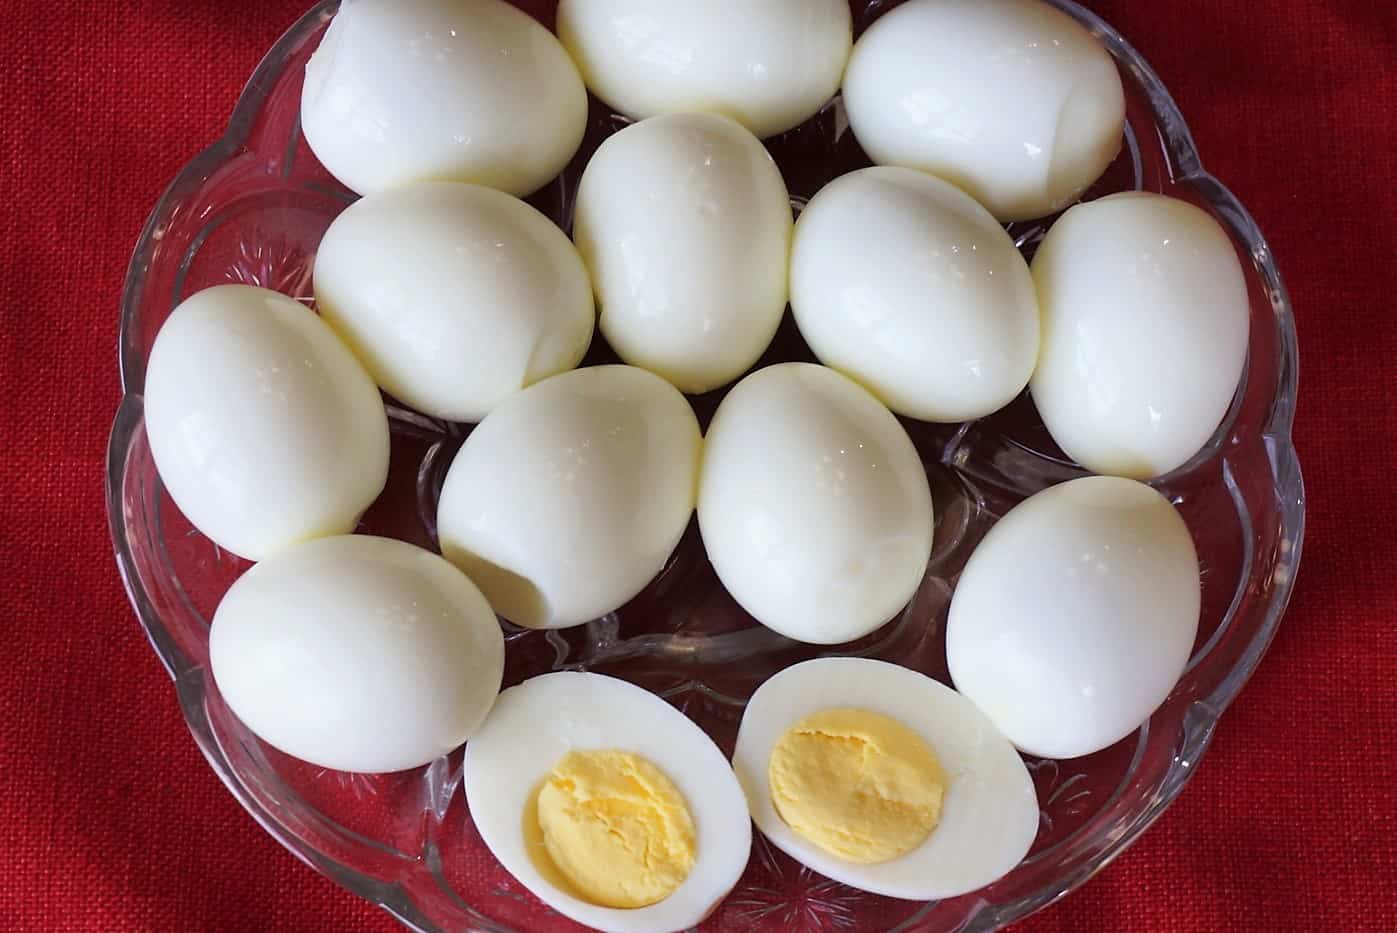
The Instant Pot is a wonderful kitchen appliance all around but it’s amazing for making Hard-Boiled Eggs. I was expecting the same old struggle when peeling the eggs but they all peeled perfectly. These truly are Perfect Instant Pot Hard-Boiled Eggs.

Don’t you hate trying to peel hard-boiled eggs and the shells won’t come off without tearing up the egg inside?
Well, you won’t have that problem anymore with this Instant Pot Hard-boiled Egg recipe!
Key to Success #1 – The Right Equipment
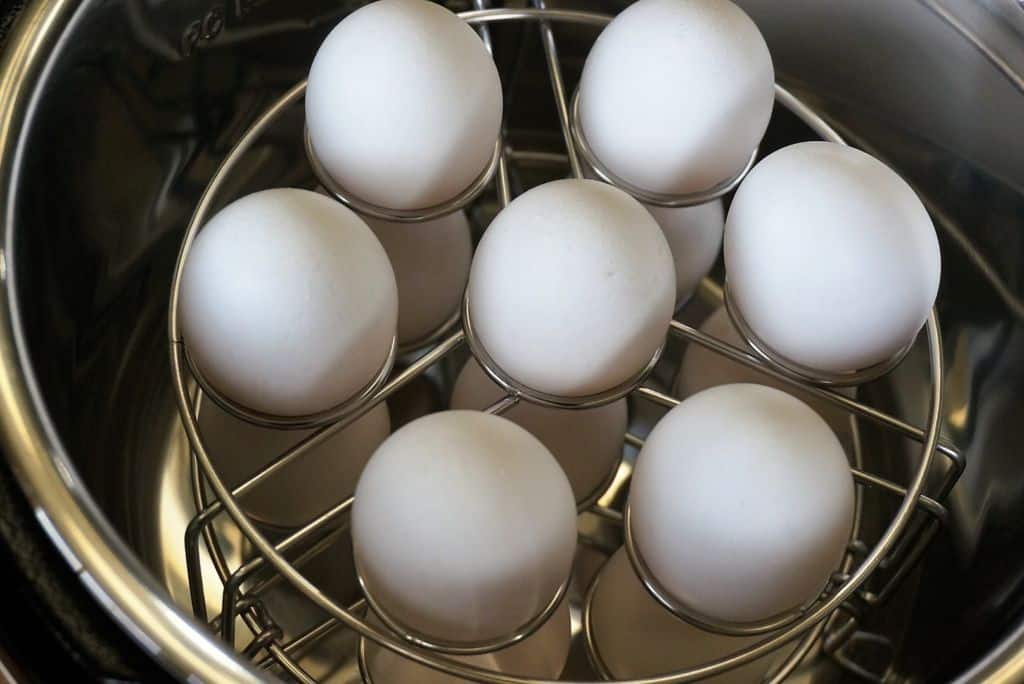
For the recipe, you’ll need an Instant Pot and an egg rack or the wire rack that came with your Instant Pot.
I have a 6-quart Instant Pot Duo and it’s the perfect size for my family of four. I hard-boiled 14 eggs in this size Instant Pot.
I also purchased a stackable egg steamer rack that holds 14 eggs.
The one I have is made of wire but there are many varieties out there that are made of silicone or other materials.
You can also find combo Instant Pot accessory sets that contain steamer baskets, cake pans, trivets, egg bite molds, and more.
I think these sets are great if you’re at all interested in experimenting with your Instant Pot.
Just watch the size to make sure it will fit your Instant Pot model.
Key to Success #2 – The 5-5 Method
The 5-5 cooking method is pressure cooking for 5 minutes then letting the pressure release naturally for 5 minutes.
When pressure cooking in the Instant Pot, make sure you have enough liquid in the inner pot so that the pressure can build up.
For this recipe, a cup of water is more than enough.
The Instant Pot can build up pressure but your eggs are not sitting in water.
To allow the pressure to build up inside the Instant Pot, make sure the pressure release handle is set to Sealing.
The 5-minute cook time is started once the Instant Pot reaches full pressure so your actual cooking time will be longer than 5 minutes.
It takes between 5 and 10 minutes for the Instant Pot to reach full pressure with this amount of food in it.
The Instant Pot will alert you when the 5-minute cook time has been completed.
At that point, you’ll want to allow the pressure to release naturally for 5 minutes.
During these 5 minutes, your eggs will still be cooking, so it’s a good idea to set a timer to make sure your eggs don’t overcook.
After the pressure has been released for 5 minutes, carefully turn the pressure release knob to Venting and allow the rest of the pressure to release.

Key to Success #3 – Give Eggs an Ice Bath
After the pressure has been released from the Instant Pot, the eggs need to stop cooking immediately.
The best way to do that is to slip them into an ice bath. To make an ice bath, simply place several ice cubes into a pan of cold water.
Use a pot holder or a towel to remove the steaming hot eggs from the Instant Pot and slide them gently into the ice bath.
This will stop the cooking process very quickly.
After the eggs have cooled down, peel them under running water then refrigerate immediately.
Bonus Tip! How to Center The Yolk in Hard-Boiled Eggs
Don’t you hate it when you make Hard-Boiled Eggs and the yolk sinks down to the bottom and creates a thin spot that is likely to break?
I have a super simple tip for ensuring that the yolk is centered every time.
All you have to do is turn the eggs upside down in the carton at least 30 minutes before cooking.
This will center the yolk in your Hard-Boiled Eggs.
These Instant Pot Perfect Peel Hard-Boiled Eggs would be perfect to make Deviled Eggs!
Click here for the great recipe.
Save the Perfect Peel Hard-Boiled Eggs recipe to your favorite Instant Pot board or your Perfect Eggs board.
Instant Pot Hard-Boiled Eggs
Ingredients
- 14 large eggs, straight from refrigerator
- 1 cup water
Directions
- Place up to 14 eggs in steaming rack in the Instant Pot. Add 1 cup water to inner pot.
- Set Instant Pot to manual pressure cook mode and set timer for 5 minutes. Set pressure release handle to Sealing. After cooking 5 minutes, allow pressure to release naturally for 5 minutes then turn pressure release handle to Venting to release the rest of the pressure.
- Remove eggs from Instant Pot and place in ice bath until cooled completely.
Notes
- Check your instructions on your Instant Pot to make sure you have the required amount of liquids.
- For the 6-qt DUO model that I have, 1 cup of liquid is the minimum. Some larger models require more liquids.
- Placing the boiled eggs in an ice bath helps ensure that they will peel easily.
- To center the yolk inside the egg, turn the uncooked eggs upside down in the egg carton in the refrigerator the night before you're going to cook them.
Equipment
Nutrition Facts
⭐ Leave a comment and rating below — it helps other readers!
👩🍳 Did you make any changes or substitutions?
I’d love to hear how it turned out in your kitchen.
📌 Save this recipe so you can make it again.
📧 Want more easy family dinners like this in your inbox?
Join my free Dinner Idea Box newsletter for simple family dinners every week.
Handpicked Recipe Favorites from My Kitchen, Just for You!
Instant Pot Vegetable Beef Soup
Nutter Butter Chocolate Chip Cookie Bars
Brown Sugar Bacon Wrapped Sausages
Try these other great Instant Pot recipes!
Instant Pot Macaroni and Cheese


you say to put eggs upside down for 30 minutes prior to cooking.
Is that pointy end down or blunt end down? Thanks.
If your eggs are blunt end down in the container then you would turn them pointed end down for 30 minutes. Whichever way they are currently facing, you would just flip them over to let the yolk settle to the middle. I hope that makes sense.
I really liked how you explained this in detail! So often I’m thinking about other things while using the instant pot & I have to reread the recipes. I also like you explained things in advance so I could prepare (ice bath) ahead.
Thank you for the feedback. It’s nice to hear what you found helpful about the recipe and the instructions. I reference the instructions on this website when I’m cooking at home too!