Easy Magic Caramel Pie with Sweetened Condensed Milk
Disclosure: This post may contain affiliate links.If you make a purchase through links on our site, we may earn a commission.
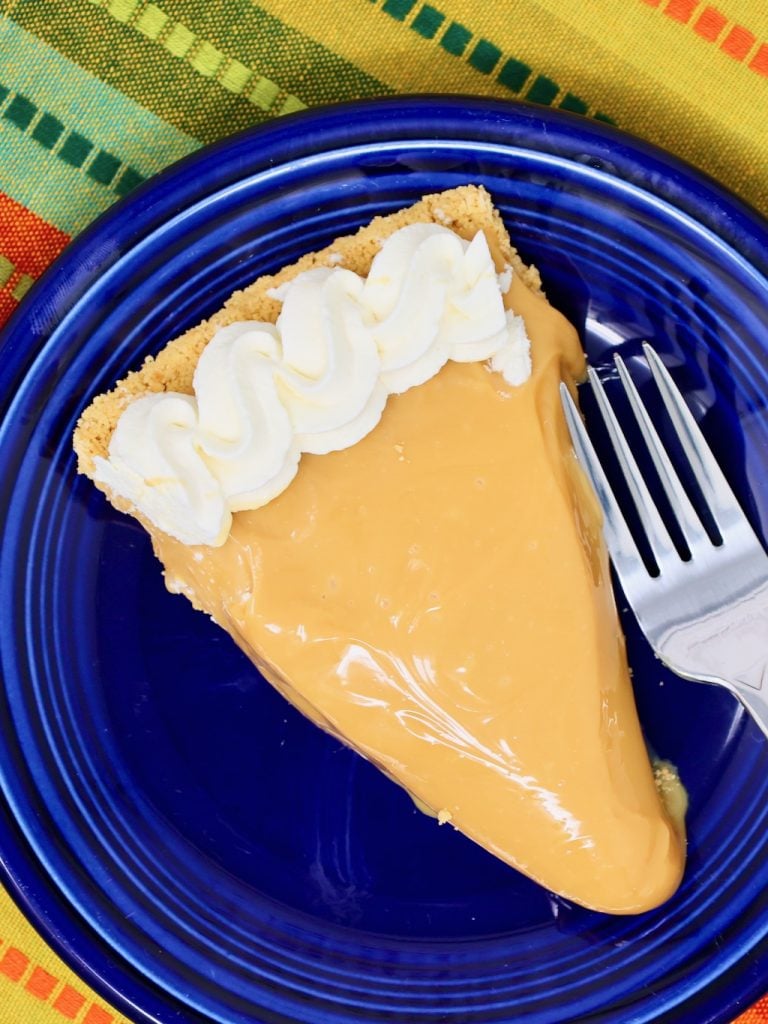
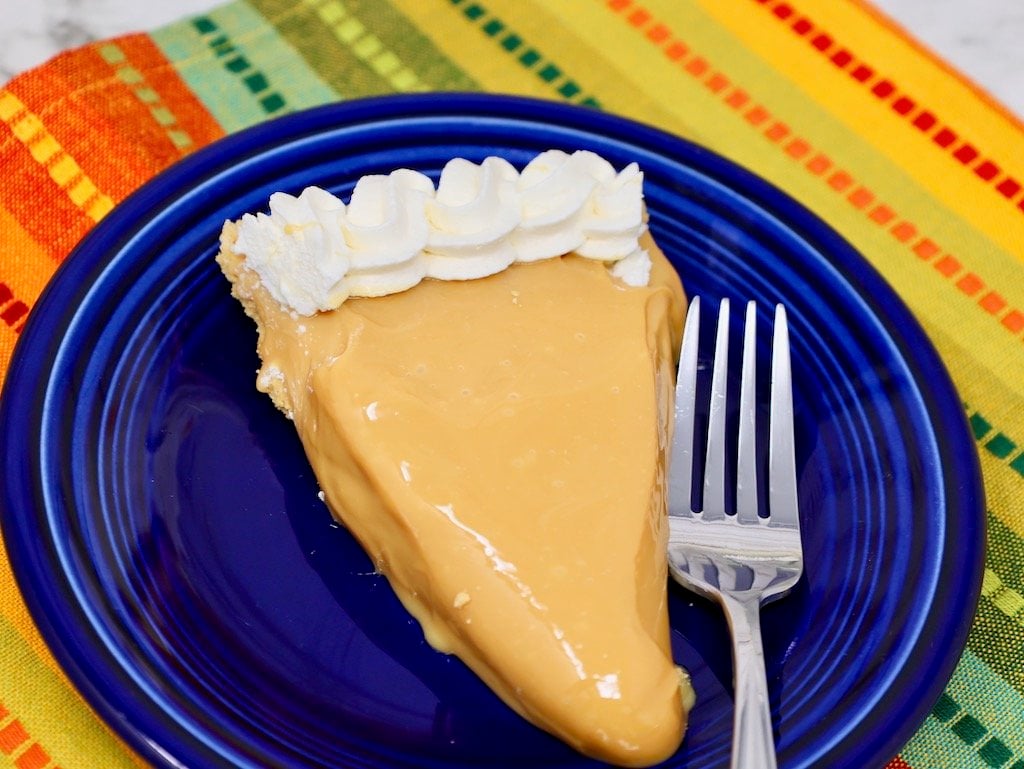
This Easy Magic Caramel Pie with Sweetened Condensed Milk truly feels like a kitchen magic trick. With just a few simple ingredients, including canned sweetened condensed milk and a graham cracker crust, you can create a rich, creamy caramel filling that tastes like it took hours of complicated work.
I’ve made this caramel pie more times than I can count, especially around the holidays and in the spring when I need an easy dessert that still feels special. It reminds me of those old-fashioned pies you see at church potlucks and family gatherings.
If you love simple desserts like my No Bake Butterscotch Pie or Four Layer Delight, this caramel pie will fit right in on your dessert table.
Table of contents
- Why Boiling Sweetened Condensed Milk Turns It Into Caramel
- Why I Love This Recipe
- Ingredients & Easy Substitutions
- How to Make Caramel Pie
- Pro Tips
- Serving Suggestions
- Recipe Variations
- The Perfect Caramel Pie for Easter and Spring Gatherings
- Frequently Asked Questions
- Tips for Safely Boiling Sweetened Condensed Milk
- More Easy Pie and Spring Dessert Recipes You’ll Love
Why Boiling Sweetened Condensed Milk Turns It Into Caramel
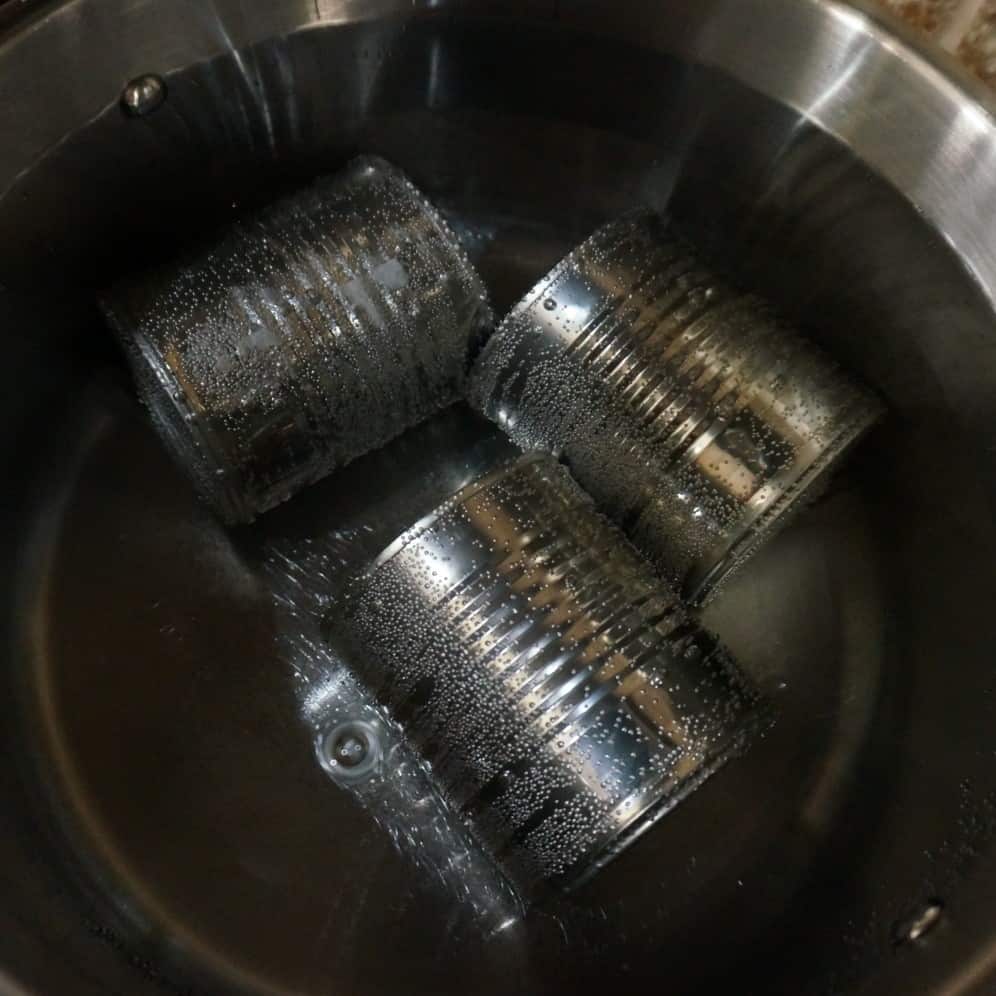
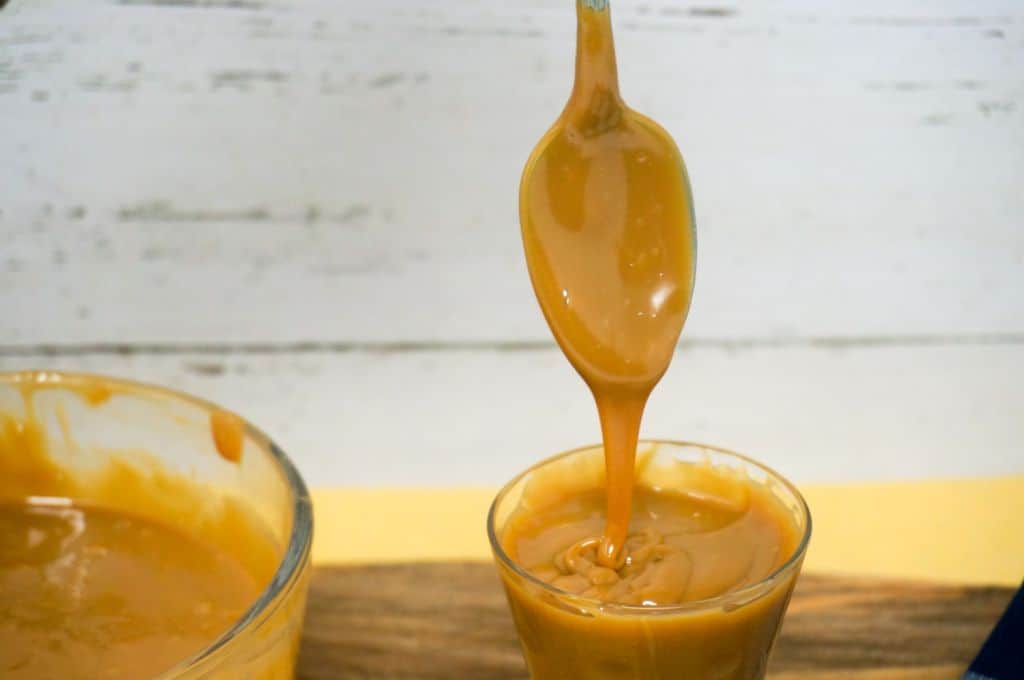
Boiling sweetened condensed milk is what gives this Magic Caramel Pie its rich, smooth caramel flavor. When the unopened cans are submerged in water and heated for several hours, the sugars slowly caramelize and thicken. What starts as creamy white condensed milk transforms into a deep golden caramel that is thick, silky, and perfectly spreadable.
It might sound a little unusual at first, but this method has been around for generations. As long as the cans stay fully covered with water the entire time, it is a safe and reliable way to create homemade caramel without standing over the stove stirring for hours.
The slow cooking process develops that classic caramel taste that makes this pie so special. Once cooled, the caramel is smooth enough to stir easily and pours beautifully into the graham cracker crust.
That transformation is exactly why I call it magic.
Why I Love This Recipe
I adore this recipe because of its sheer simplicity and the jaw-dropping results it yields.
Imagine serving a pie so indulgent, yet so easy to make, that it feels like you’re performing a magic trick every time you reveal it.
It’s also versatile enough to be garnished in numerous ways, letting you add your own personal touch.
Plus, it’s a no-bake recipe, which means I can save precious oven space during busy holiday cooking sprees!
Ingredients & Easy Substitutions
The ingredients for Magic Caramel Pie are straightforward yet effective, each playing a crucial role in the final, magnificent product.
- Graham cracker crust: The foundation of our pie, bringing a delightful crunch that complements the creamy filling.
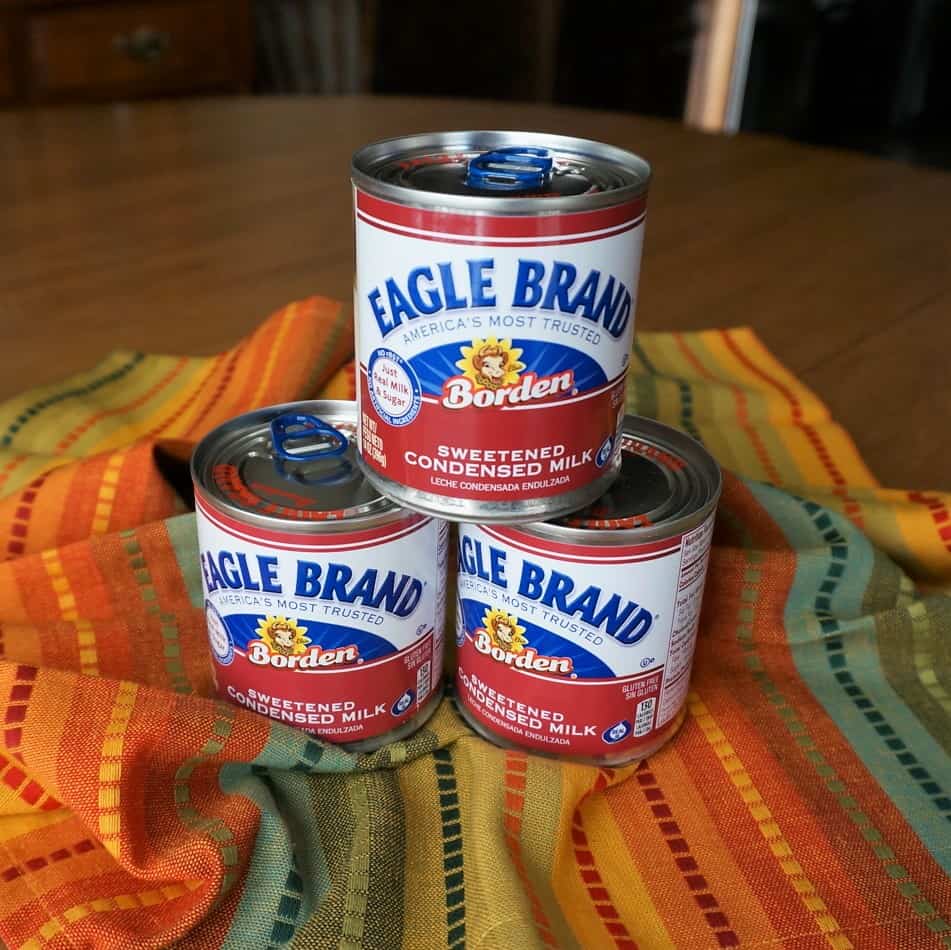
- Sweetened condensed milk: The true star of the show, transforming into that luscious caramel.
- Vanilla extract: Bringing depth and enhancing the caramel flavor.
- Heavy whipping cream and granulated sugar: For that light, fluffy topping, which adds a beautiful contrast to the dense, sweet caramel filling.
You can substitute store-bought whipped cream if you’re pressed for time, or make a homemade crust for added flair.
How to Make Caramel Pie
Creating this pie is as simple as it is magical.
Here’s how:
How to Make Caramel in the Instant Pot
- Place sealed cans of sweetened condensed milk in the inner pot of the Instant Pot.
- Add water to cover 2/3 of the can.
- Set Instant Pot to High Pressure for 35 minutes. Set valve to sealing.
- When finished cooking, quick-release the pressure.
- Allow to cool completely before opening.
How to Make Caramel in the Crock Pot
- Place sealed cans of sweetened condensed milk in the Crock Pot.
- Add water to completely cover the can.
- Cook on low for 8 hours.
- Allow cans to cool completely before opening.

Pro Tips
Here are some tips to help you get the best results:
- Always ensure the cans are fully submerged in water to prevent any mishaps.
- Use a chilled bowl and beaters when whipping the cream for the best texture.
- Allow the caramel to cool fully before opening to avoid any burns or splatters.
Serving Suggestions
Magic Caramel Pie pairs beautifully with a hot cup of coffee or a dollop of extra whipped cream.
For a festive touch, sprinkle some shaved chocolate or a drizzle of caramel sauce on top.
It also works well alongside a serving of fresh berries, providing a refreshing contrast to the pie’s sweetness.
Recipe Variations
Feel free to experiment with this recipe to suit your taste:
- Chocolate Caramel Pie: Add a layer of melted chocolate ganache on top of the caramel filling before refrigerating.
- Nutty Caramel Pie: Sprinkle chopped pecans or walnuts over the caramel filling for added crunch.
- Coconut Caramel Pie: Mix some desiccated coconut into the caramel filling for a tropical twist.
The Perfect Caramel Pie for Easter and Spring Gatherings
This easy caramel pie is one of my favorite desserts to bring to Easter dinner, church potlucks, and spring celebrations. It feels special and nostalgic, but it’s surprisingly simple to make ahead of time.
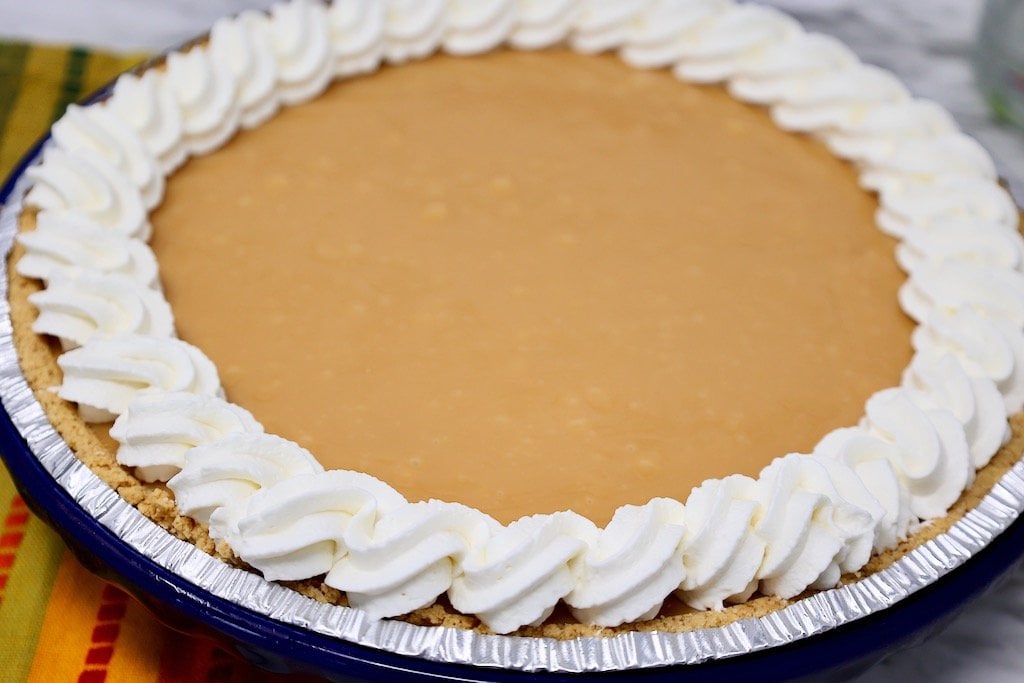
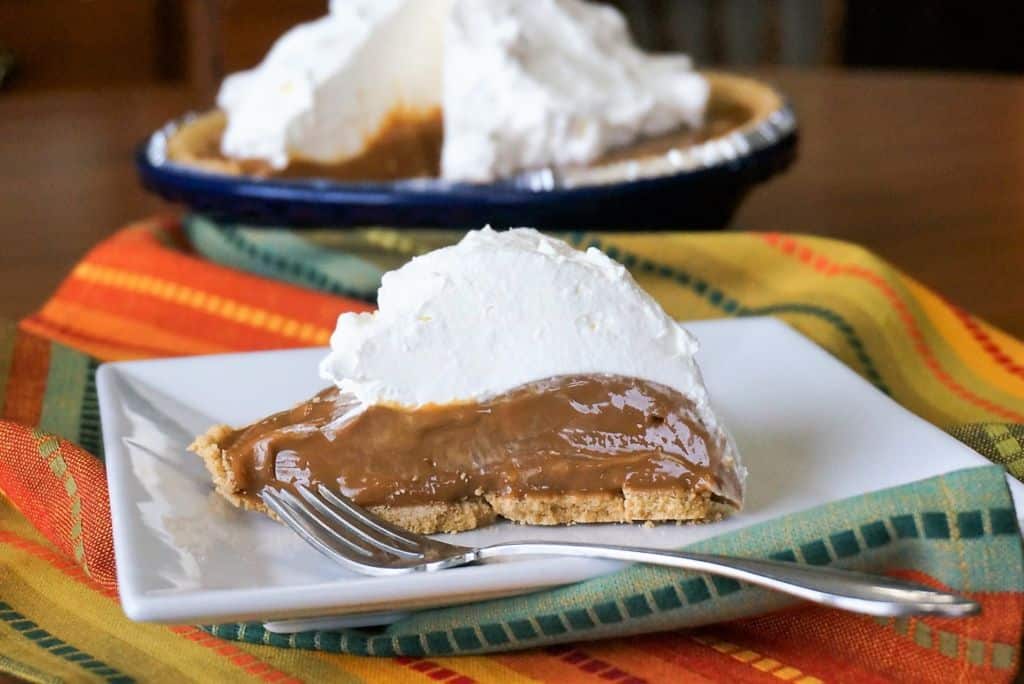
The creamy caramel filling paired with fresh whipped cream makes it a beautiful addition to any dessert table without adding stress to your day.
Frequently Asked Questions
No, evaporated milk will not work in this recipe as it lacks the sugar content necessary for creating the caramel filling. Sweetened condensed milk is essential for achieving the right consistency and sweetness.
Yes, it is safe as long as the cans remain fully submerged in water throughout the boiling process. Make sure to monitor the water level and add more water if needed to keep the cans covered at all times.
You can prepare the pie up to two days in advance. Store it covered in the refrigerator, and add the whipped cream topping just before serving for the best texture and appearance.
If the caramel is too thick, gently warm it in a microwave-safe bowl for a few seconds or until it’s spreadable. If it’s too runny, it may need more time to chill and set in the refrigerator.
Yes, you can substitute the graham cracker crust with a gluten-free cookie crust available in most grocery stores. Ensure that other ingredients you use are also certified gluten-free.
Yes, you can make the caramel filling in a slow cooker or an Instant Pot, which can be more convenient. Follow specific recipes for these methods to ensure proper cooking times and results.
Tips for Safely Boiling Sweetened Condensed Milk
Boiling sweetened condensed milk to make caramel is simple, but there are a few important safety tips to keep in mind. As long as you follow these steps, this method is reliable and has been used for generations.
Keep the cans fully submerged in water at all times.
The water level should stay at least 2 to 3 inches above the tops of the cans during the entire cooking time. Check the pot occasionally and add more hot water as needed. This prevents the cans from overheating.
Do not open the cans while they are hot.
After boiling for 3 hours, carefully remove the cans and let them cool completely on the counter before opening. Opening a hot can can cause pressure release and splattering.
Use a large, deep pot.
Make sure the pot is large enough so the cans are not crowded and have plenty of room for water to circulate around them.
Never let the pot boil dry.
If the water level drops too low, the cans could overheat. Setting a timer to check the water every 30 to 45 minutes is a helpful habit.
Allow the caramel to cool before stirring.
Once the cans are cool to the touch, open them carefully and stir until smooth. The caramel will be thick and beautifully golden.
When handled properly, this method transforms simple sweetened condensed milk into rich, creamy caramel that makes this pie truly magical.
Magic Caramel Pie: Easy Recipe With Condensed Milk
Ingredients
- 1 9-inch graham cracker crust
- 3 cans (14 oz each) sweetened condensed milk
- 2 tsp vanilla extract
For topping:
- 1 cup heavy whipping cream
- 2 Tbsp granulated sugar
Directions
- Remove labels from cans of sweetened condensed milk. Place cans unopened into a large and deep pot of water. Make sure there is enough to water to cover the cans with at least 2-3 inches of water.
- Bring pot of water with the cans inside to a boil. Boil for 3 hours. While cans are boiling, add water as needed to ensure the cans are always fully covered with water. This will prevent cans from bursting or leaking.
- After 3 hours, carefully remove cans from pot and allow them to cool on the counter top for 1 hour or more until they have cooled to room temperature.
- Carefully open cans and use spatula to scrape caramel into a large bowl. Stir in vanilla extract and continue stirring until mixture is smooth and creamy, about 2 minutes.
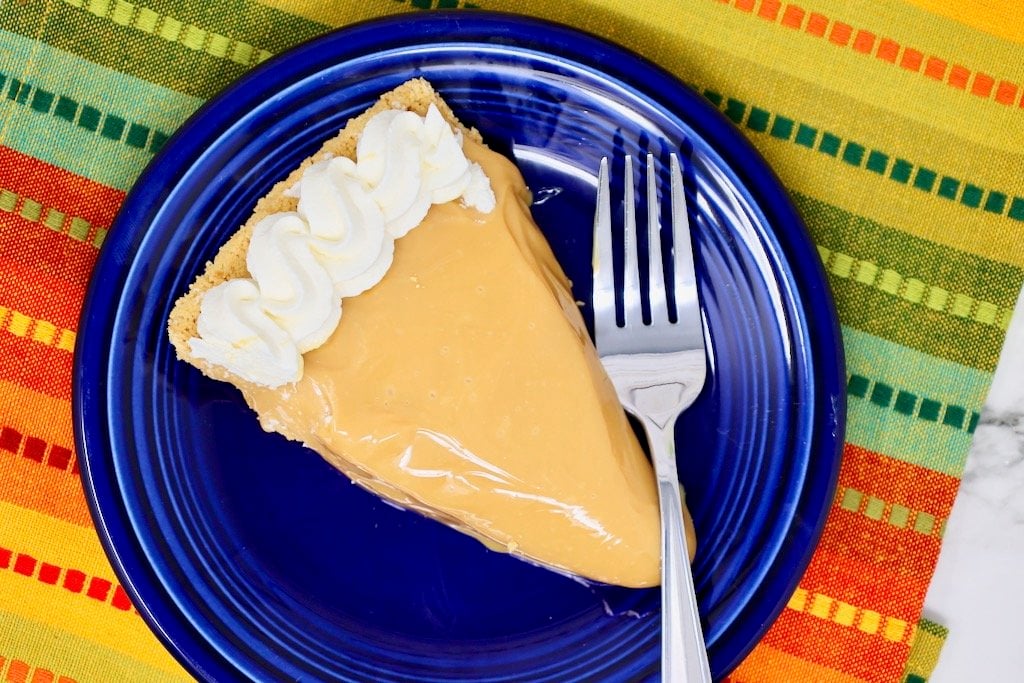
- Pour caramel pie filling into graham cracker crust. Refrigerate until firm.
- Chill small mixing bowl and beaters then beat heavy cream along with sugar until cream forms a stiff peak. Spread fresh whipped cream on top of the pie or use a piping tip to decorate the pie with whipped cream.
Notes
- Place sealed cans of sweetened condensed milk in the inner pot of the Instant Pot.
- Add water to cover 2/3 of the can.
- Set Instant Pot to High Pressure for 35 minutes. Set valve to sealing.
- When finished cooking, quick-release the pressure.
- Allow to cool completely before opening.
To make Caramel Filling in Crock Pot:
- Place sealed cans of sweetened condensed milk in the Crock Pot.
- Add water to completely cover the can.
- Cook on low for 8 hours.
- Allow cans to cool completely before opening.
- If desired, you can top the pie with Cool Whip or commercially prepared whipped cream instead of homemade whipped cream.
- You can make a homemade pie crust with freshly crushed graham cracker crumbs. Crush 12 full-sized graham crackers using a rolling pin or food processor then stir in 6 tablespoons of melted butter and 1/4 cup sugar. Press into the bottom and up the sides of a 9-inch pie plate. Bake at 350 degrees F for 10 minutes until golden brown.
Equipment
Nutrition Facts
⭐ Leave a comment and rating below — it helps other readers!
👩🍳 Did you make any changes or substitutions?
I’d love to hear how it turned out in your kitchen.
📌 Save this recipe so you can make it again.
📧 Want more easy family dinners like this in your inbox?
Join my free Dinner Idea Box newsletter for simple family dinners every week.
More Easy Pie and Spring Dessert Recipes You’ll Love
If you love simple, crowd-pleasing desserts like this Magic Caramel Pie, here are a few more of my favorite easy pie recipes and spring treats that are perfect for holidays, potlucks, and family gatherings.


I made this last night. Went by the recipe. Carmel was perfect after 3 hours. I put pie in frig overnight to set. I checked this morning and the pie didn’t set. Any idea why this happened?
The only thing I can thinks of is maybe it just needed a little more time in the boiling water. I always set a timer for 3 hours and the caramel sets up well in the pie crust.
Hi,
Thank you for the recipe, it looks very good. Can you make this in advance? How long will it keep in the refrigerator? I’m planning to make this for Thanksgiving, but I would like to know how far in advance I can make it.
Thank you!
You can easily make this recipe a day or even two days in advance. Just keep it covered and in the refrigerator until you are ready to serve it.
This is one of my family’s favorite recipes for thanksgiving, we call it tin can pie, and my mom has made it for years. It’s so delicious! ?