Butterscotch Hard Candy
Disclosure: This post may contain affiliate links.If you make a purchase through links on our site, we may earn a commission.
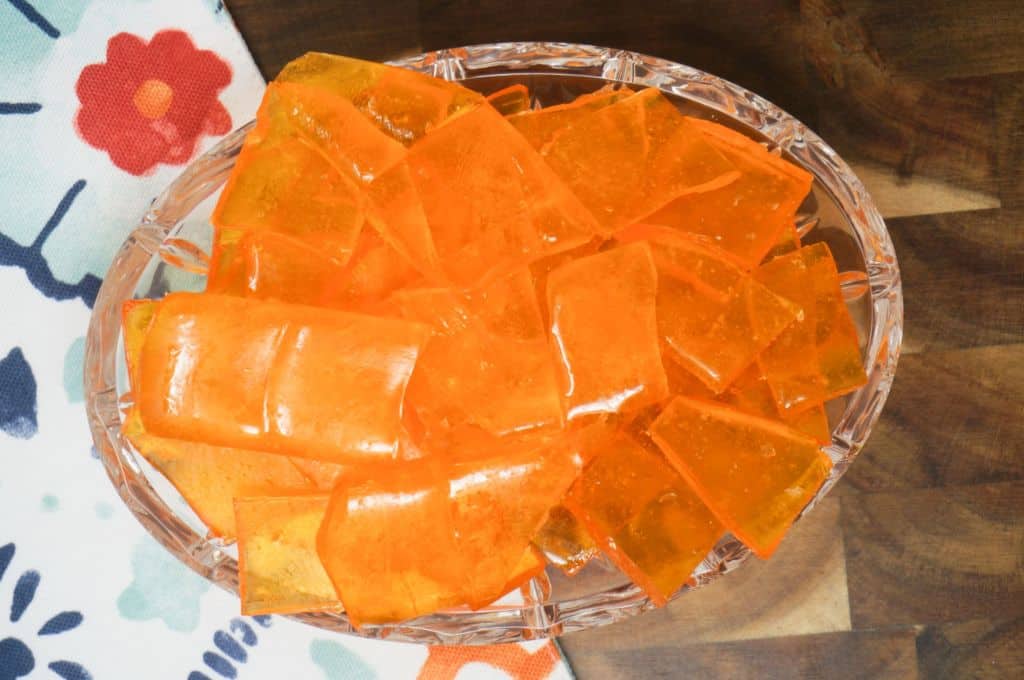
Old Fashioned Butterscotch Hard Candy is just like those butterscotch flavored hard candies that you used to find in your granny’s candy dish. I’m sharing the full recipe and keys to success so that you can make this candy at home.
Butterscotch candies remind me of the simpler days when homemade sweets were a staple.
This recipe is not only a nostalgic favorite but also shares a special place in my heart alongside other homemade classics like caramel slice, chocolate covered marshmallows, and honeycomb toffee.
Each of these sweets has a rich history and unique flavor, making them perfect for gift-giving or simply indulging in a bit of nostalgia.
Table of contents
Why I Love This Recipe
I absolutely adore this Old-Fashioned Butterscotch Hard Candy recipe because it’s both simple and rewarding.
There’s something magical about watching sugar transform into golden, glassy gems.
Plus, the taste is unparalleled—rich, buttery, with just the right amount of sweetness.
Making this candy is not just about creating a delicious treat but also about the joy and satisfaction of crafting something from scratch.
Ingredients & Substitutions
Here’s a quick rundown of the ingredients and why they’re essential:
- Granulated Sugar: The backbone of any candy, providing structure and sweetness.
- Light Corn Syrup: Helps prevent the sugar from crystallizing, ensuring a smooth texture. Feel free to substitute corn syrup with golden syrup or homemade sugar syrup.
- Butterscotch Extract: The star of the show, gives the candy its distinctive flavor.
- Orange Food Coloring: Optional, but it provides that classic butterscotch hue.

How to Make Old-Fashioned Butterscotch Hard Candy
Starting is easy and you’ll love the process:
Troubleshooting Common Candy-Making Issues
Even the most experienced candy makers run into occasional hiccups, but don’t let that discourage you!
Here’s how to troubleshoot some common issues you might encounter:
- Candy Not Setting Properly: This is often due to not reaching the hard crack stage. Ensure your candy thermometer is calibrated correctly, or perform the cold water test to double-check.
- Grainy Texture: Sugar crystals can cause a grainy texture. To prevent this, make sure all sugar is fully dissolved before bringing the mixture to a boil. You can also brush down the sides of the pot with a wet pastry brush to dissolve any crystals that may form.
- Sticky Candy: If your candy turns out sticky, it might be due to high humidity or improper storage. Store candies in a cool, dry place and ensure they are in an airtight container.
Variations and Customizations
Making butterscotch hard candy is just the beginning.
There are endless possibilities for variations and customizations to suit your taste or occasion:
- Flavor Alternatives: Swap butterscotch extract for other flavors like vanilla, peppermint, or almond. You can even mix in a few drops of essential oils for an extra twist.
- Color Customizations: Feel free to use any food coloring to match the theme of your event or holiday. Red and green for Christmas, pastel colors for Easter, or even your favorite team’s colors.
- Add-Ins: Consider adding chopped nuts, crushed candy canes, or sprinkles to the cooling syrup for added texture and flavor.
Safety Tips
Candy making involves high temperatures and molten sugar, so it’s crucial to follow some safety precautions to avoid burns and injuries:
- Use Protective Gear: Always use oven mitts or heat-resistant gloves when handling hot pots or pouring syrup.
- Keep a Safe Distance: Molten sugar can splatter, so keep your face and exposed skin away from the pot while stirring or pouring.
- Work on a Stable Surface: Ensure your workspace is sturdy and clear of clutter to prevent accidental spills or bumps.
Keys to Success
1. Use Concentrated Butterscotch Extract
For the best butterscotch flavor, I highly recommend using Lorann Super Strength Butterscotch Extract.
You can easily find this at your local craft store or on Amazon.
To get that rich, deep taste, I use a full 5 teaspoons of the extract in this recipe.
2. Use a Good Candy Thermometer
Using a candy thermometer is crucial to ensure your mixture reaches the correct temperature of 310 degrees F.
Opt for a thermometer with a pot clip that prevents the bulb from touching the bottom, like the one I use, which is great for both candy and frying.
Once the candy reaches the right temperature, remove the pot from the heat and add gel food coloring to avoid watering down your candy.
You only need a few drops to achieve your desired shade.
For this recipe, we used four drops of orange and two drops of yellow from the Americolor food coloring kit, which offers a great variety of colors for different baking and candy projects.
3. Cut the Candy While It’s Hot
After mixing in the food coloring and flavoring extract, pour the hot candy mixture onto two buttered rimmed baking sheets.
Ensure the pans are thoroughly buttered, covering the bottom and sides to prevent sticking and enhance flavor.
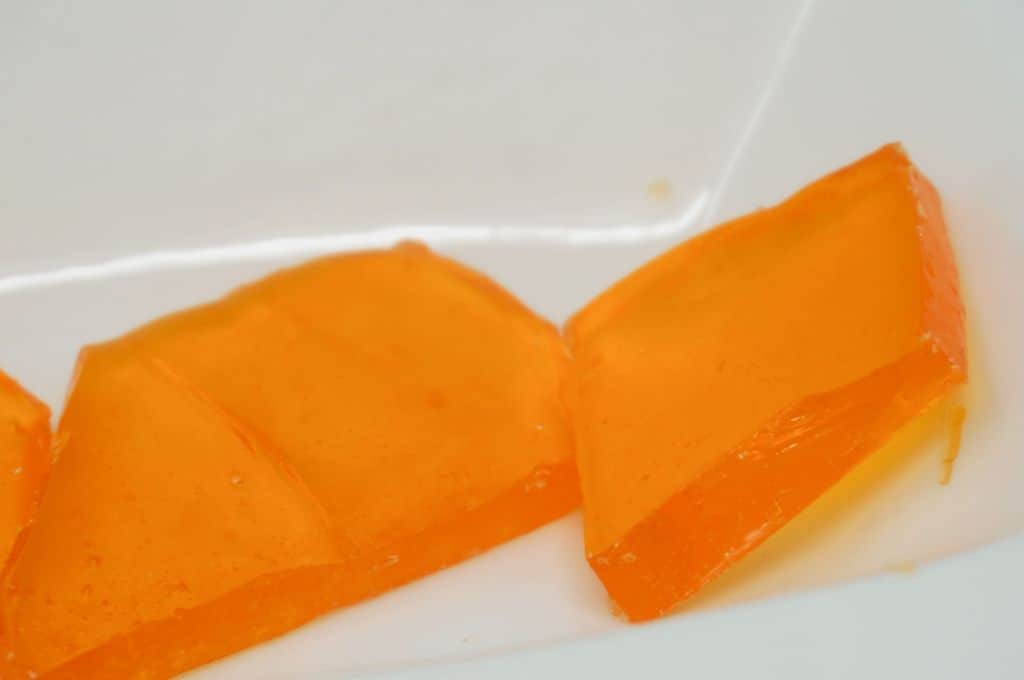
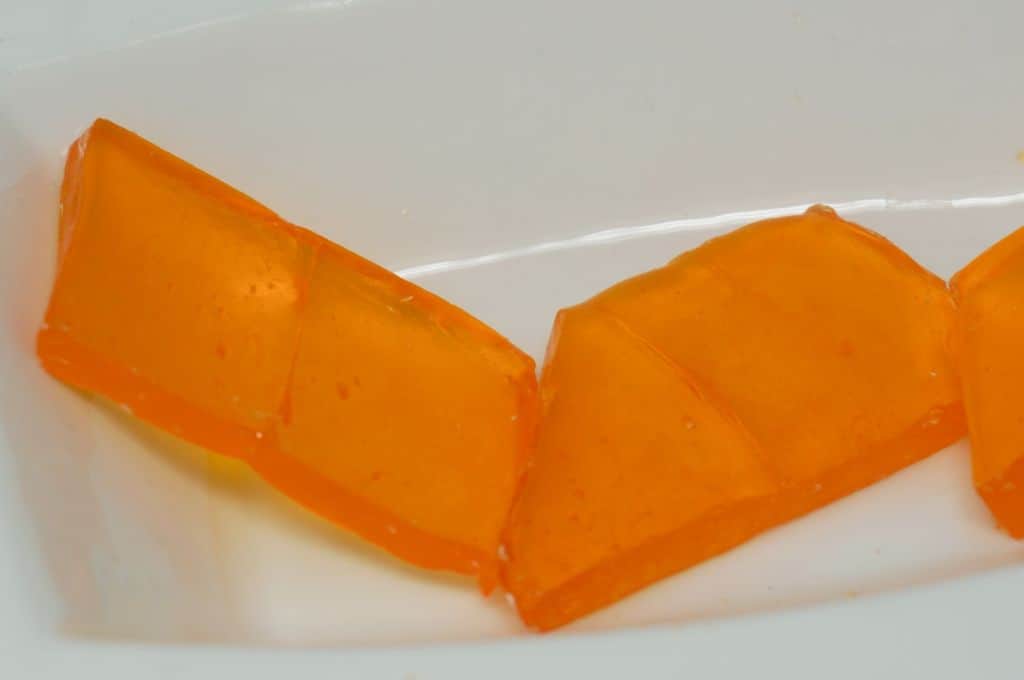
Immediately use a greased pizza wheel to score 1-inch squares into the hot candy.
If the candy is too hot to hold the scores initially, go over the lines a few times until they become visible.
Let the candy cool for about an hour before breaking it into pieces along the score lines.
Handpicked Recipe Favorites from My Kitchen, Just for You!


Frequently Asked Questions
Absolutely! Feel free to experiment with different extracts to tantalize your taste buds. Vanilla, maple, or even peppermint could create delightful variations. We also have an amazing Hot Cinnamon Hard Candy recipe that you might love.
While it’s highly recommended for accuracy, especially to reach the hard crack stage, you can perform a cold water test. Drop a bit of the hot syrup in cold water; if it hardens into threads that break easily, it’s ready!
Not at all! The food coloring is optional and purely for an appealing visual. You can skip it or choose any color you fancy.
You can substitute it with golden syrup or even make your own sugar syrup by dissolving sugar in water, though it might slightly alter the taste and texture.
Store your candies in an airtight container at room temperature. They’ll stay fresh and crunchy for weeks, assuming they last that long!
Yes, non-stick spray works just as well and can be a convenient alternative to butter.

Butterscotch Hard Candy
Ingredients
- 2 ⅔ cups granulated sugar
- 4 cups light corn syrup
- 5 tsp butterscotch extract
- orange food coloring
- butter, to grease pans
Directions
- Butter two rimmed baking sheets well. Set aside.
- Combine sugar and corn syrup in large pot. Heat on high until the mixture comes to a boil then cover and boil for 3 minutes.
- Remove cover and reduce heat to medium-high. Continue cooking and stirring frequently until mixture reaches hard crack stage, 300-310 degrees F on a candy thermometer.
- Once thermometer reaches 310 degrees F, remove pot from heat and add food coloring. Stir well.
- Allow the sugar mixture to cool a moment then add butterscotch extract. (Be careful! The steam can be intense.) Stir very well.
- Continue stirring and pour butterscotch candy mixture into two prepared pans. Use buttered pizza wheel to cut score lines into candy. Allow to cool 30 – 60 minutes before breaking into pieces along score lines.
Equipment
Nutrition Facts
⭐ Leave a comment and rating below — it helps other readers!
👩🍳 Did you make any changes or substitutions?
I’d love to hear how it turned out in your kitchen.
📌 Save this recipe so you can make it again.
📧 Want more easy family dinners like this in your inbox?
Join my free Dinner Idea Box newsletter for simple family dinners every week.


Is there a way to make these hard candies into a specific shape like a feather or a sea shell?
@Kela, Yes! You can use any of the candy molds with this Butterscotch Hard Candy recipe. You can find the molds at your local craft store or on Amazon.
Here’s a link to one example – https://amzn.to/37mNnJO
Instead of pouring the candy mixture out into a sheet pan, you would spoon or pour it into the candy molds. You could also do the molds where you add the lollipop sticks if you wanted to make butterscotch lollipops.