No-Bake Hawaiian Dream Cups
Disclosure: This post may contain affiliate links.If you make a purchase through links on our site, we may earn a commission.
No-Bake Hawaiian Dream Cups are a deliciously flavorful pineapple coconut dessert that is perfect to make ahead for your next family dinner. You’ll be delighted by the flavors and textures in every single layer.
I’ve made these No-Bake Hawaiian Dream Cups countless times, and they always disappear in no time!
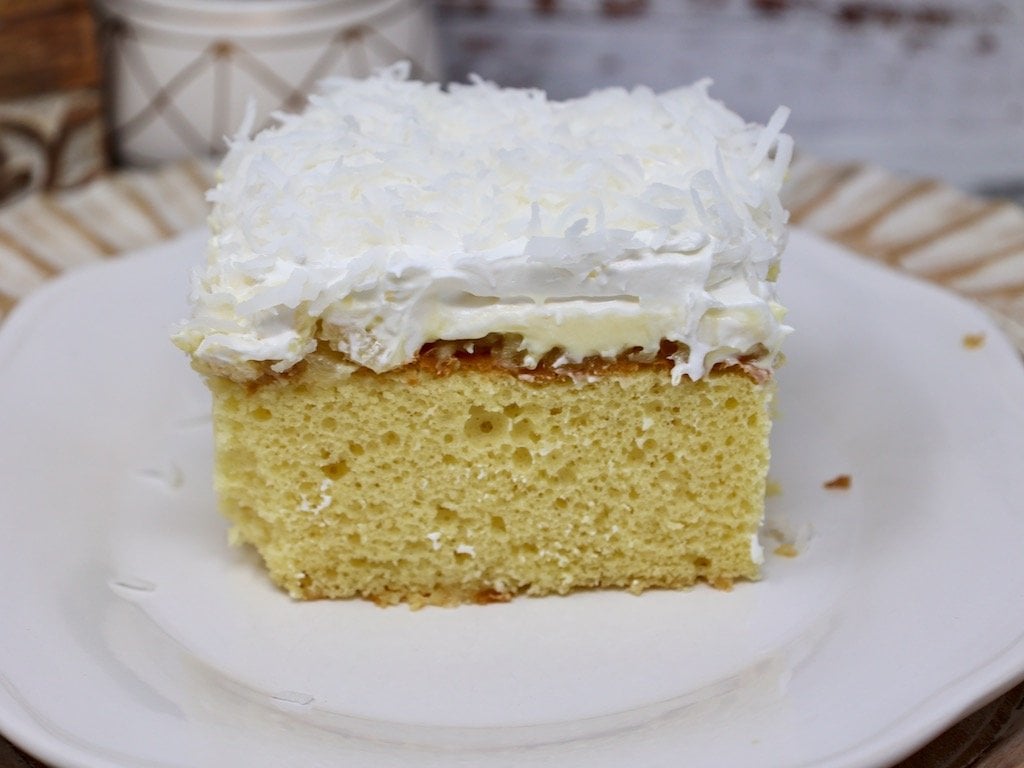
They have become a staple at my summer parties along with other crowd-pleasers like Coconut Ice Cream and Pineapple Upside Down Cake.
If you love tropical flavors as much as I do, you’ll definitely want to check those out too.
Table of contents
- Why I Love This Recipe
- Ingredients & Substitutions
- How to Make No-Bake Hawaiian Dream Cups
- Key to Success #1 – Pick The Right Cup
- Key to Success #2 – Evenly Layer the Ingredients Into Cups
- Key to Success #3 – Top It Off in Style
- Serving Suggestions
- Recipe Variations
- Handpicked Recipe Favorites From My Kitchen, Just For You!
- Frequently Asked Questions

Why I Love This Recipe
What I love most about this recipe is how easy it is to make and the incredible layers of flavor and texture in every bite.
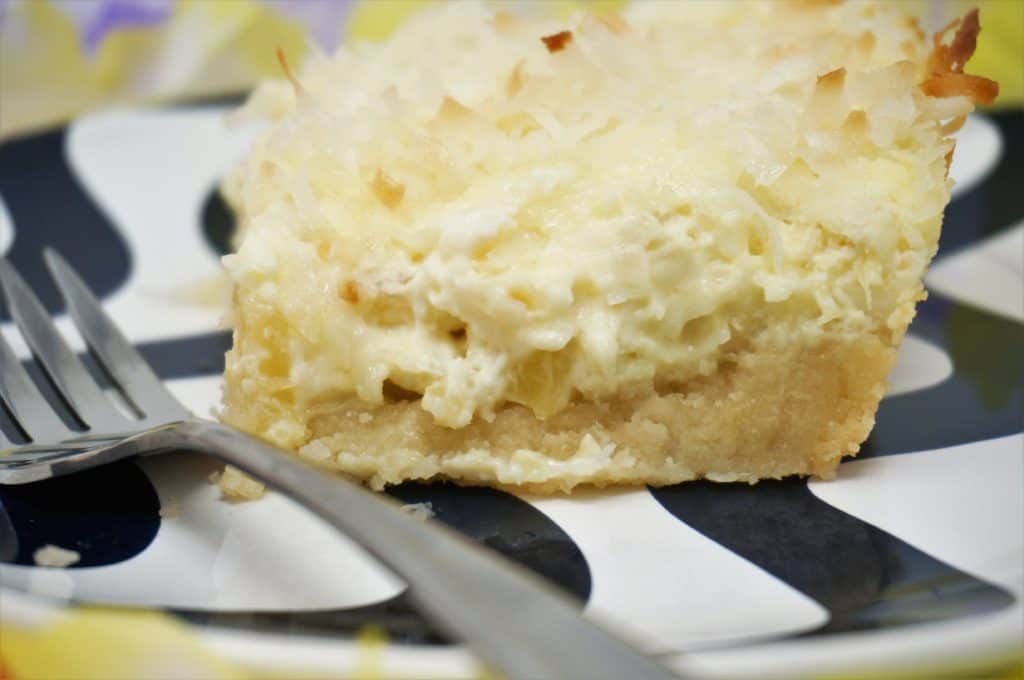
The graham cracker and macadamia nut crust is crunchy and slightly sweet, the cream cheese layer is rich and creamy, and the coconut pudding adds a luscious smoothness.
The crushed pineapple gives a burst of fruity freshness, while the Cool Whip and toasted coconut topping add the perfect finishing touch.
Plus, there’s no need to turn on the oven, making this an ideal dessert for hot summer days.
Ingredients & Substitutions
The No-Bake Hawaiian Dream Cups use simple ingredients that come together beautifully.
Here’s why I include each one and some potential substitutions you might consider:
- Graham crackers and macadamia nuts: These form a deliciously crunchy and flavorful base for the cups.
- Granulated sugar and salt: Essential for adding sweetness and balancing the flavors.
- Butter: Helps bind the crust ingredients together firmly.
- Cream cheese, pineapple juice, and heavy cream: Create a smooth and tangy layer that complements the tropical theme.
- Sweetened flaked coconut: Adds texture and flavor to multiple layers.
- Instant coconut cream pudding mix: Ensures a creamy consistency; you can substitute with vanilla pudding mix and coconut extract if needed.
- Milk: Acts as a base for the pudding.
- Crushed pineapple: Provides a fresh, fruity layer that bursts with flavor.
- Cool Whip and Reddi Whip: For a light and fluffy topping.
- Toasted sweetened flaked coconut and chopped macadamia nuts: Add a delightful crunch and nutty flavor to the finishing touch.
How to Make No-Bake Hawaiian Dream Cups
Making these delicious cups is straightforward and fun.
Let me walk you through the steps:
- Prepare the crust: Process the graham crackers, macadamia nuts, sugar, and salt into fine crumbs. Mix with melted butter and press into the bottom of serving cups.
- Prepare the pudding layer: Mix the instant coconut cream pudding mix with cold milk until thickened, then let it set in the refrigerator.
- Make the cream cheese layer: Combine cream cheese, sugar, pineapple juice, and heavy cream until smooth, then fold in flaked coconut. Spread this mixture over the crust in each cup.
- Assemble the layers: Sprinkle a bit of flaked coconut over the cream cheese layer, spoon the pudding over it, then add a layer of crushed pineapple.
- Top with whipped cream: Add a layer of Cool Whip, and when ready to serve, garnish with Reddi Whip, toasted coconut, and chopped macadamia nuts.
Key to Success #1 – Pick The Right Cup
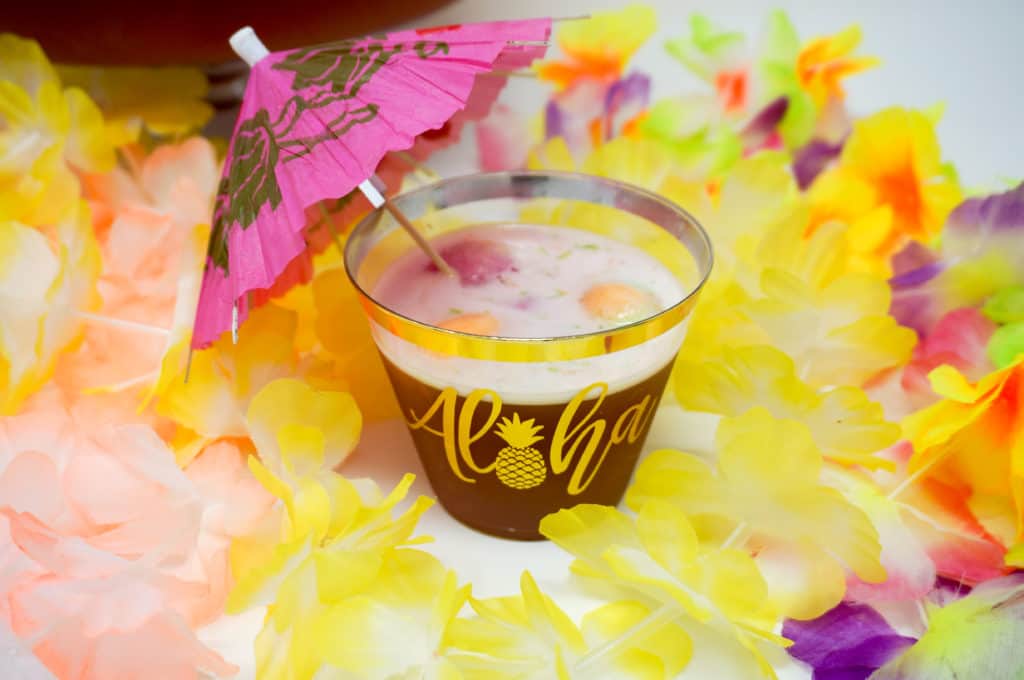
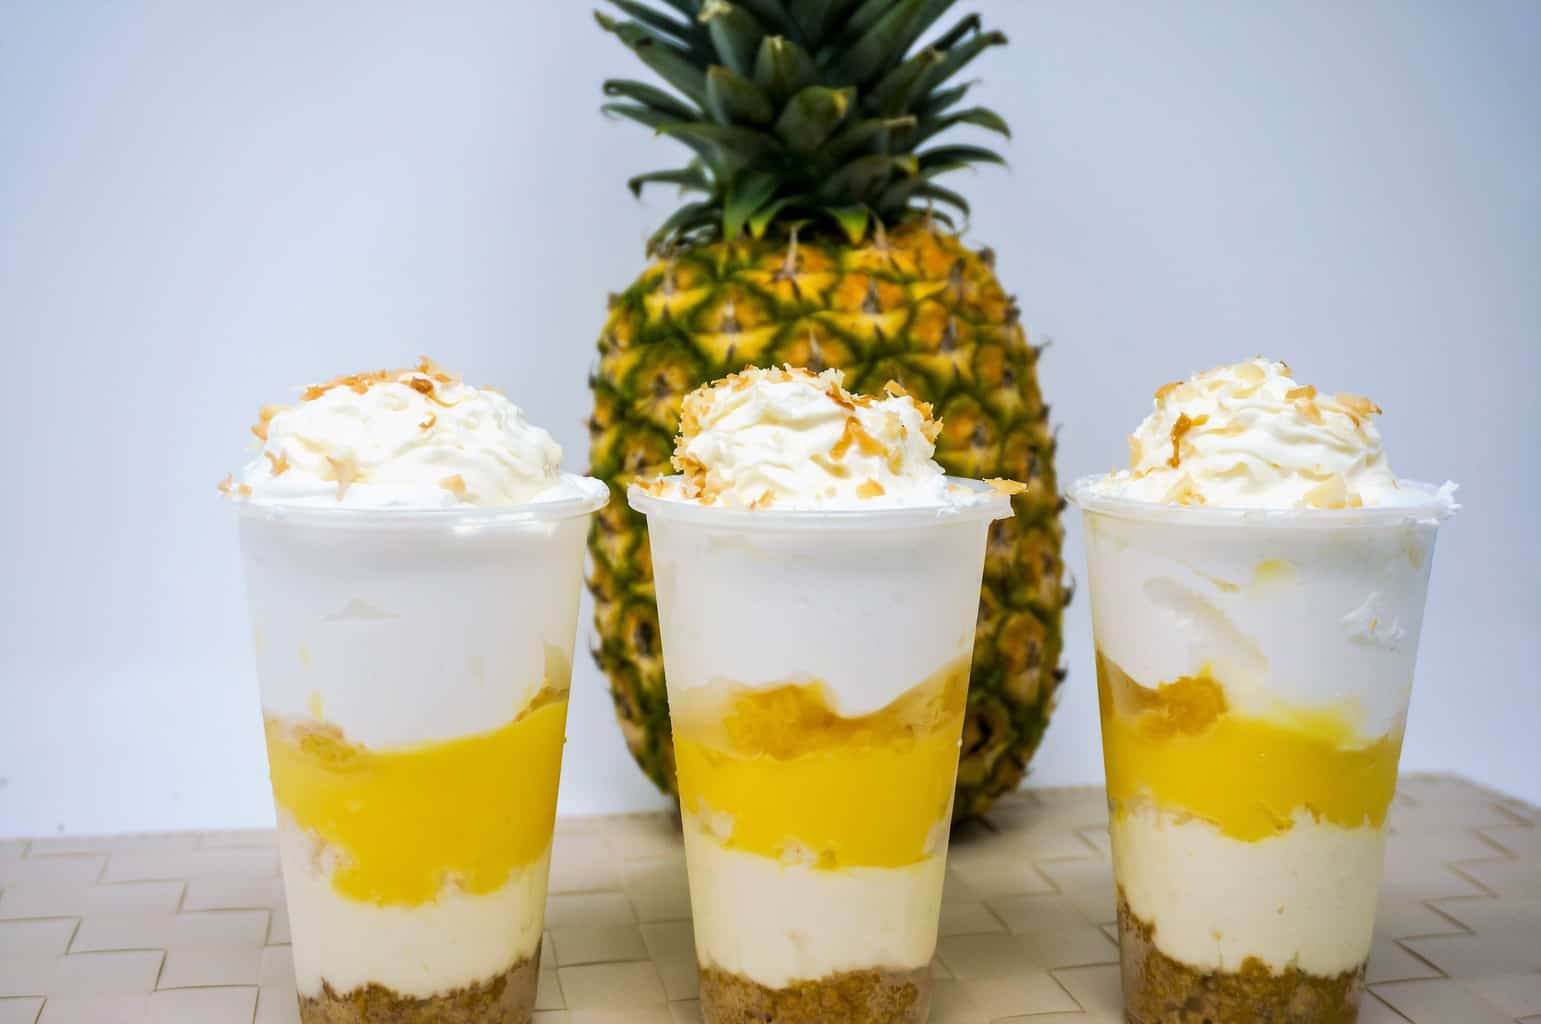
You’ll want to look for a 9-ounce clear plastic cup that is short and squatty in nature.
The short and wide cups are much easier to spoon your ingredients into as well as easier to spoon your dessert out of.
These days, they have all sorts of fancy cups with gold or silver rims that will add a fancy touch to your dessert.
You can also find some cups with cute designs on the sides if you’d prefer.
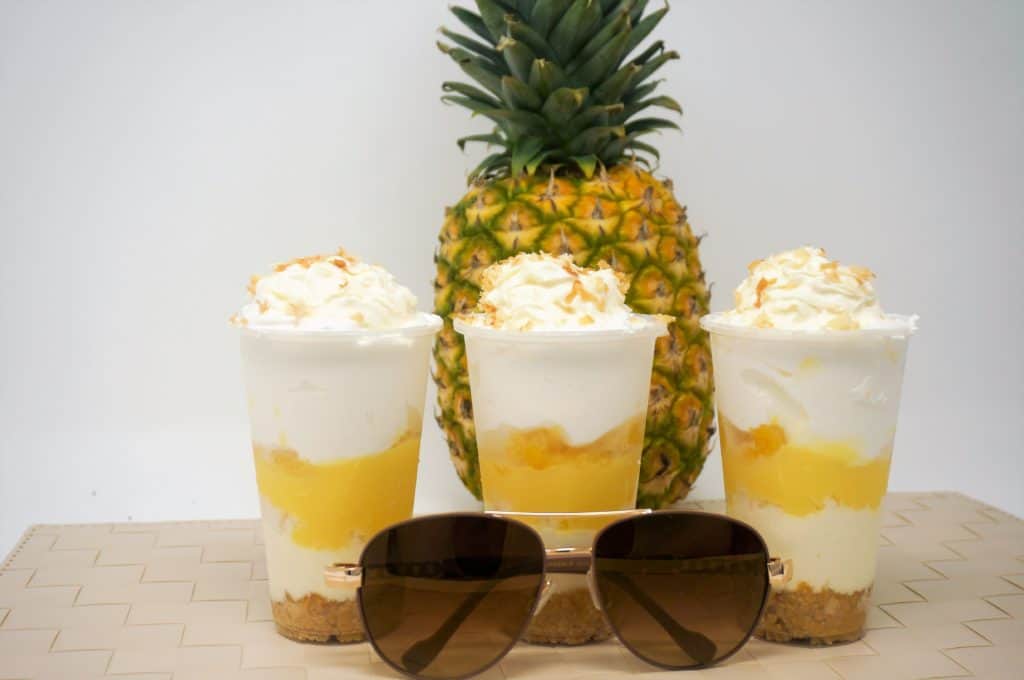
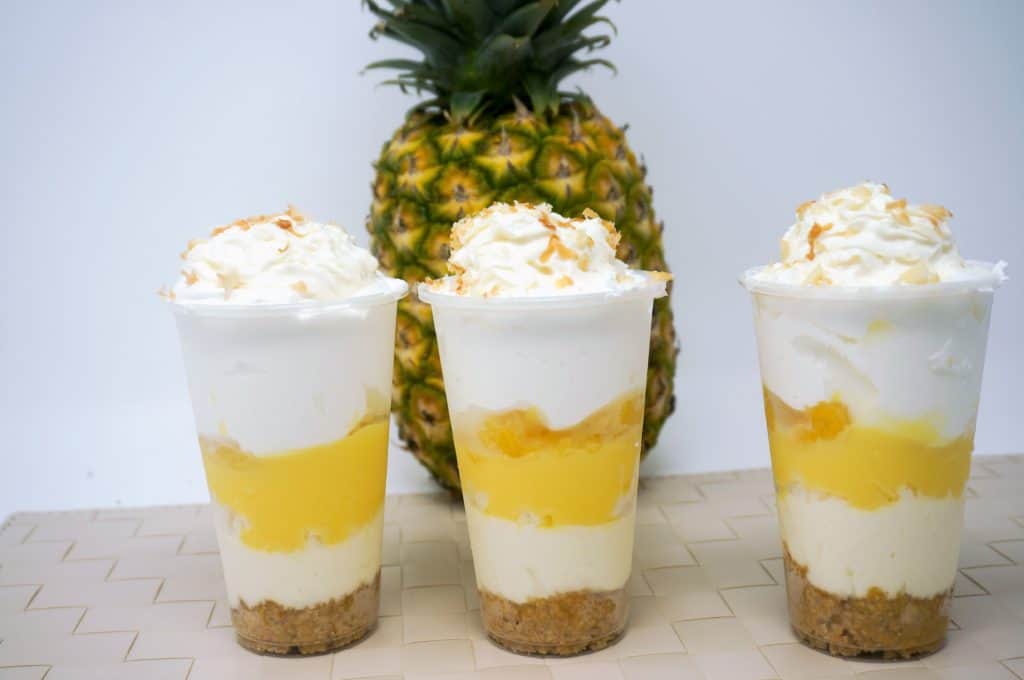
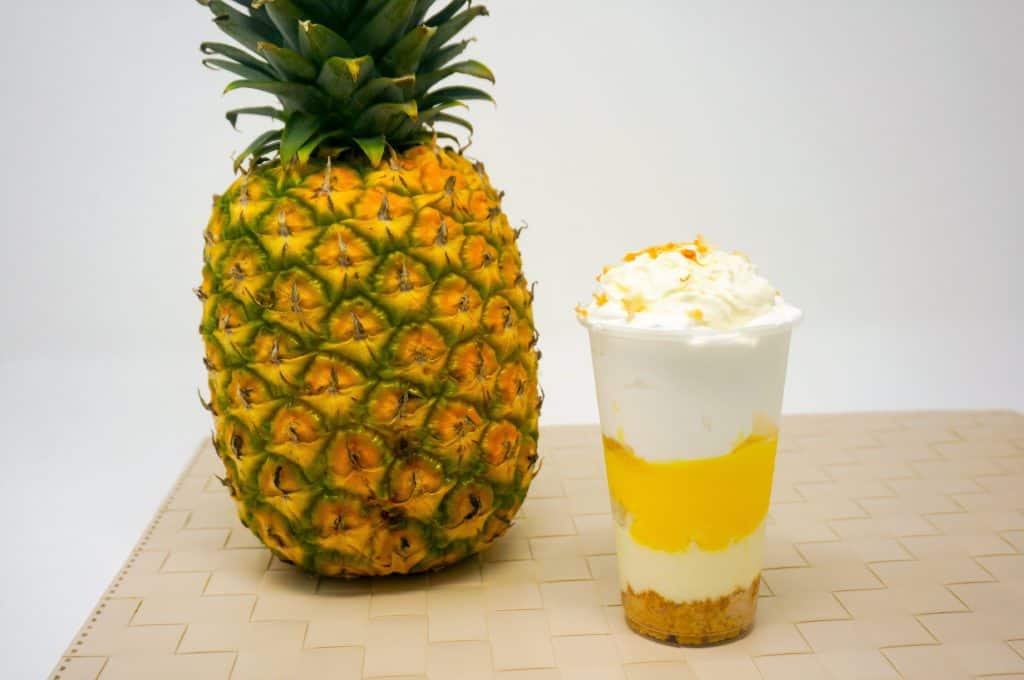
You can see from the pictures that I used taller cups, and they will definitely work in a pinch but they make it much harder to get multiple layers into a single bite.
I love how you can pile the topping high like a real regal Hawaiian dessert.
This dessert is great when made in a 9X13-inch baking dish as well.
Key to Success #2 – Evenly Layer the Ingredients Into Cups
If you’re having a hard time getting the layers into the cups evenly, I have some nifty tips for you!
For the cream cheese layer – You can spoon the cream cheese layer into a zip-top plastic baggie then snip the end and pipe it into each cup.
For the coconut pudding layer – You can use the plastic baggie trick for this layer as well. Take your time and it’s pretty easy to get a smooth layer.
For the crust – After you spoon the crust into each cup, you can use an extra plastic cup to press the crust into the bottom of each cup.
This will create a nice even layer for the crust.

Key to Success #3 – Top It Off in Style
When it’s time to serve your dessert, add a big dollop of Reddi Whip to each cup then sprinkle the top with toasted coconut and chopped macadamia nuts.
For the toasted coconut, preheat your oven to 325 degrees F and line a large rimmed baking sheet with parchment paper or foil.
Sprinkle the sweetened flaked coconut onto the covered baking sheet and bake for 3 minutes.
After 3 minutes, open the oven door and stir the coconut around a bit.
Bake until coconut is golden brown, about 3-4 minutes more.
Be sure to stir often!
The coconut and macadamia nuts add a really nice texture and a beautiful presentation on the top of this dessert.
Don’t skip it!
Serving Suggestions
These No-Bake Hawaiian Dream Cups are perfect for any occasion, from casual picnics to elegant dinner parties.
You can pair them with a glass of tropical punch or a coconut rum cocktail for an extra-special experience.
They also make a great addition to dessert tables at weddings or showers.
Recipe Variations
- Tropical fruit medley: Swap out the pineapple for a mix of mango, kiwi, and papaya for a colorful and flavorful twist.
- Chocolate coconut: Add a layer of chocolate ganache between the crust and cream cheese layers for a rich and decadent dessert.
- Key lime: Substitute the pineapple juice with key lime juice to make a tangy key lime version of this dessert.
No-Bake Hawaiian Dream Cups are a great dessert to make ahead.
You can add everything except for the Reddi Whip and the toasted coconut and macadamia nuts.
The reason for this is that the Reddi Whip has a tendency to lose its shape after a short amount of time.
You can certainly skip the Reddi Whip and make the entire dessert ahead of time if desired.
You can also make this dessert in a 9X13-inch baking dish.
Handpicked Recipe Favorites From My Kitchen, Just For You!


Frequently Asked Questions
Absolutely! These cups can be made up to 24 hours in advance. Just be sure to keep them refrigerated until you’re ready to serve for the best texture and flavor.
Yes, if macadamia nuts aren’t your preference, you can substitute with almonds, pecans, or even walnuts. Just keep in mind that macadamia nuts have a unique flavor that complements the tropical ingredients well.
If you’re not a fan of Cool Whip, you can use freshly whipped cream as a substitute. Simply whip heavy cream with a bit of sugar until soft peaks form and use it in place of Cool Whip.
While sugar adds to the sweetness and balance of flavors in this dessert, you can reduce the amount or use a sugar substitute if you prefer. Just be careful with the substitutions to maintain the desired texture and taste.
To keep the layers distinct, it’s important to let each layer set slightly before adding the next one. Make sure the pudding and cream cheese layers are well-chilled, and handle each step gently without mixing the layers too vigorously.
Yes, canned crushed pineapple works perfectly for this recipe and is convenient. If you choose to use canned pineapple, make sure to drain it well to avoid any excess liquid from affecting the dessert’s consistency.
No-Bake Hawaiian Dream Cups
Ingredients
For the crust
- 12 graham crackers
- 1 cup macadamia nuts, unsalted
- ¼ cup granulated sugar
- 1 tsp salt
- ⅓ cup butter, melted
For the cream cheese layer
- 16 oz cream cheese, softened
- ½ cup granulated sugar
- 4 Tbsp pineapple juice, reserved from the crushed pineapple
- 4 Tbsp heavy cream
- ¾ cup sweetened flaked coconut
For the coconut layer
- 12 tsp sweetened flaked coconut
For the pudding layer
- 3.4 oz box instant coconut cream pudding mix, or 1 box instant vanilla pudding + 1/2 tsp coconut extract
- 1 ¾ cups milk
For Pineapple Layer
- 20 oz can crushed pineapple, drained, juices reserved
For the Topping
- 8 oz Cool Whip
- 1 can Reddi Whip
- ½ cup toasted sweetened flaked coconut
- ½ cup macadamia nuts, chopped
Directions
- In food processor, add graham crackers, macadamia nuts, granulated sugar and salt. Process into fine crumbs. Add melted butter and process until smooth. Press into bottoms of cups.
- In medium bowl, whisk together instant coconut cream pudding mix (or vanilla pudding mix + 1/2 tsp coconut extract) and cold milk. Stir until thickened then refrigerate for at 15 minutes until set
- In medium mixing bowl, mix together cream cheese and sugar until smooth. Add in pineapple juice and heavy cream then mix well. Gently stir in flaked coconut. Spread cream cheese over the crust in each cup.
- Sprinkle 1 tsp flaked coconut over cream cheese layer in each cup.
- Spoon coconut pudding over flaked coconut and spread into an even layer.
- Spoon crushed pineapple over coconut pudding layer.
- Top pineapple with a layer of Cool Whip.
- When ready to serve, garnish with a dollop of Reddi-whip then sprinkle with toasted coconut and chopped macadamia nuts.
Equipment
Nutrition Facts
⭐ Leave a comment and rating below — it helps other readers!
👩🍳 Did you make any changes or substitutions?
I’d love to hear how it turned out in your kitchen.
📌 Save this recipe so you can make it again.
📧 Want more easy family dinners like this in your inbox?
Join my free Dinner Idea Box newsletter for simple family dinners every week.