
Old-Fashioned Banana Pudding (From Scratch)
Disclosure: This post may contain affiliate links. If you make a purchase through links on our site, we may earn a commission. As an Amazon Associate, I earn from qualifying purchases.
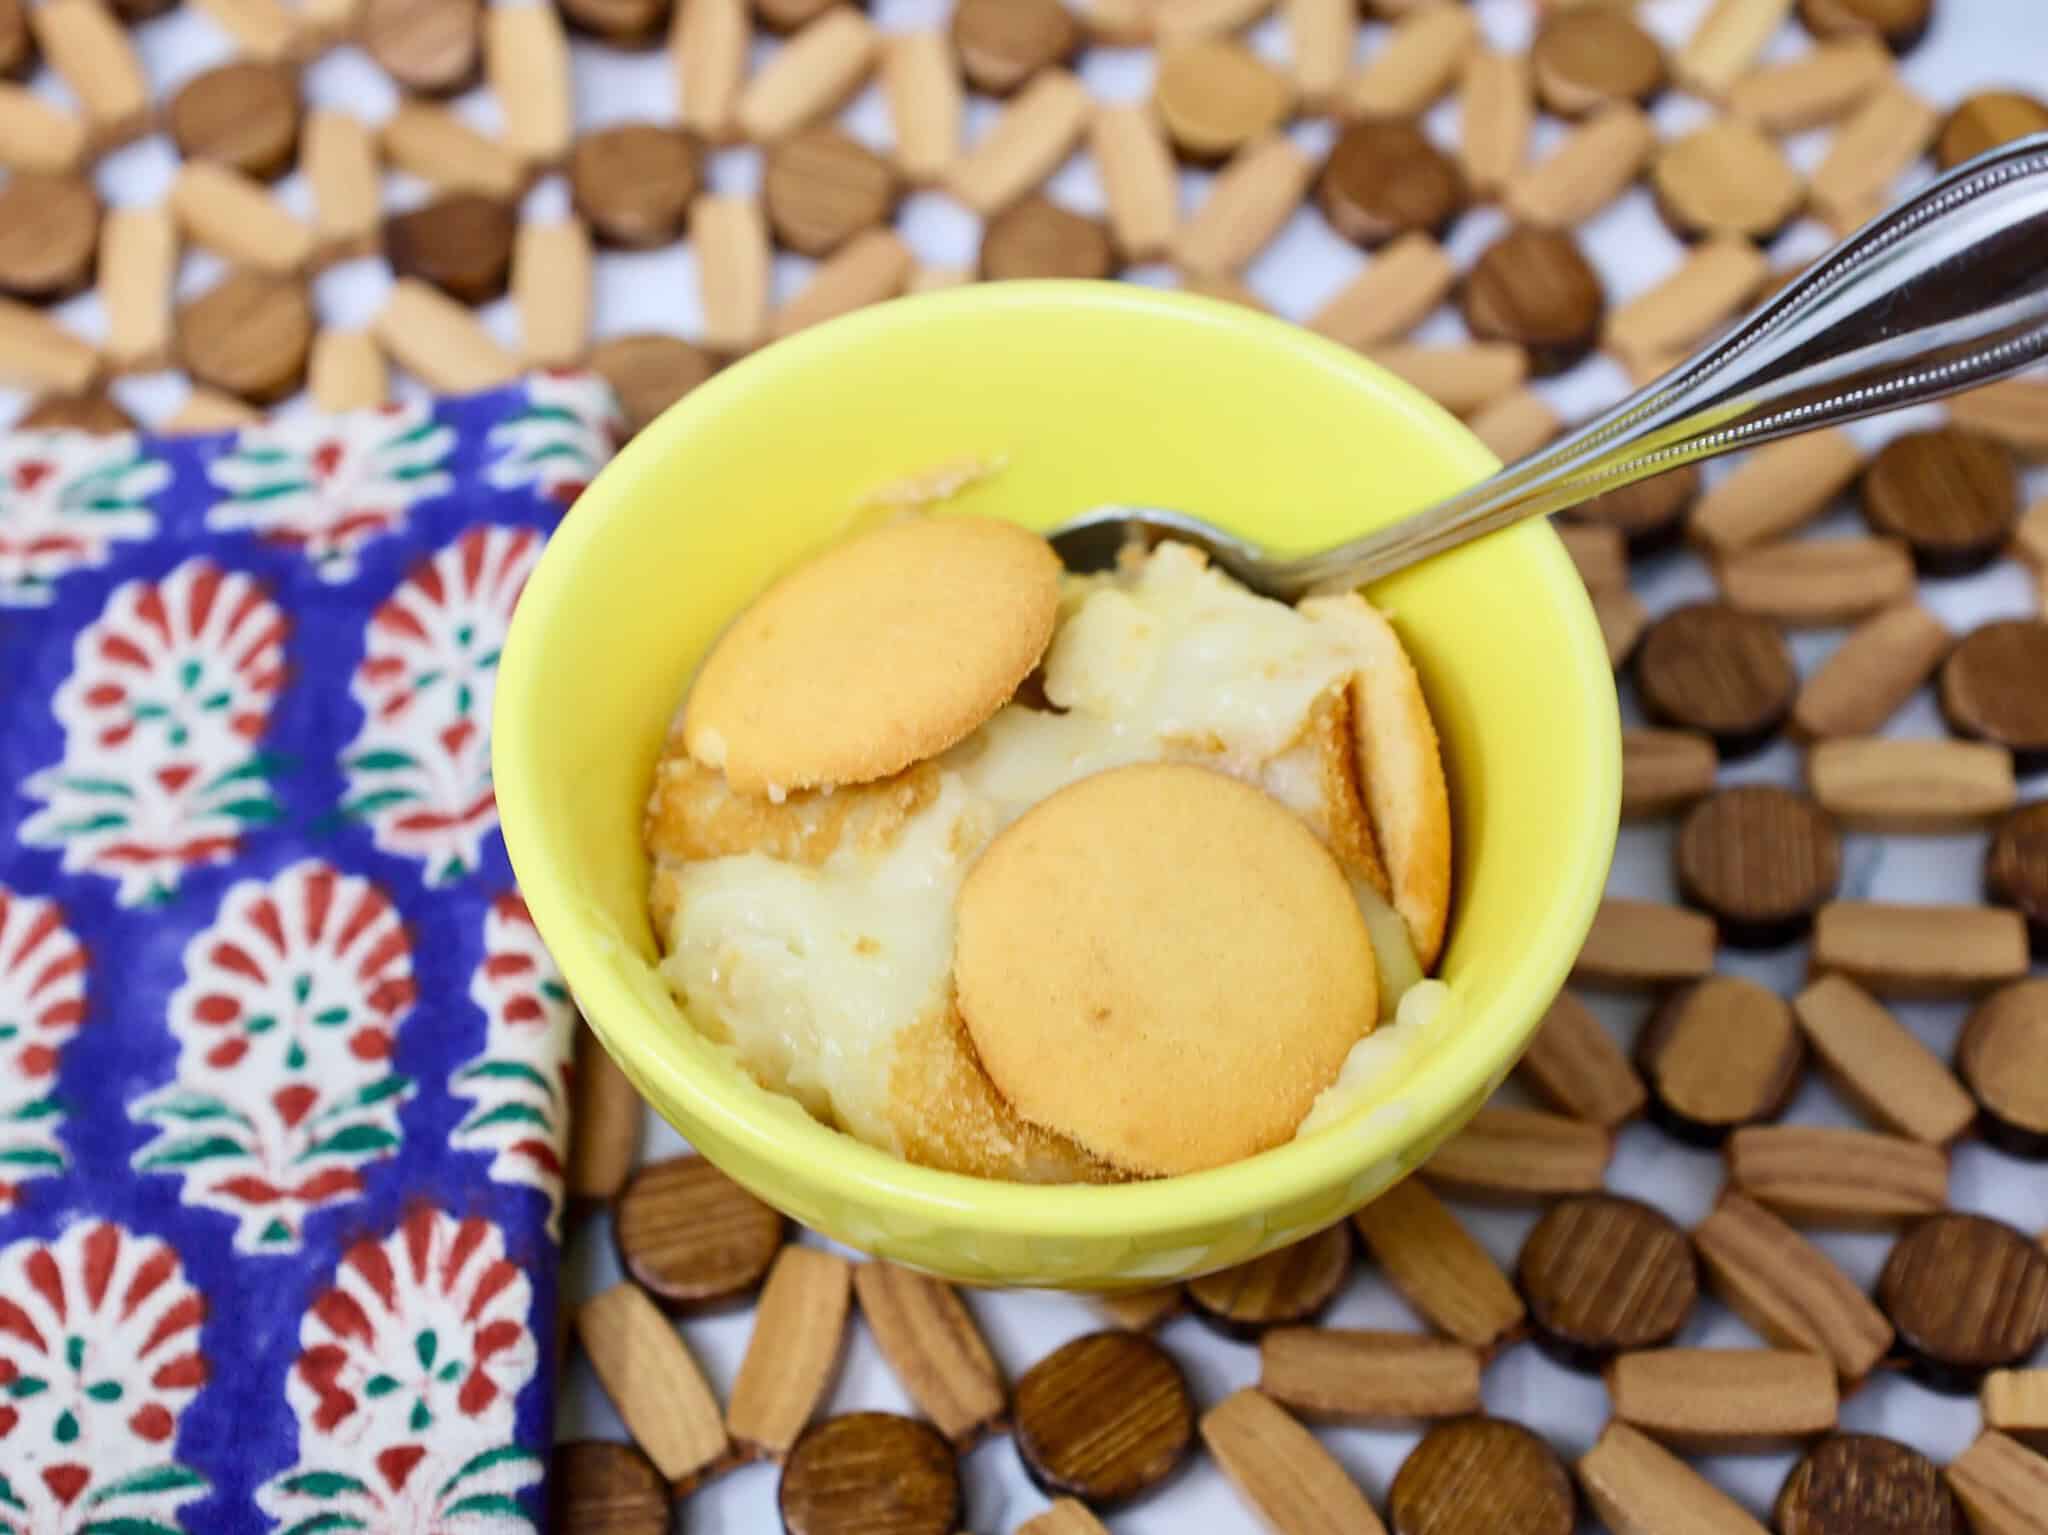
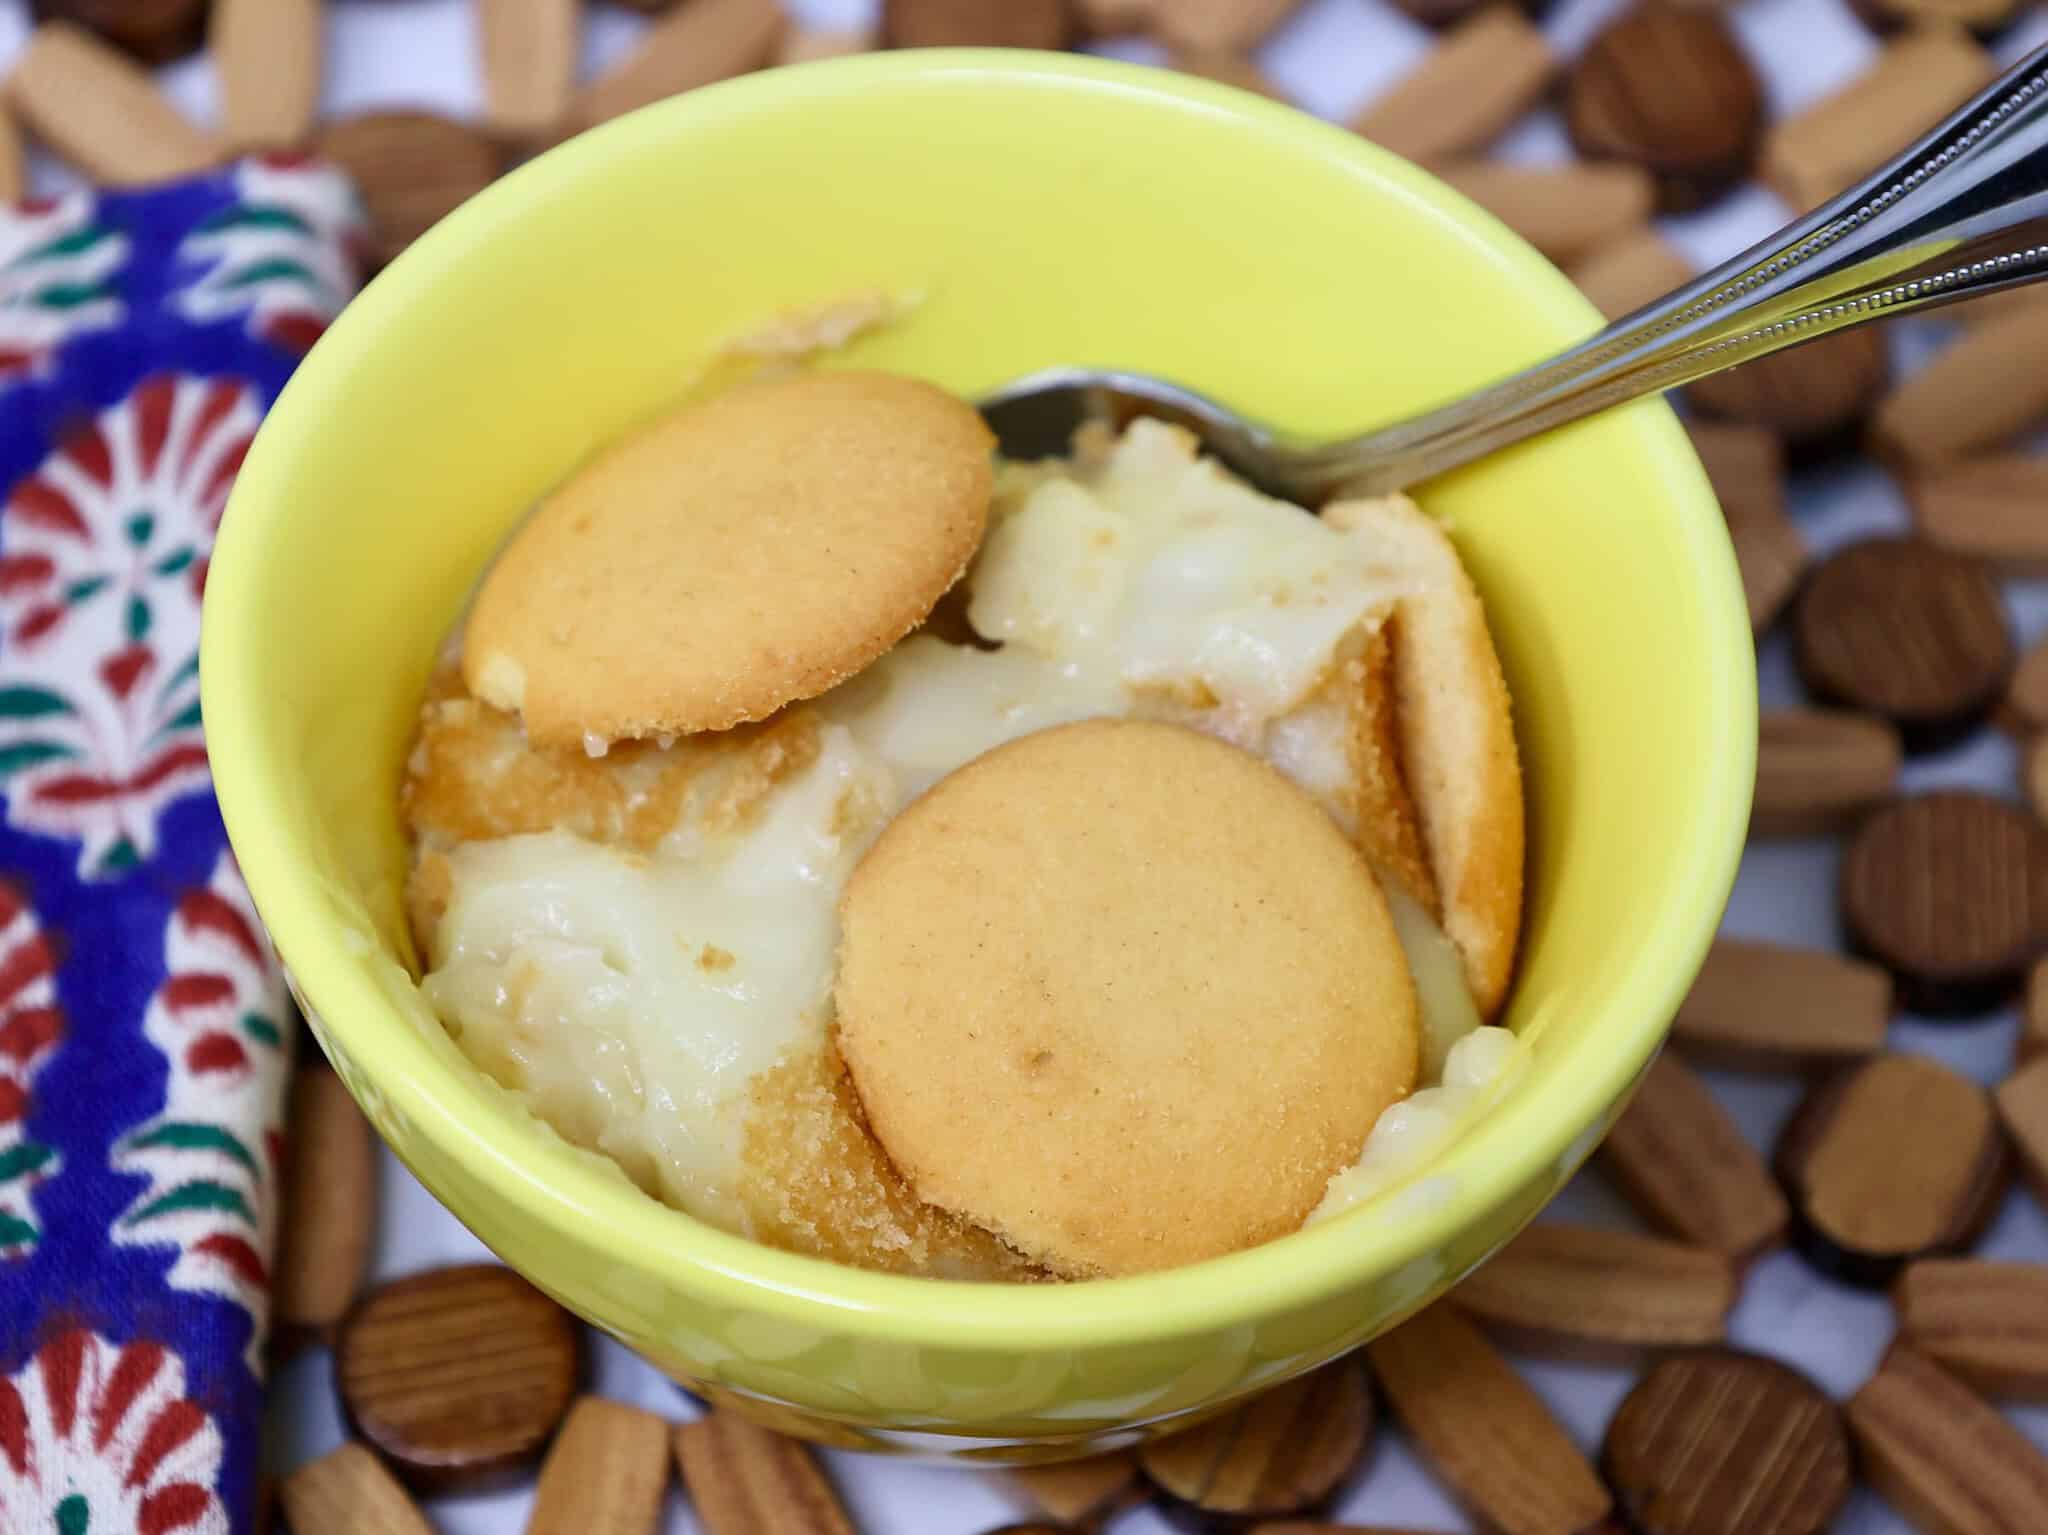
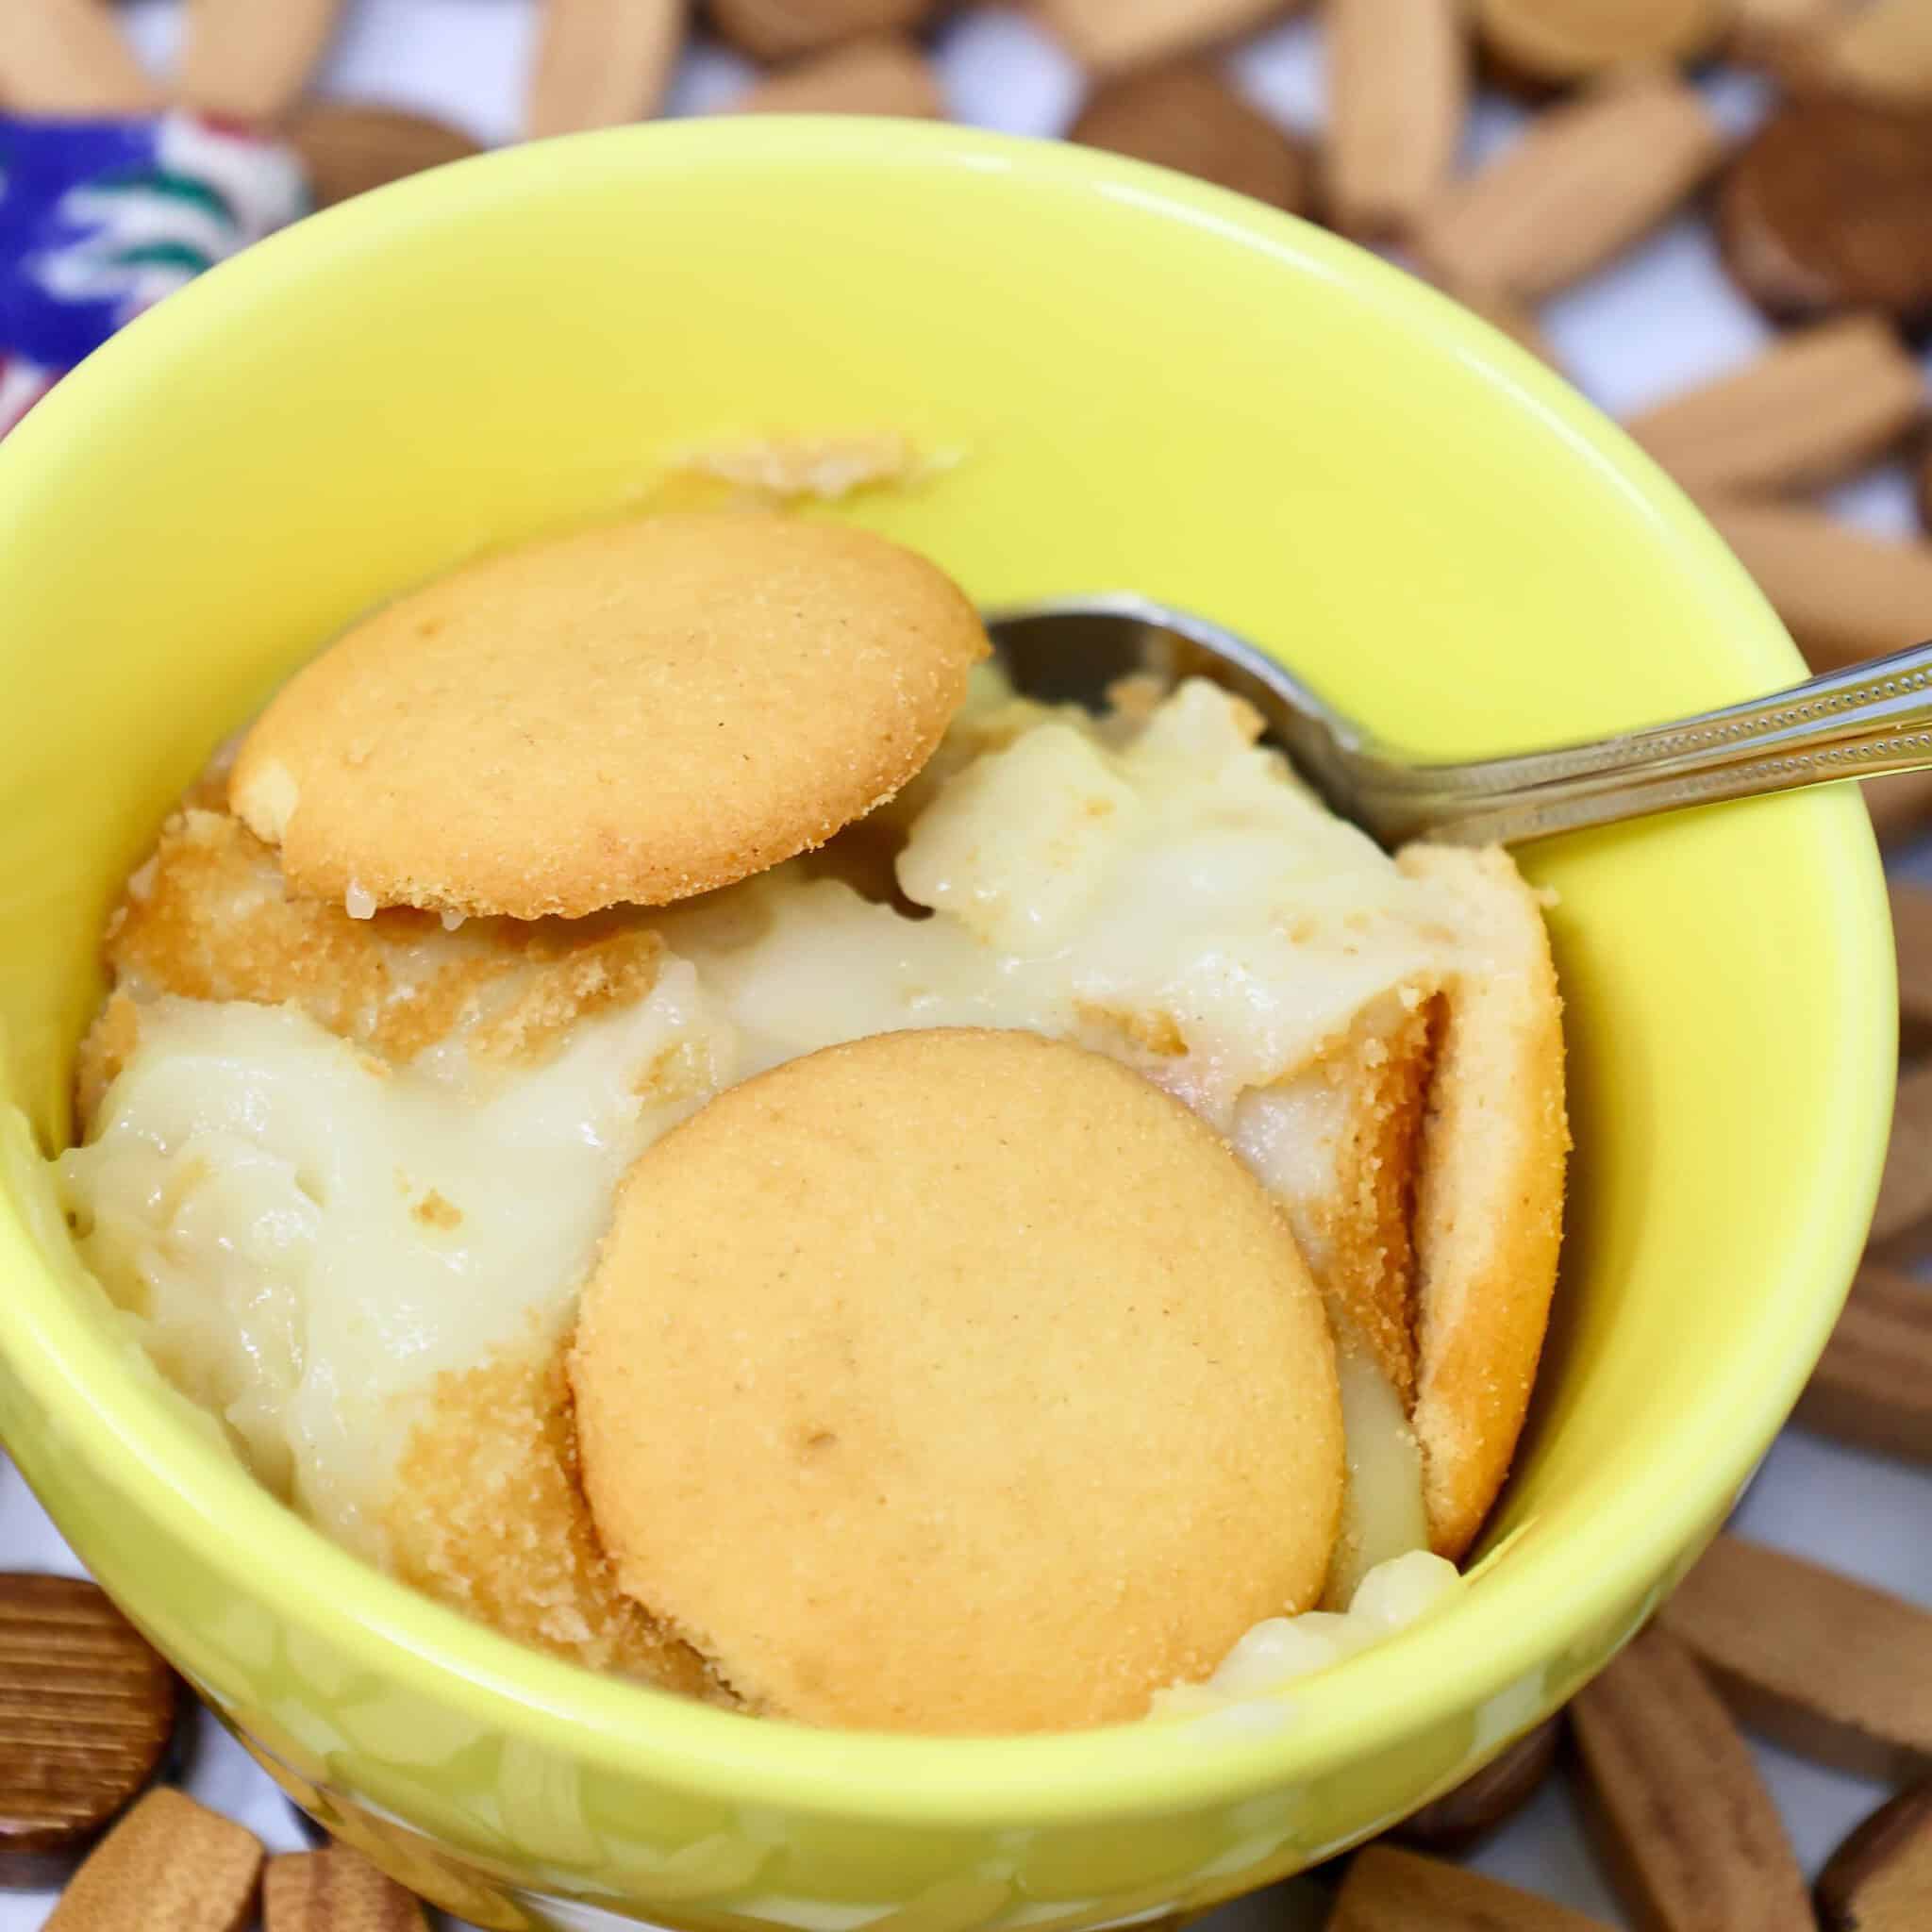
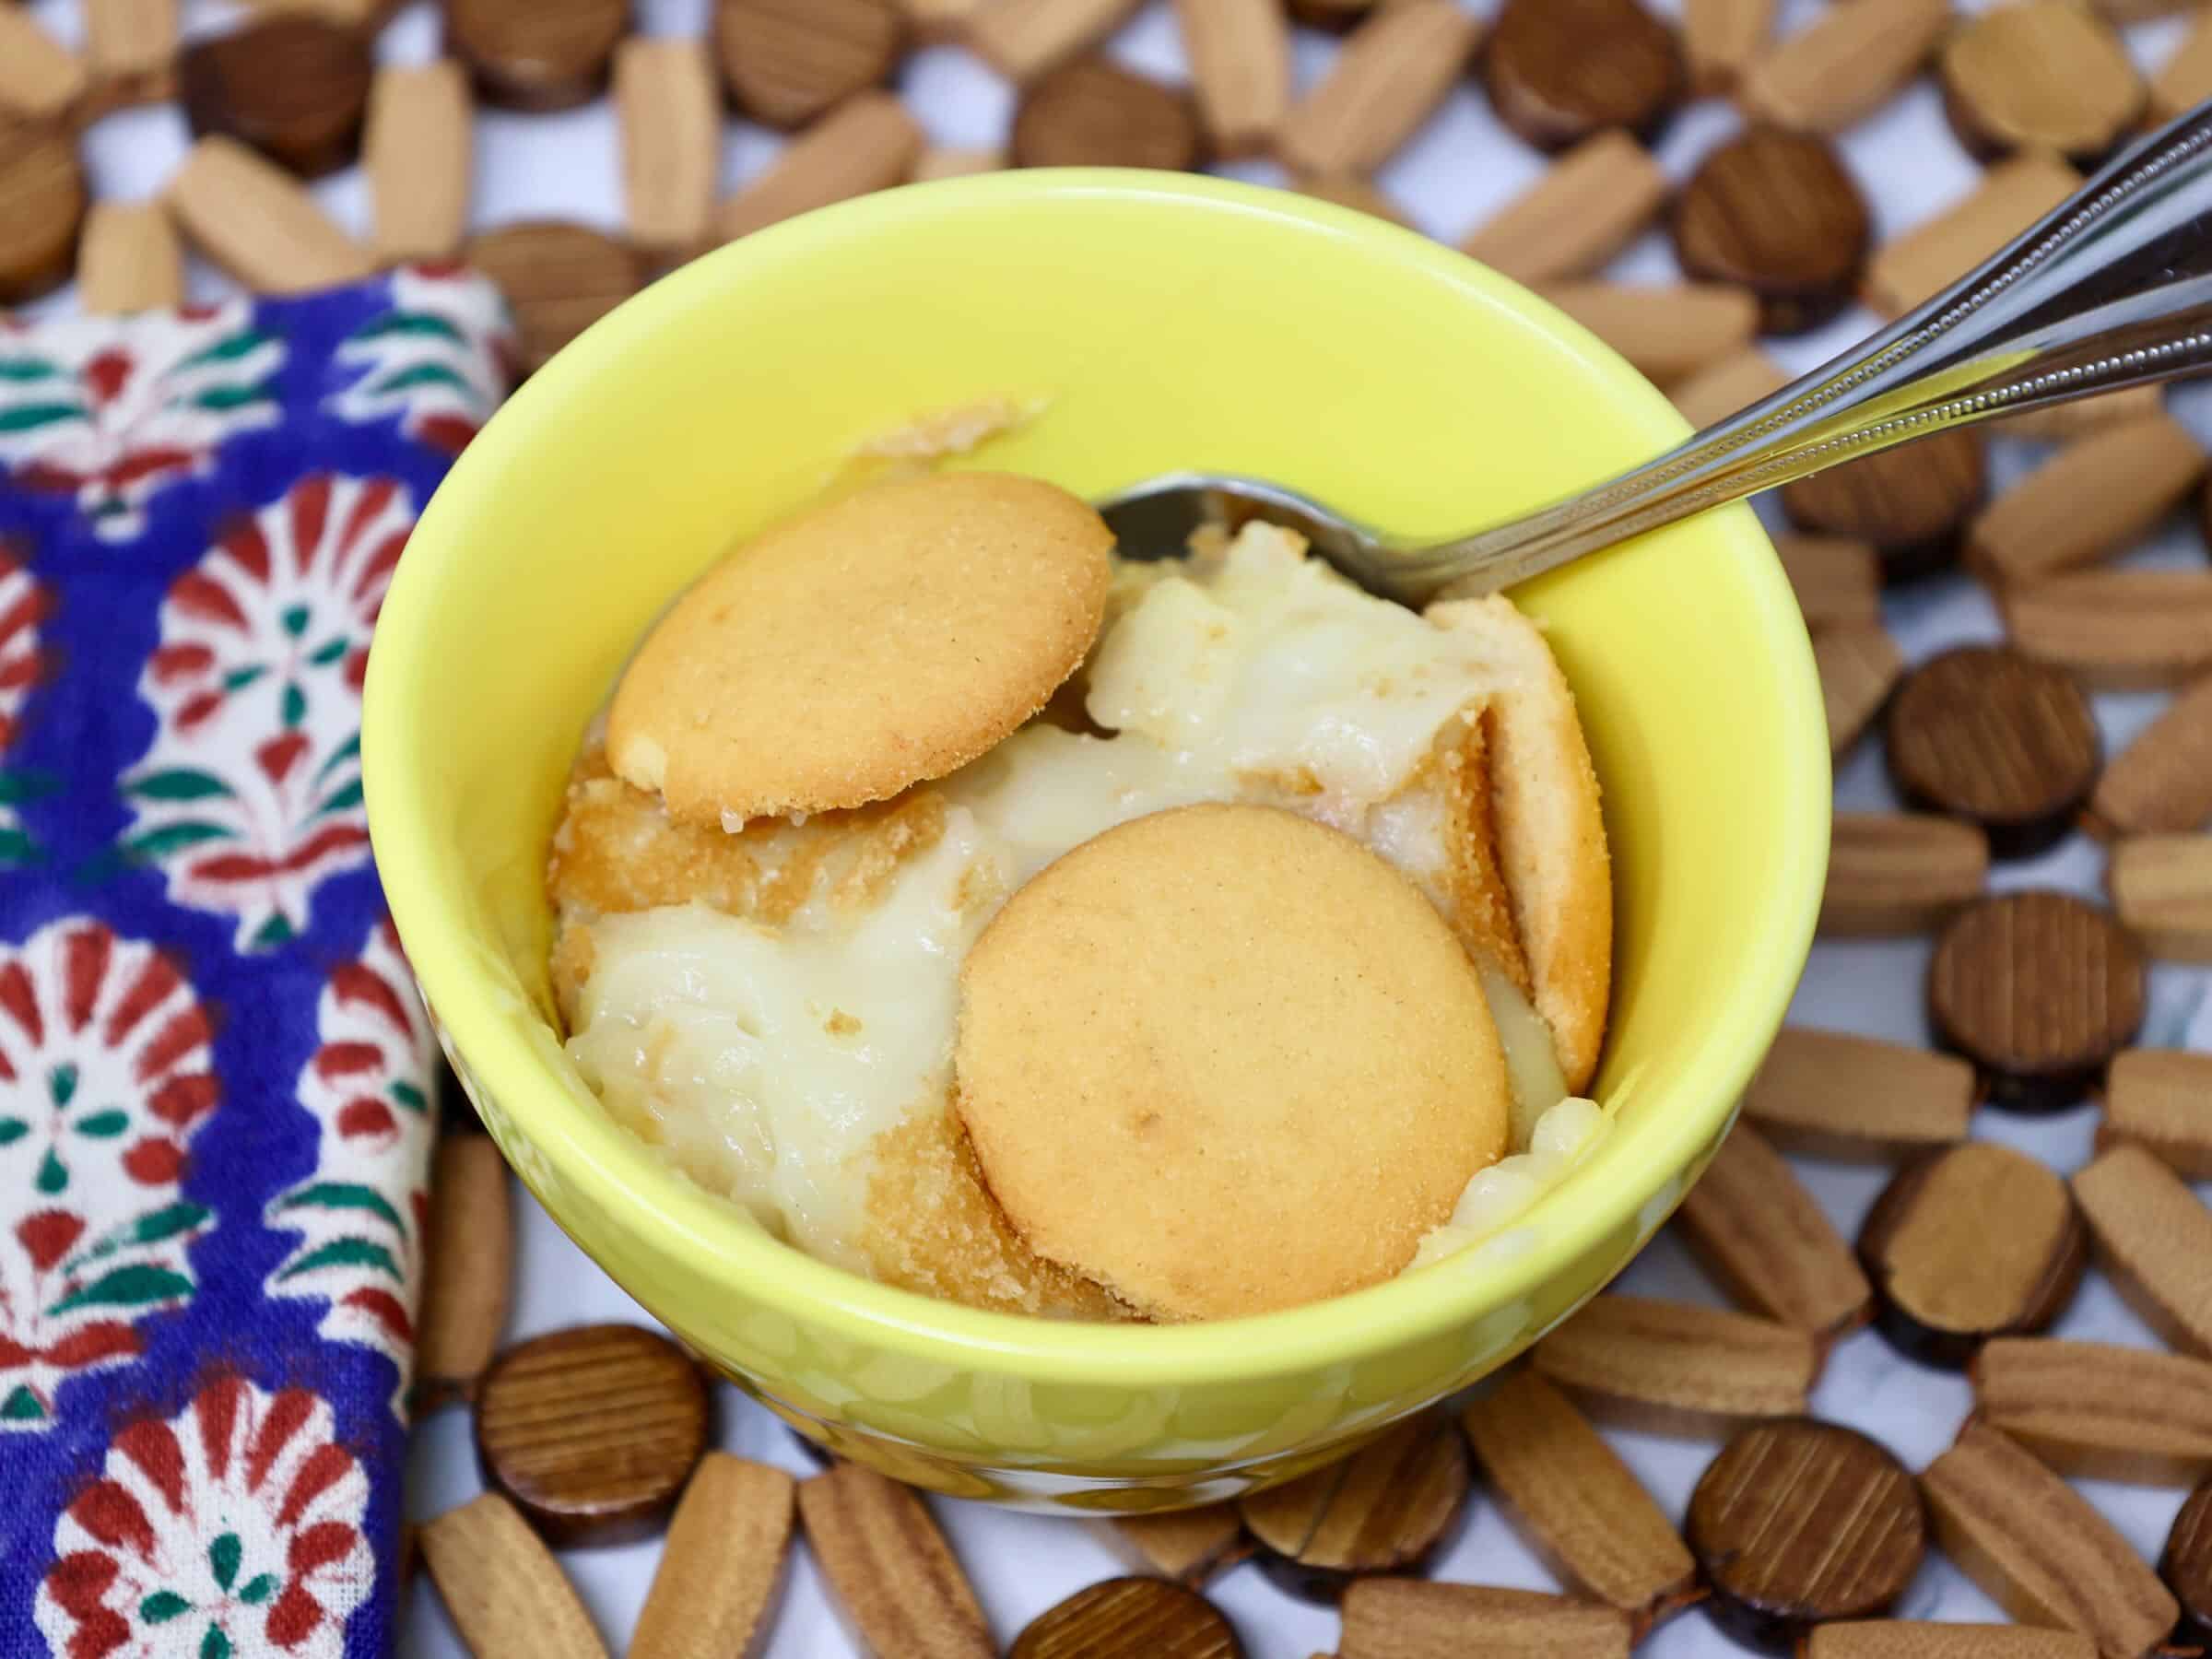
This Old-Fashioned Banana Pudding is made the way my mom always made it, with creamy homemade vanilla pudding cooked from scratch, layers of fresh bananas, and classic vanilla wafers. No instant pudding mix, no Cool Whip, and no shortcuts. Just a comforting, homemade dessert that never goes out of style.
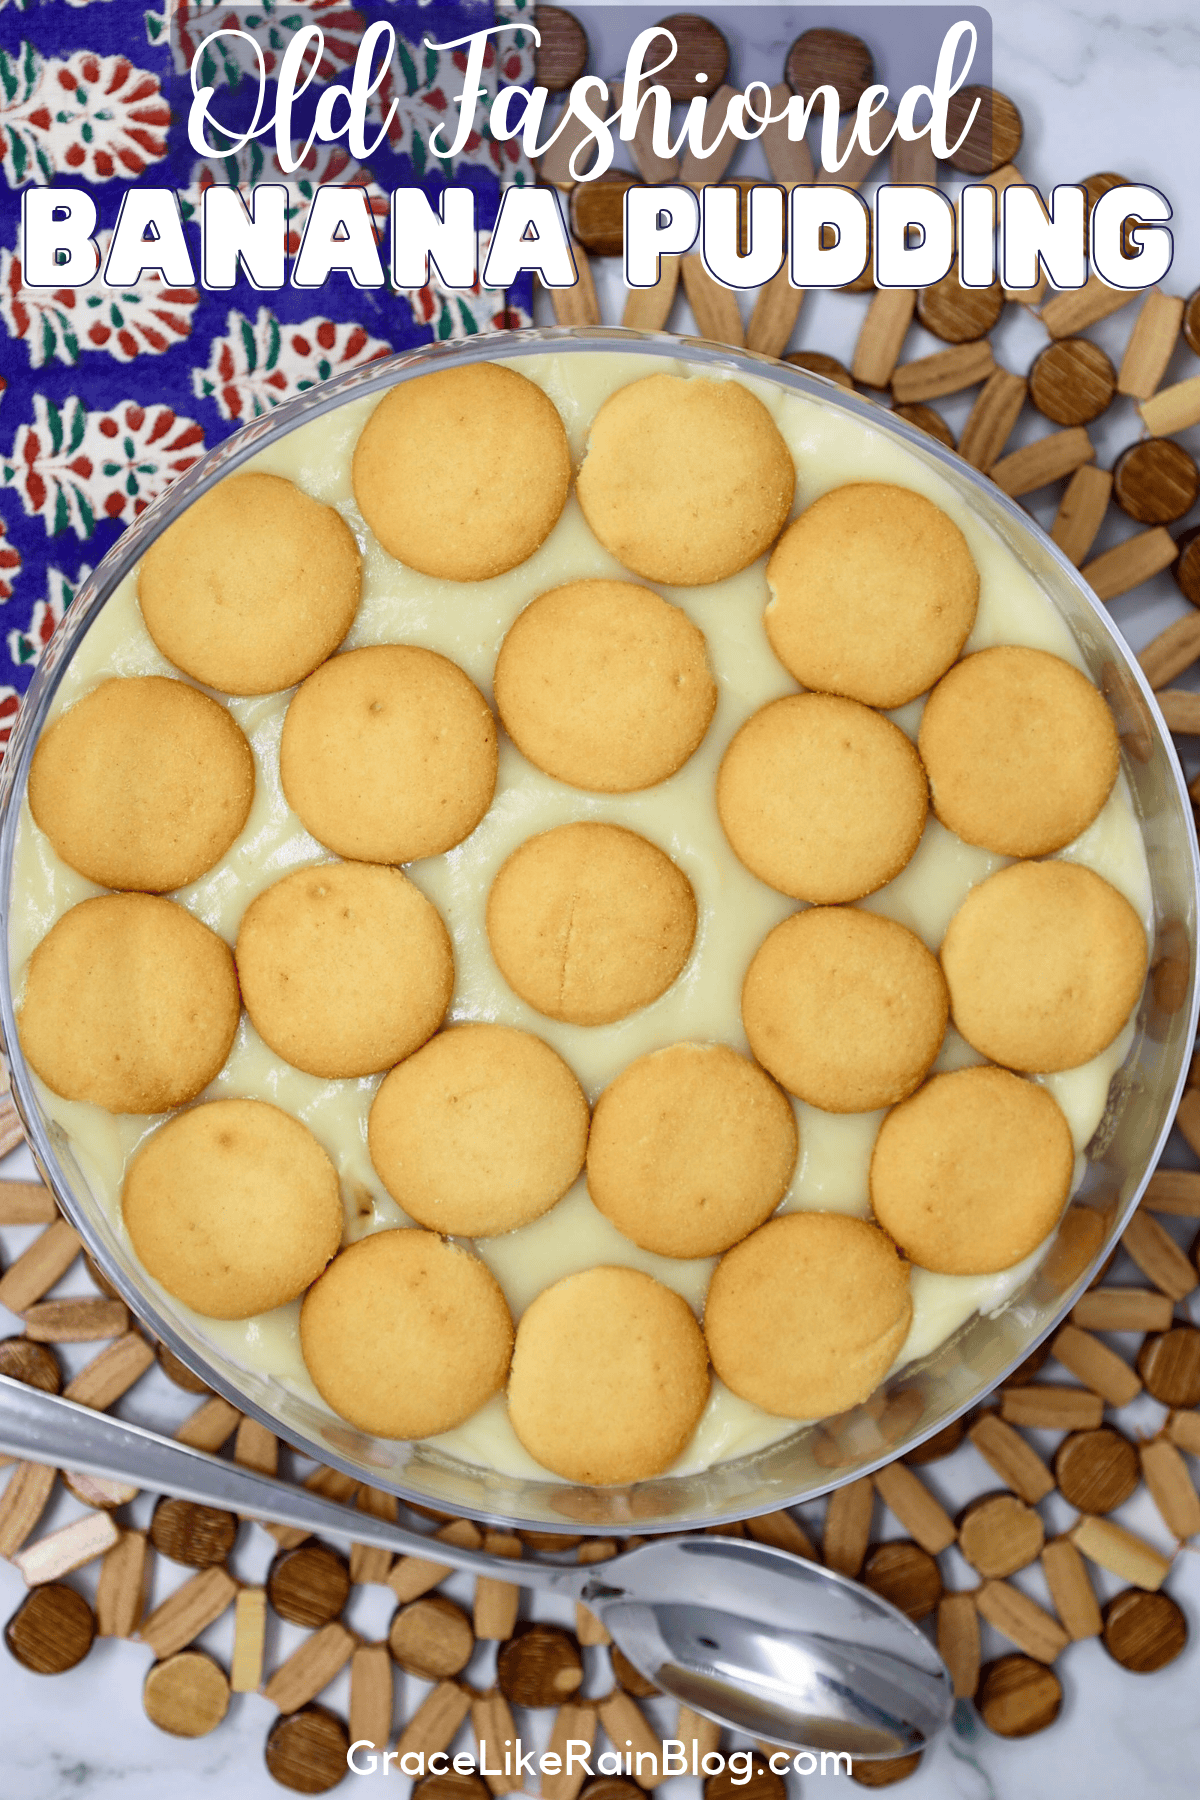
There are plenty of ways to make banana pudding, and I love a good shortcut! My Easy Creamy Banana Pudding is perfect when I don’t have much time, and my Chessman Banana Pudding is another favorite for family gatherings. But sometimes I want the banana pudding I grew up with, made with a warm, homemade pudding that thickens right on the stove.
This recipe takes me straight back to my mom’s kitchen. It’s made with everyday ingredients like milk, eggs, sugar, flour, and butter, and the homemade vanilla pudding is what makes it special. Once everything is layered together and chilled, the vanilla wafers begin to soften into the creamy pudding for that familiar, old-fashioned texture.
Table of contents
- Why You’ll Love This Old-Fashioned Banana Pudding
- Ingredients for Homemade Banana Pudding
- How to Make Old-Fashioned Banana Pudding from Scratch
- Tips for the Best Homemade Banana Pudding
- Troubleshooting
- How to Store Homemade Banana Pudding
- Frequently Asked Questions
- More Banana Desserts You’ll Love
- A Family Recipe Worth Keeping
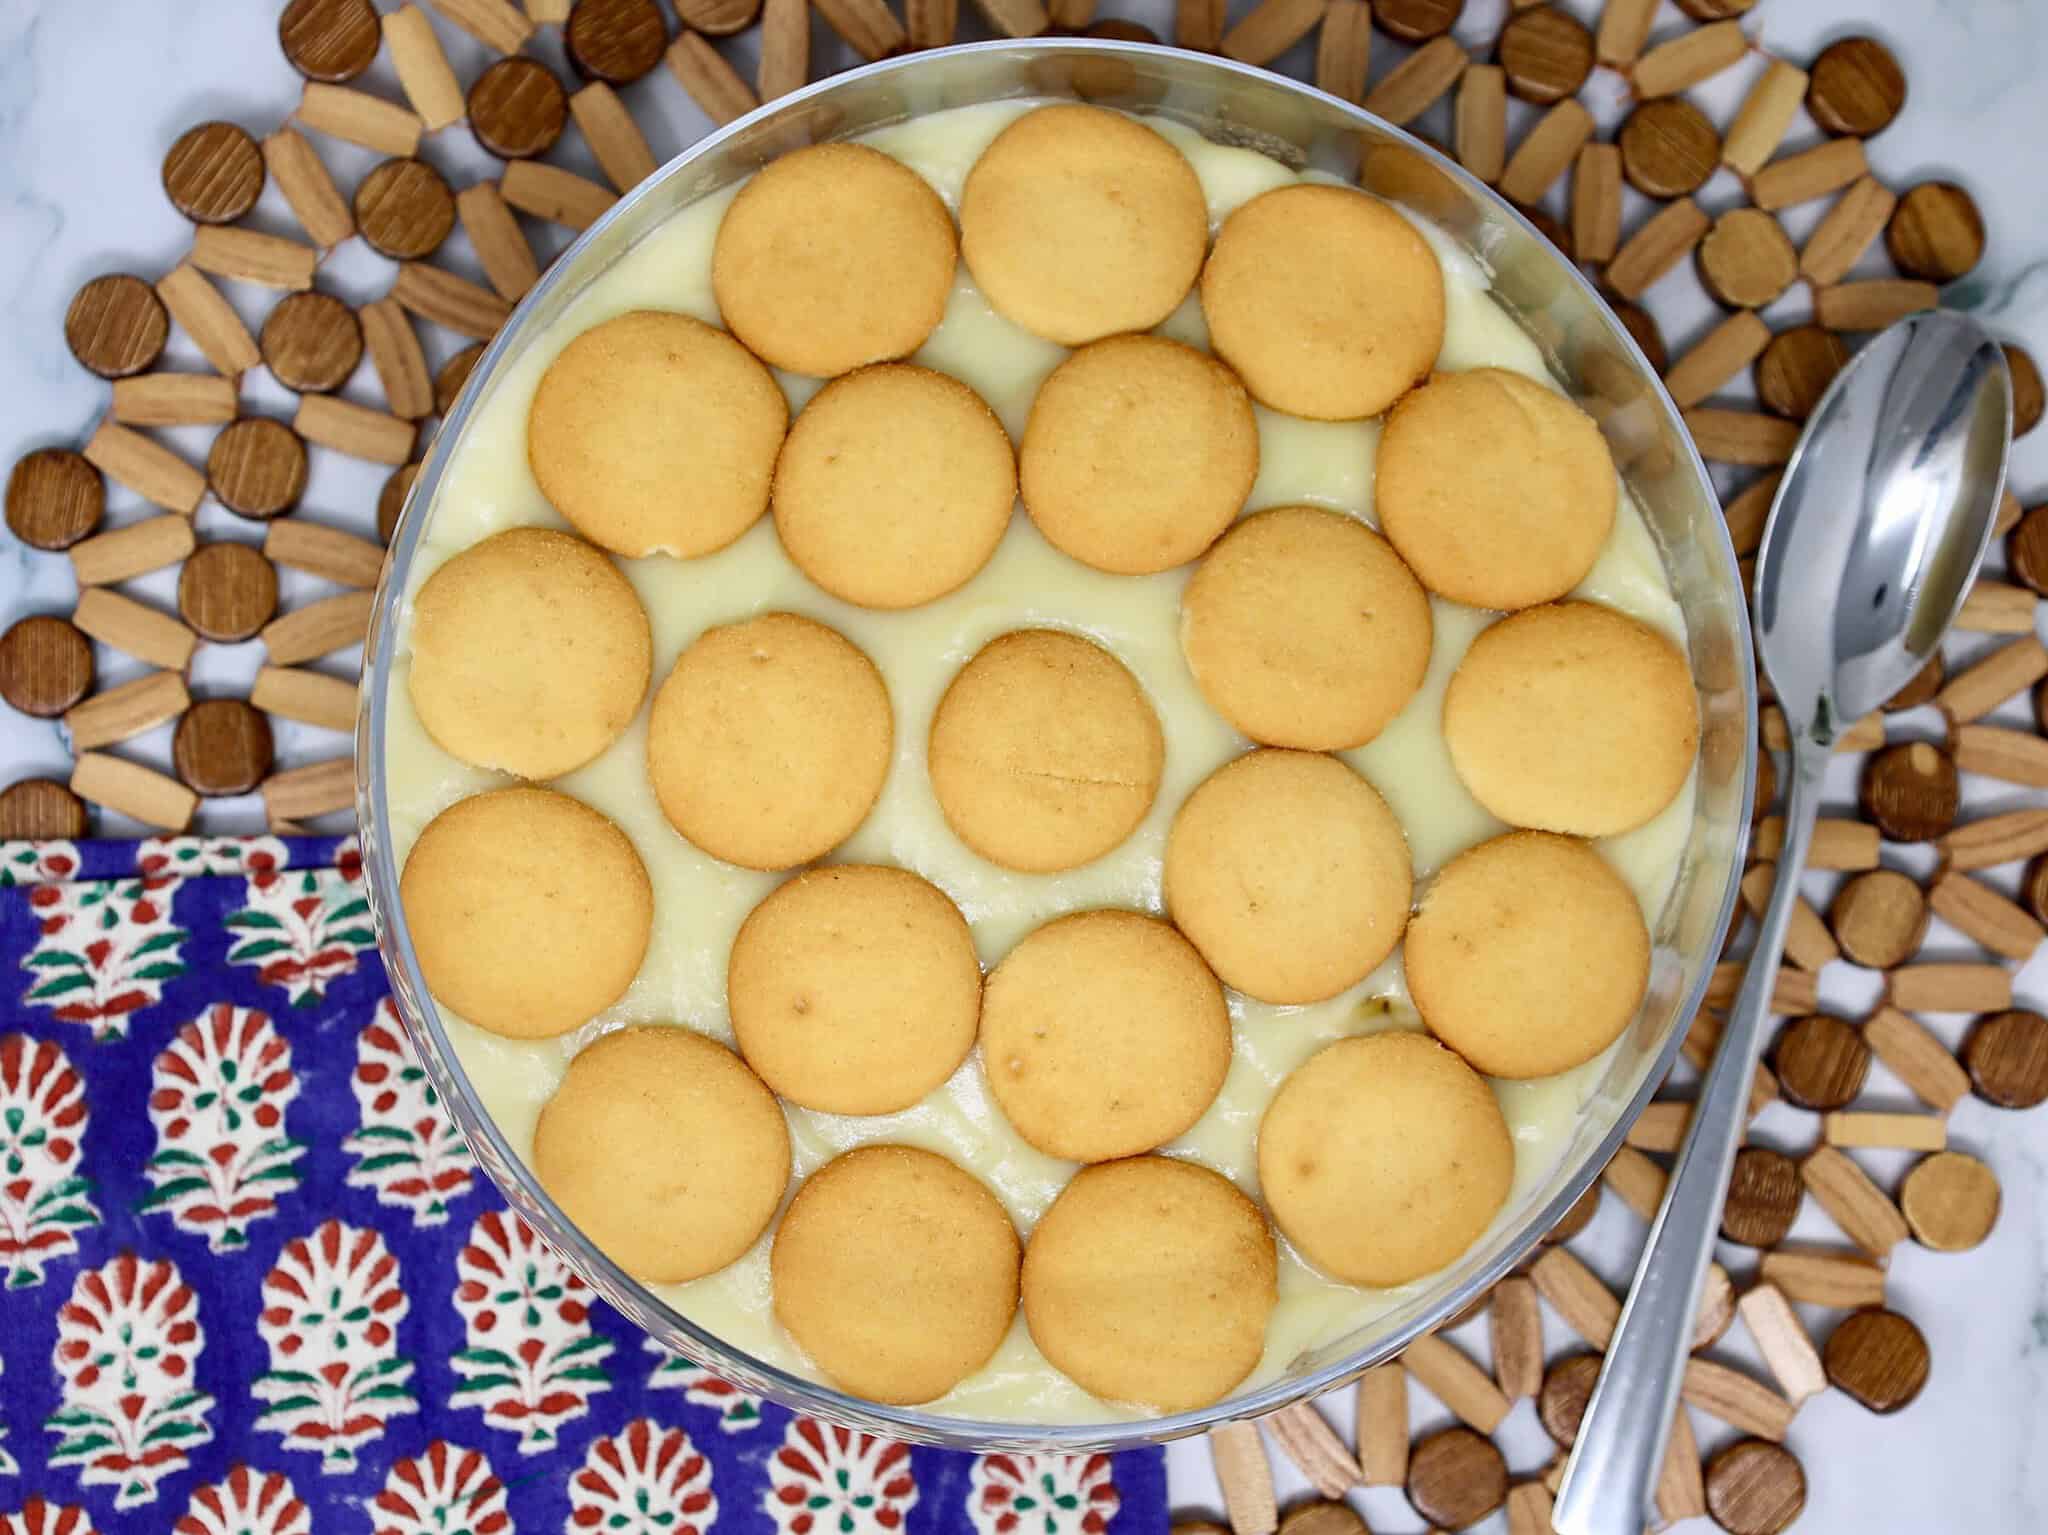
Why You’ll Love This Old-Fashioned Banana Pudding
- Made completely from scratch. The homemade vanilla pudding uses basic ingredients instead of a boxed pudding mix.
- A treasured family recipe. This is the traditional banana pudding my mom made, and it’s one of those recipes worth passing down.
- Rich and creamy. Eggs, milk, and butter create a smooth, homemade pudding that holds the bananas and wafers together.
- Simple pantry ingredients. You won’t need anything fancy to make this classic dessert.
- Perfect for family gatherings. With 10 servings, it’s a wonderful dessert for Sunday dinners, holidays, and potlucks.
- Two cooking options. Make the pudding on the stovetop or use the microwave instructions included in the recipe card.
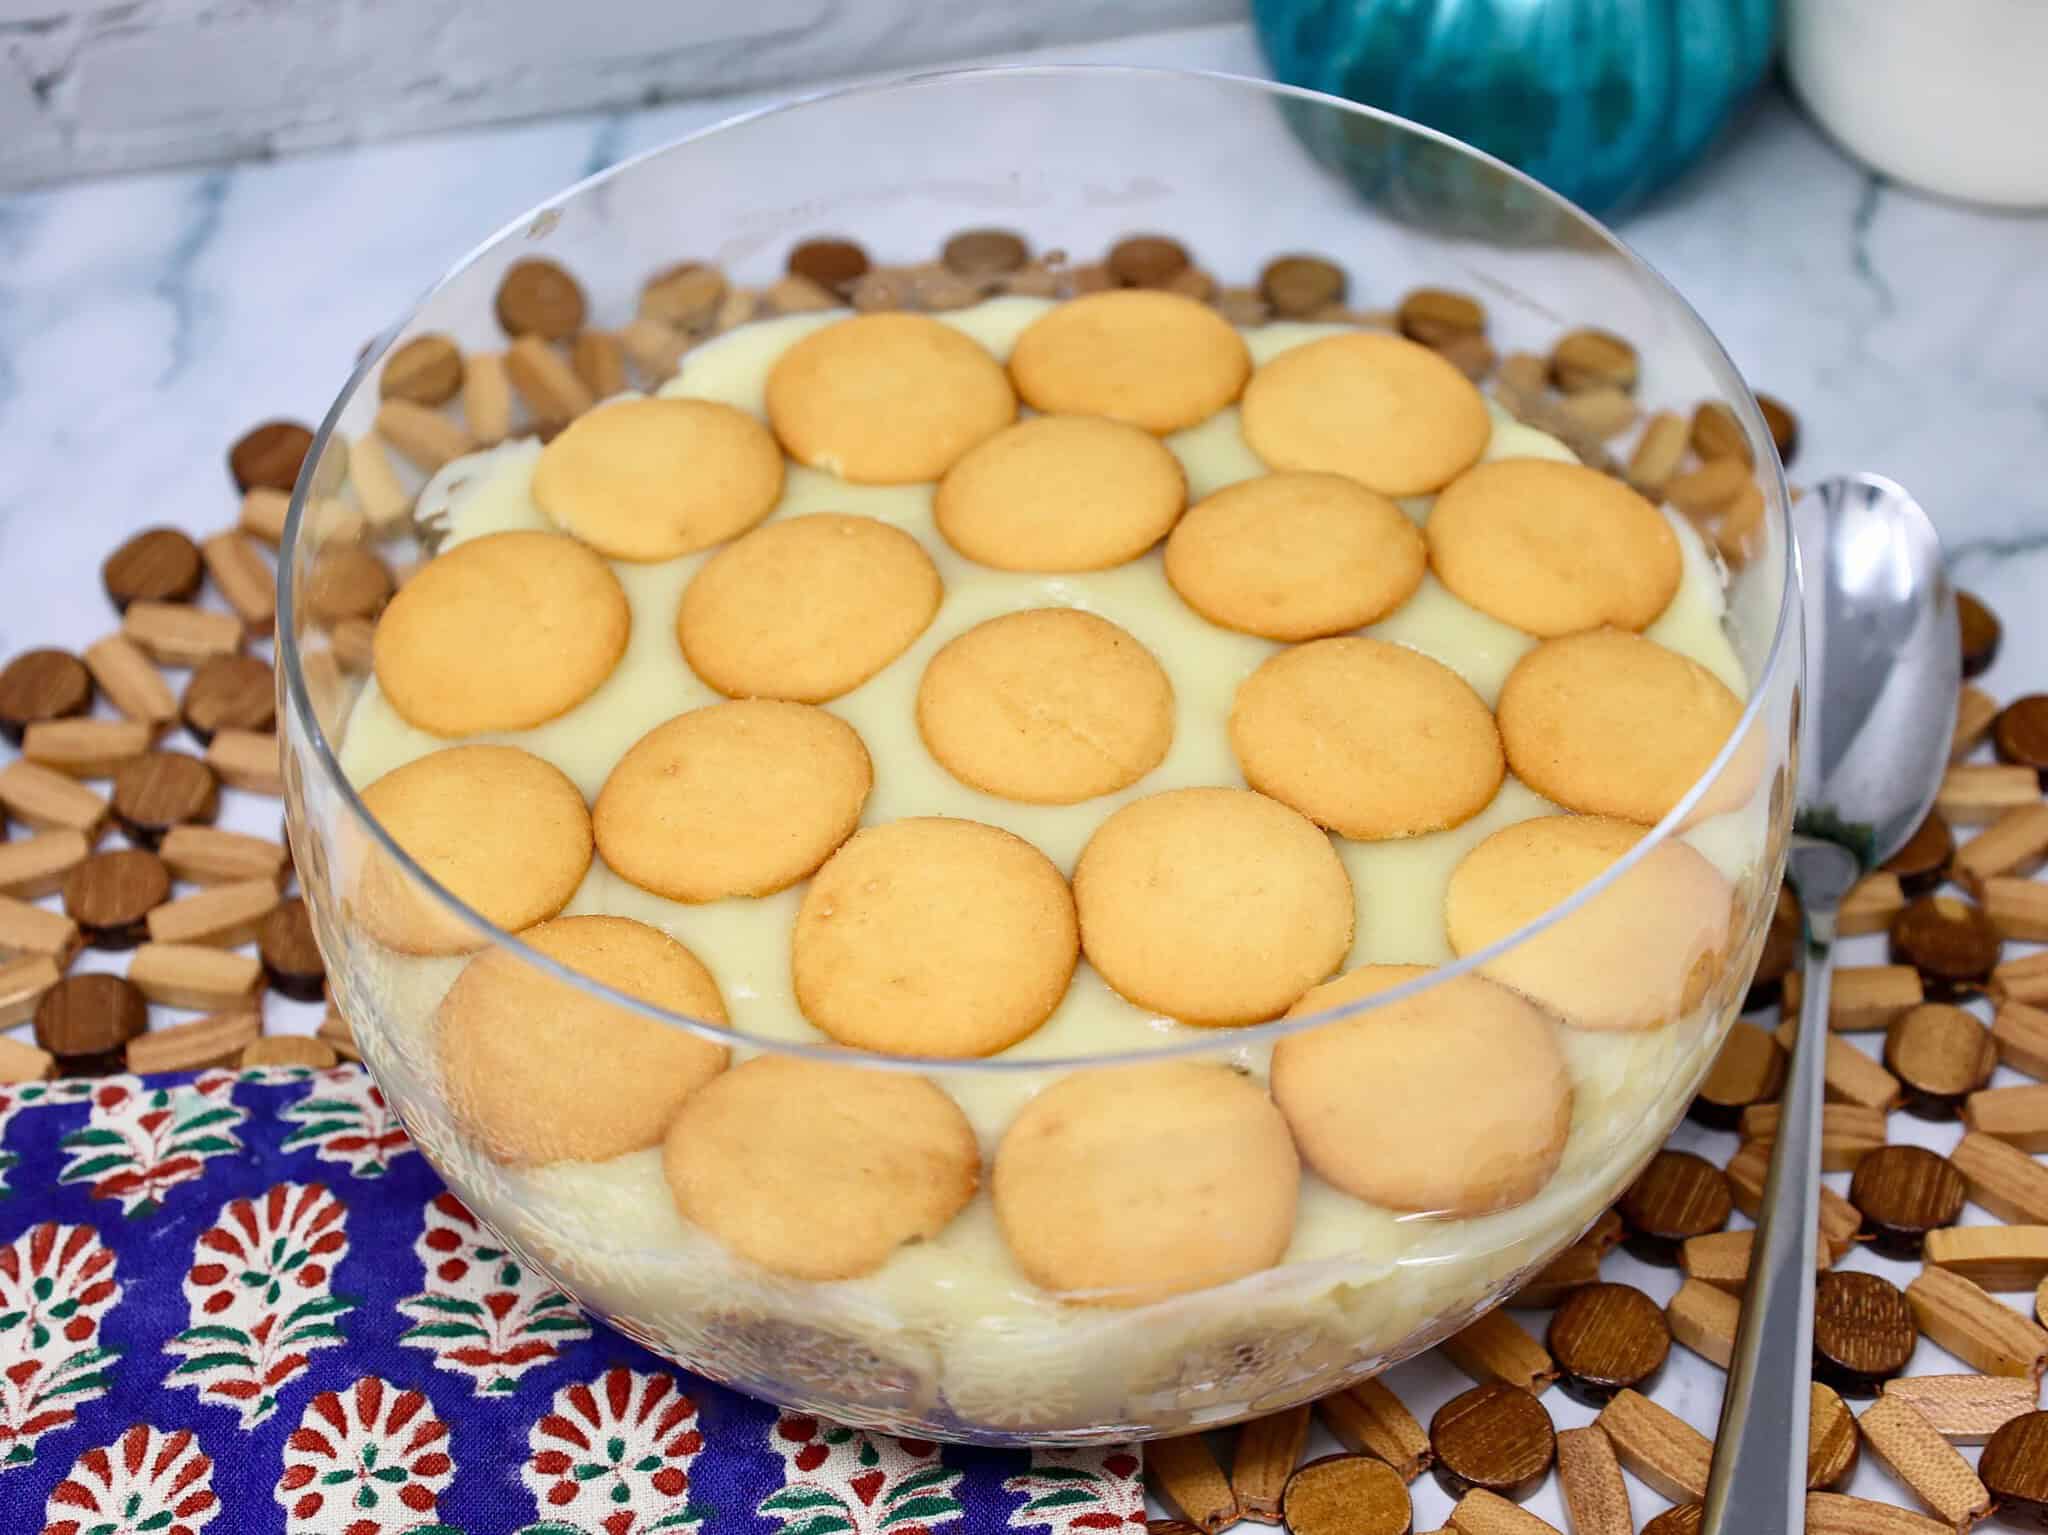
Ingredients for Homemade Banana Pudding
One of my favorite things about this recipe is how a handful of basic ingredients can turn into such a delicious dessert.
Granulated Sugar: One cup of sugar gives the homemade vanilla pudding its sweetness.
All-Purpose Flour: Four tablespoons of flour help thicken the cooked pudding without using an instant pudding mix.
Milk: Two cups of milk create the creamy base of the pudding.
Eggs: Two large eggs help thicken the pudding and give it a rich, custard-like consistency.
Vanilla Extract: Half a teaspoon of vanilla adds that familiar homemade vanilla pudding flavor.
Butter: Half a stick of butter (¼ cup) adds richness and gives the finished pudding a smooth texture.
Bananas: Four sliced bananas add fresh banana flavor and create the classic layers.
Vanilla Wafers: One box of vanilla wafers adds sweetness and texture. The cookies gradually soften as the pudding chills.
How to Make Old-Fashioned Banana Pudding from Scratch
Making banana pudding from scratch is easier than you might think. The secret is taking your time with the pudding so it thickens without scorching.
Step 1: Combine the Dry Ingredients
In a medium saucepan, whisk together 1 cup of granulated sugar and 4 tablespoons of all-purpose flour until evenly combined.
Step 2: Mix the Milk and Eggs
In a separate bowl, beat the 2 large eggs. Add 2 cups of milk and whisk until the mixture is well combined.
Step 3: Combine the Pudding Ingredients
Pour the milk and egg mixture into the saucepan with the sugar and flour. Whisk until everything is thoroughly combined and there are no visible lumps of dry flour.
Step 4: Cook the Homemade Vanilla Pudding
Place the saucepan over medium-low heat and cook, stirring frequently, until the mixture thickens to a creamy pudding consistency.
Be patient with this step. The pudding needs time to thicken, and cooking it gently helps prevent it from scorching on the bottom of the pan.
Step 5: Add Vanilla and Butter
Remove the saucepan from the heat. Stir in the vanilla extract and butter until the butter melts and the pudding is smooth.
Step 6: Layer the Banana Pudding
Arrange a layer of sliced bananas in the bottom of your serving bowl.
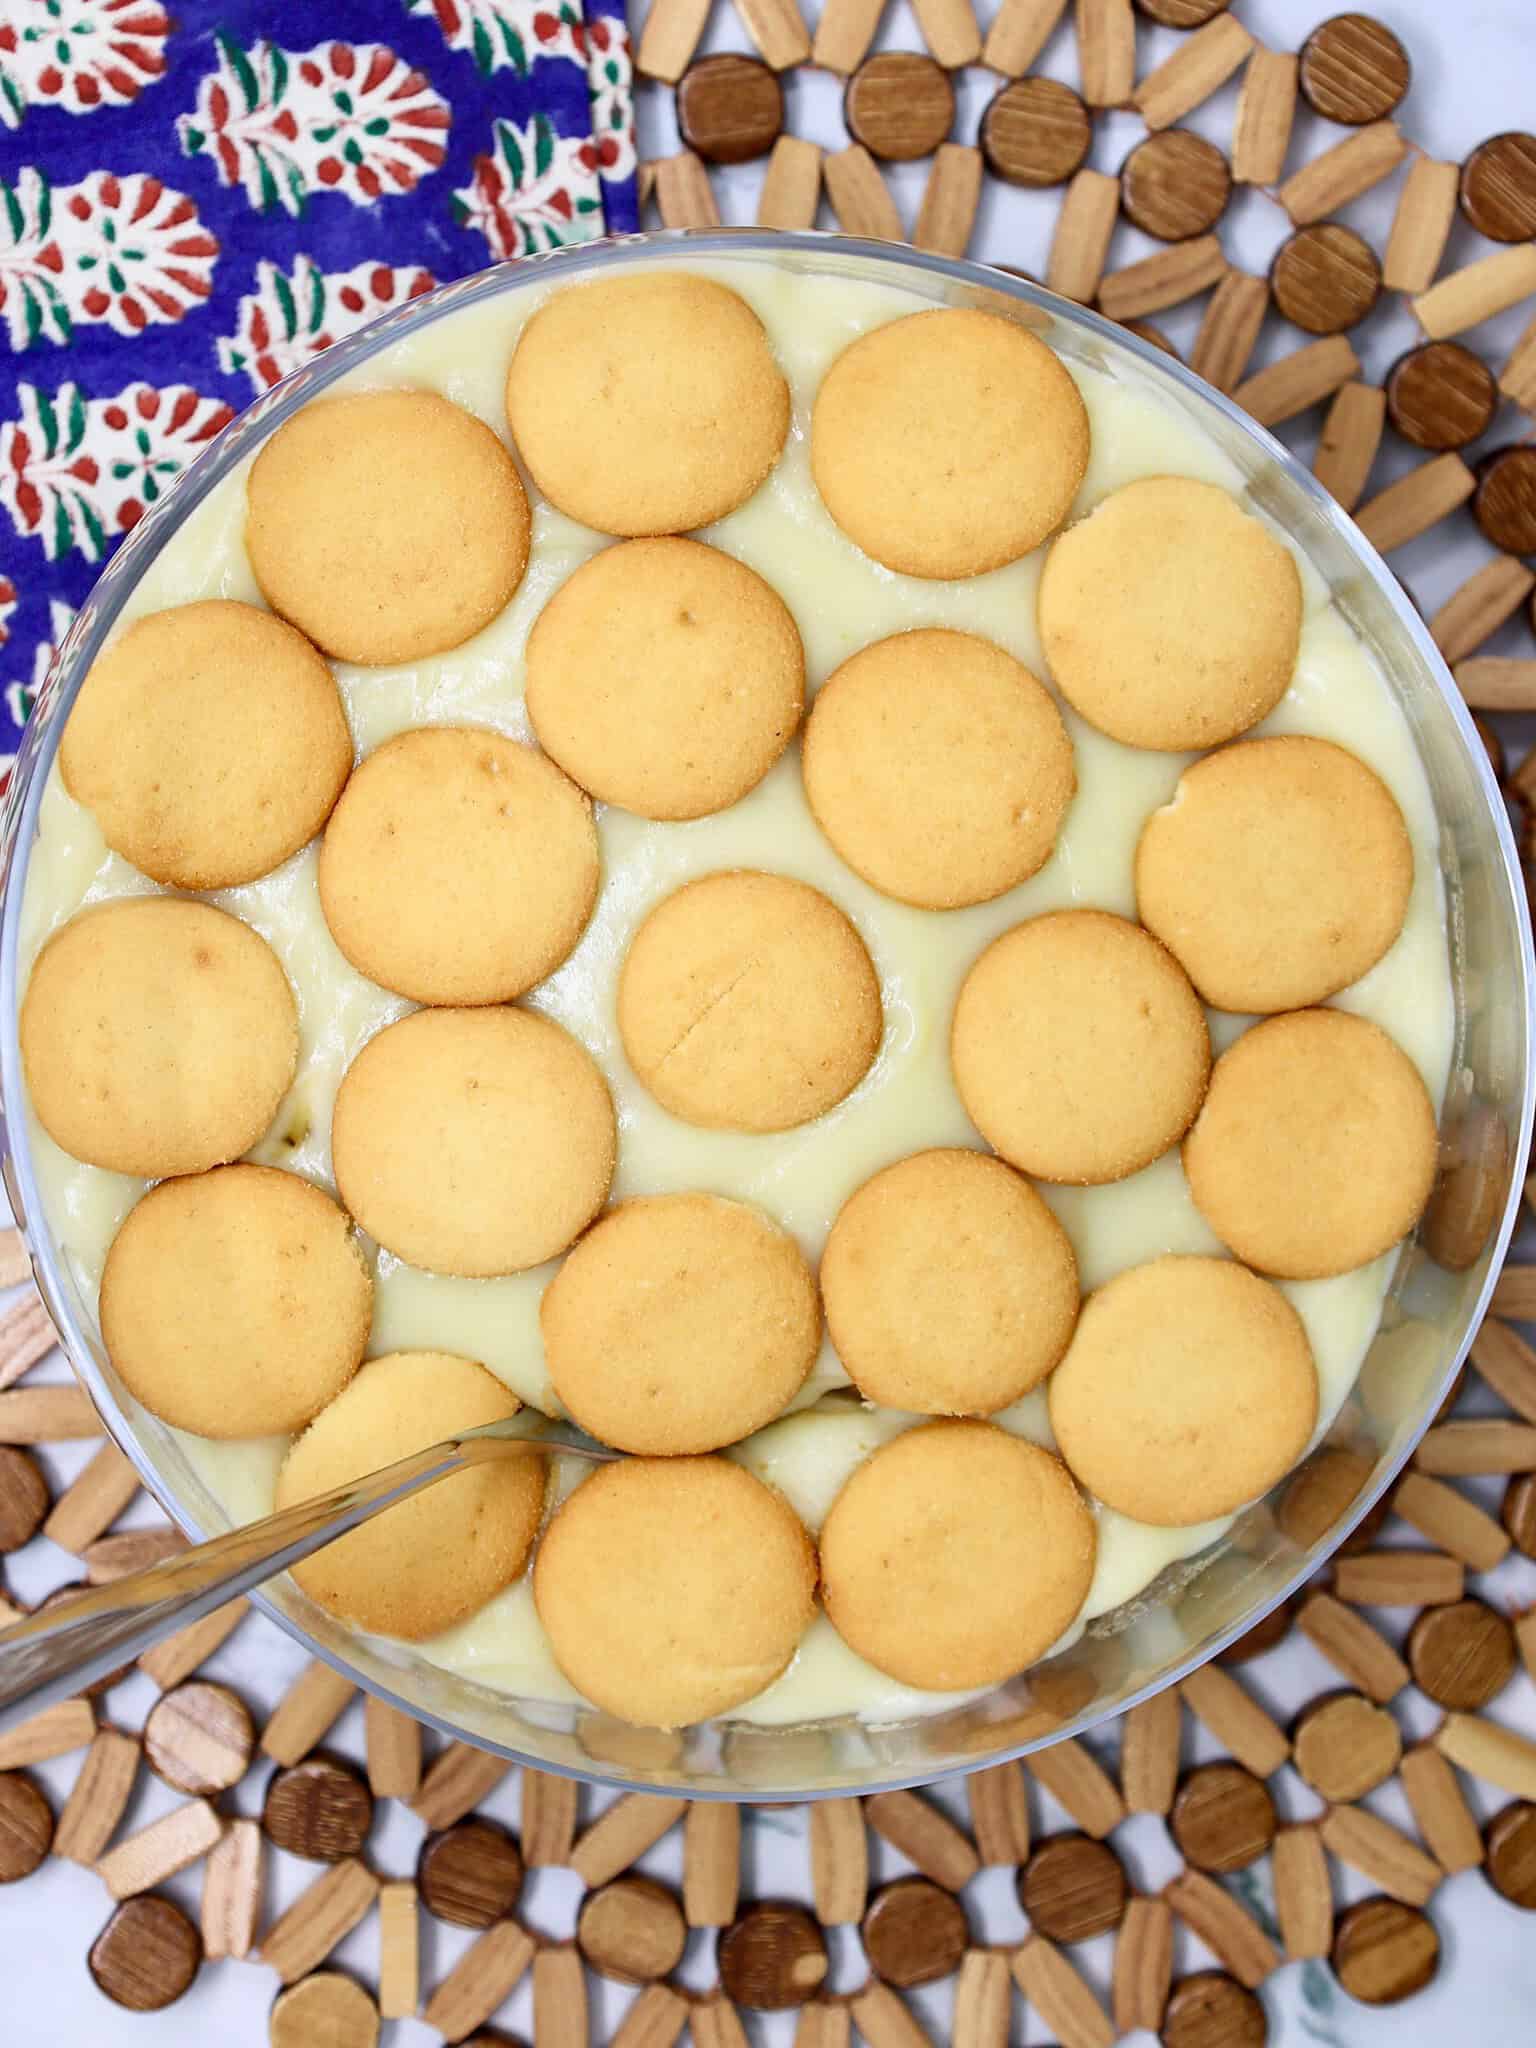
Spoon some of the homemade pudding over the bananas, then add a layer of vanilla wafers.
Repeat the layers with the remaining bananas, pudding, and vanilla wafers.
Step 7: Refrigerate Until Chilled
Place the banana pudding in the refrigerator for approximately 2 hours, or until thoroughly chilled and set.
During this time, the vanilla wafers begin to soften as they absorb moisture from the pudding.
Serve chilled and enjoy!
Tips for the Best Homemade Banana Pudding
Keep the heat medium-low. Homemade pudding needs gentle heat to thicken properly. Turning the heat too high can cause the mixture to scorch or the eggs to cook unevenly.
Whisk the sugar and flour together first. Combining the dry ingredients before adding the liquids helps distribute the flour evenly.
Stir frequently while cooking. Pay particular attention to the bottom and edges of the saucepan, where the pudding is most likely to stick.
Choose yellow bananas. Bananas that are ripe but still firm are easier to slice and hold their shape better in the pudding.
Give the pudding time to chill. The 2-hour chilling time allows the homemade pudding to set and the vanilla wafers to soften.
Cover the banana slices with pudding. Keeping the sliced bananas covered helps limit their exposure to air, which can slow browning.
Troubleshooting
Can You Make Homemade Banana Pudding in the Microwave?
Yes! My mom’s homemade pudding recipe can also be prepared in the microwave, which is a handy alternative when you don’t want to stand over the stove.
Combine the sugar, flour, eggs, and milk as directed, using a large microwave-safe bowl instead of a saucepan.
Microwave for 3 minutes, then remove the bowl and stir well. Microwave for another 2 minutes and stir again.
Continue cooking in 1-minute intervals, stirring after each interval, until the mixture reaches a thick, creamy pudding consistency.
Stir in the vanilla extract and butter, then assemble the banana pudding with the sliced bananas and vanilla wafers as directed.
Tip: Don’t skip the stirring between microwave intervals. It helps the pudding heat evenly and keeps it from developing lumps.
How Do You Know When Homemade Banana Pudding Is Thick Enough?
The pudding should have a creamy, thickened consistency before you remove it from the heat.
When you stir it, the mixture should no longer look like thin milk. It should resemble a pourable homemade vanilla pudding.
Remember that the pudding will continue to firm up as it cools in the refrigerator, so it doesn’t need to be completely set while it’s still warm.
Why Is My Homemade Banana Pudding Runny?
If your banana pudding seems too thin, the homemade pudding may not have cooked long enough to thicken properly.
The flour and eggs need sufficient cooking time to thicken the milk mixture. Be sure to cook the pudding over medium-low heat, stirring frequently, until it has a noticeably creamy consistency.
Also, allow the assembled dessert to chill for the full 2 hours before serving. The pudding will firm up as it cools.
How to Keep Bananas from Turning Brown in Banana Pudding
Bananas naturally begin to brown after they’re sliced and exposed to air.
For the best results, slice the bananas just before assembling the dessert. Choose bananas that are yellow and ripe but not overly soft.
As you assemble the layers, make sure the banana slices are covered with pudding as much as possible. This helps limit their exposure to air.
Some browning is natural, especially after the dessert has been refrigerated for a day or two.
How to Store Homemade Banana Pudding
Store leftover banana pudding covered in the refrigerator.
Because this recipe contains milk, eggs, and fresh bananas, it should be kept refrigerated rather than left sitting out.
Yes! In fact, this dessert needs time in the refrigerator before serving.
Prepare the banana pudding according to the recipe, then refrigerate it for at least 2 hours so the pudding can chill and the vanilla wafers can soften.
Can You Make Old-Fashioned Banana Pudding Ahead of Time?
For the best appearance and banana texture, I recommend preparing it the same day you plan to serve it.
For the best flavor, appearance, and texture, enjoy it within 1 to 2 days. The vanilla wafers will continue to soften, and the bananas may begin to darken as the dessert sits.
Frequently Asked Questions
Not this recipe! Traditional homemade banana pudding uses a cooked pudding made from ingredients like milk, sugar, eggs, and flour. This version is completely from scratch and doesn’t require a boxed pudding mix.
Yes. The vanilla pudding is cooked until thickened before it’s layered with the sliced bananas and vanilla wafers. The assembled dessert is then refrigerated until chilled and set.
You can find banana pudding recipes assembled in different ways. In my mom’s recipe, the first layer is sliced bananas, followed by homemade pudding and vanilla wafers. Those layers are repeated until the ingredients are used.
No. Some traditional Southern banana pudding recipes are topped with meringue, but my mom’s version is made with layers of homemade vanilla pudding, bananas, and vanilla wafers. There’s no meringue or whipped topping required.
Yes! This recipe includes microwave instructions for cooking the homemade pudding before assembling the dessert.
Old Fashioned Banana Pudding
Ingredients
- 1 cup granulated sugar
- 4 Tbsp all-purpose flour
- 2 cups milk
- 2 large eggs
- ½ tsp vanilla extract
- ½ stick (1/4 cup) butter
- 4 bananas, sliced
- 11 oz box vanilla wafers
Directions
- In a medium saucepan, whisk together the sugar and flour.
- In a separate bowl, beat the eggs. Add the milk and whisk until combined.
- Pour the milk and egg mixture into the sugar and flour mixture and whisk until well combined.
- Cook over medium-low heat, stirring frequently, until the pudding thickens to a creamy pudding consistency.
- Remove the saucepan from the heat. Stir in the vanilla extract and butter, if using, until smooth.
- Arrange a layer of sliced bananas in the bottom of a serving bowl. Spoon some of the pudding over the bananas, then add a layer of vanilla wafers.
- Repeat the layers with the remaining bananas, pudding, and vanilla wafers.
- Refrigerate until chilled and set before serving.
Notes
Nutrition Facts
⭐ Leave a comment and rating below — it helps other readers!
👩🍳 Did you make any changes or substitutions?
I’d love to hear how it turned out in your kitchen.
📌 Save this recipe so you can make it again.
📧 Want more easy family dinners like this in your inbox?
Join my free Dinner Idea Box newsletter for simple family dinners every week.
More Banana Desserts You’ll Love
If you love bananas as much as I do, there are plenty of other delicious ways to enjoy them!
For another homemade favorite, try my Fluffy Banana Cream Pie, made with a creamy banana filling and buttery graham cracker crust.
If you’re looking for a fun twist on banana pudding, my Nutter Butter Banana Pudding Trifle combines bananas, creamy pudding, and peanut butter cookies. Or try my Banana Pudding Poke Cake for an easy cake-inspired version of this classic dessert.







A Family Recipe Worth Keeping
There is something special about making a recipe the same way your mom made it. This Old-Fashioned Banana Pudding isn’t complicated or fancy, but that’s exactly why I love it.
Just homemade vanilla pudding, bananas, vanilla wafers, and a little patience.
It’s the kind of dessert that reminds me that sometimes the simplest recipes are the ones worth holding on to.


