Cadbury Creme Egg Bites (No Bake Easter Candy Recipe)
Disclosure: This post may contain affiliate links.If you make a purchase through links on our site, we may earn a commission.
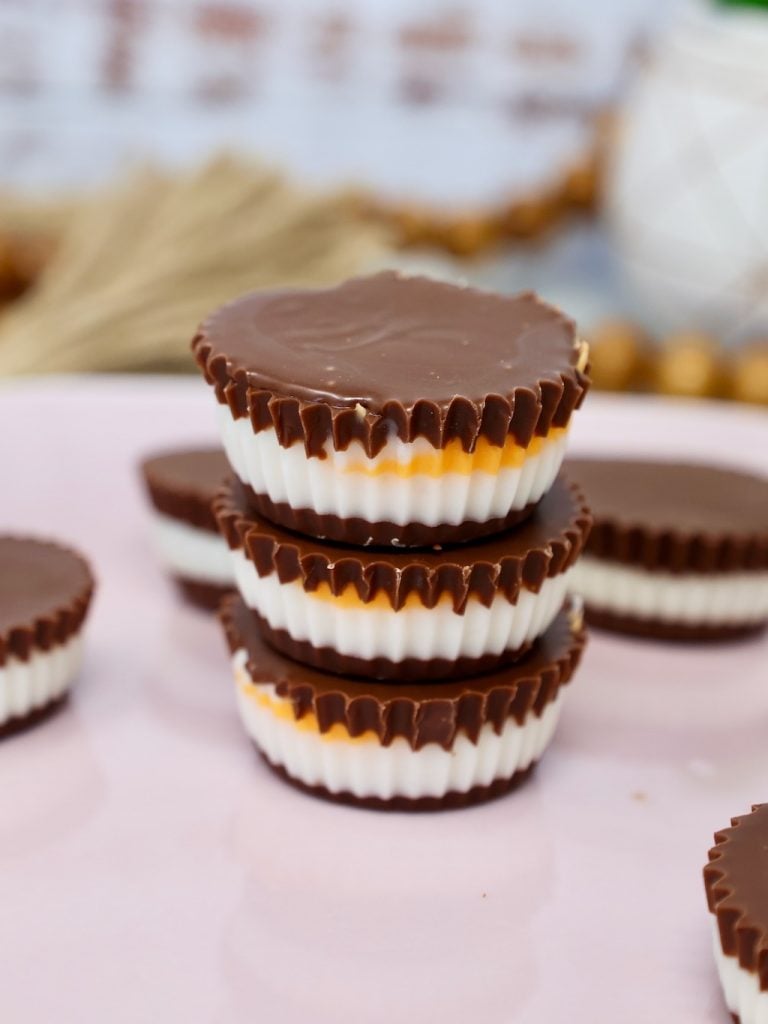
Cadbury Creme Bites are my go to treat when I want that classic Easter candy flavor without buying a single package from the store. These little chocolate bites have a rich milk chocolate shell and a creamy, sweet center that tastes just like a Cadbury Creme Egg, and they always disappear fast. If you love homemade Easter candy, this is one recipe you are going to want to make again and again.
These Cadbury Creme Egg Bites are one of my favorite easy Easter desserts and perfect if you’re looking for fun Easter candy recipes to make at home.
I have made these Cadbury Creme Bites many times over the years, especially around Easter when I need something festive, portable, and guaranteed to impress.
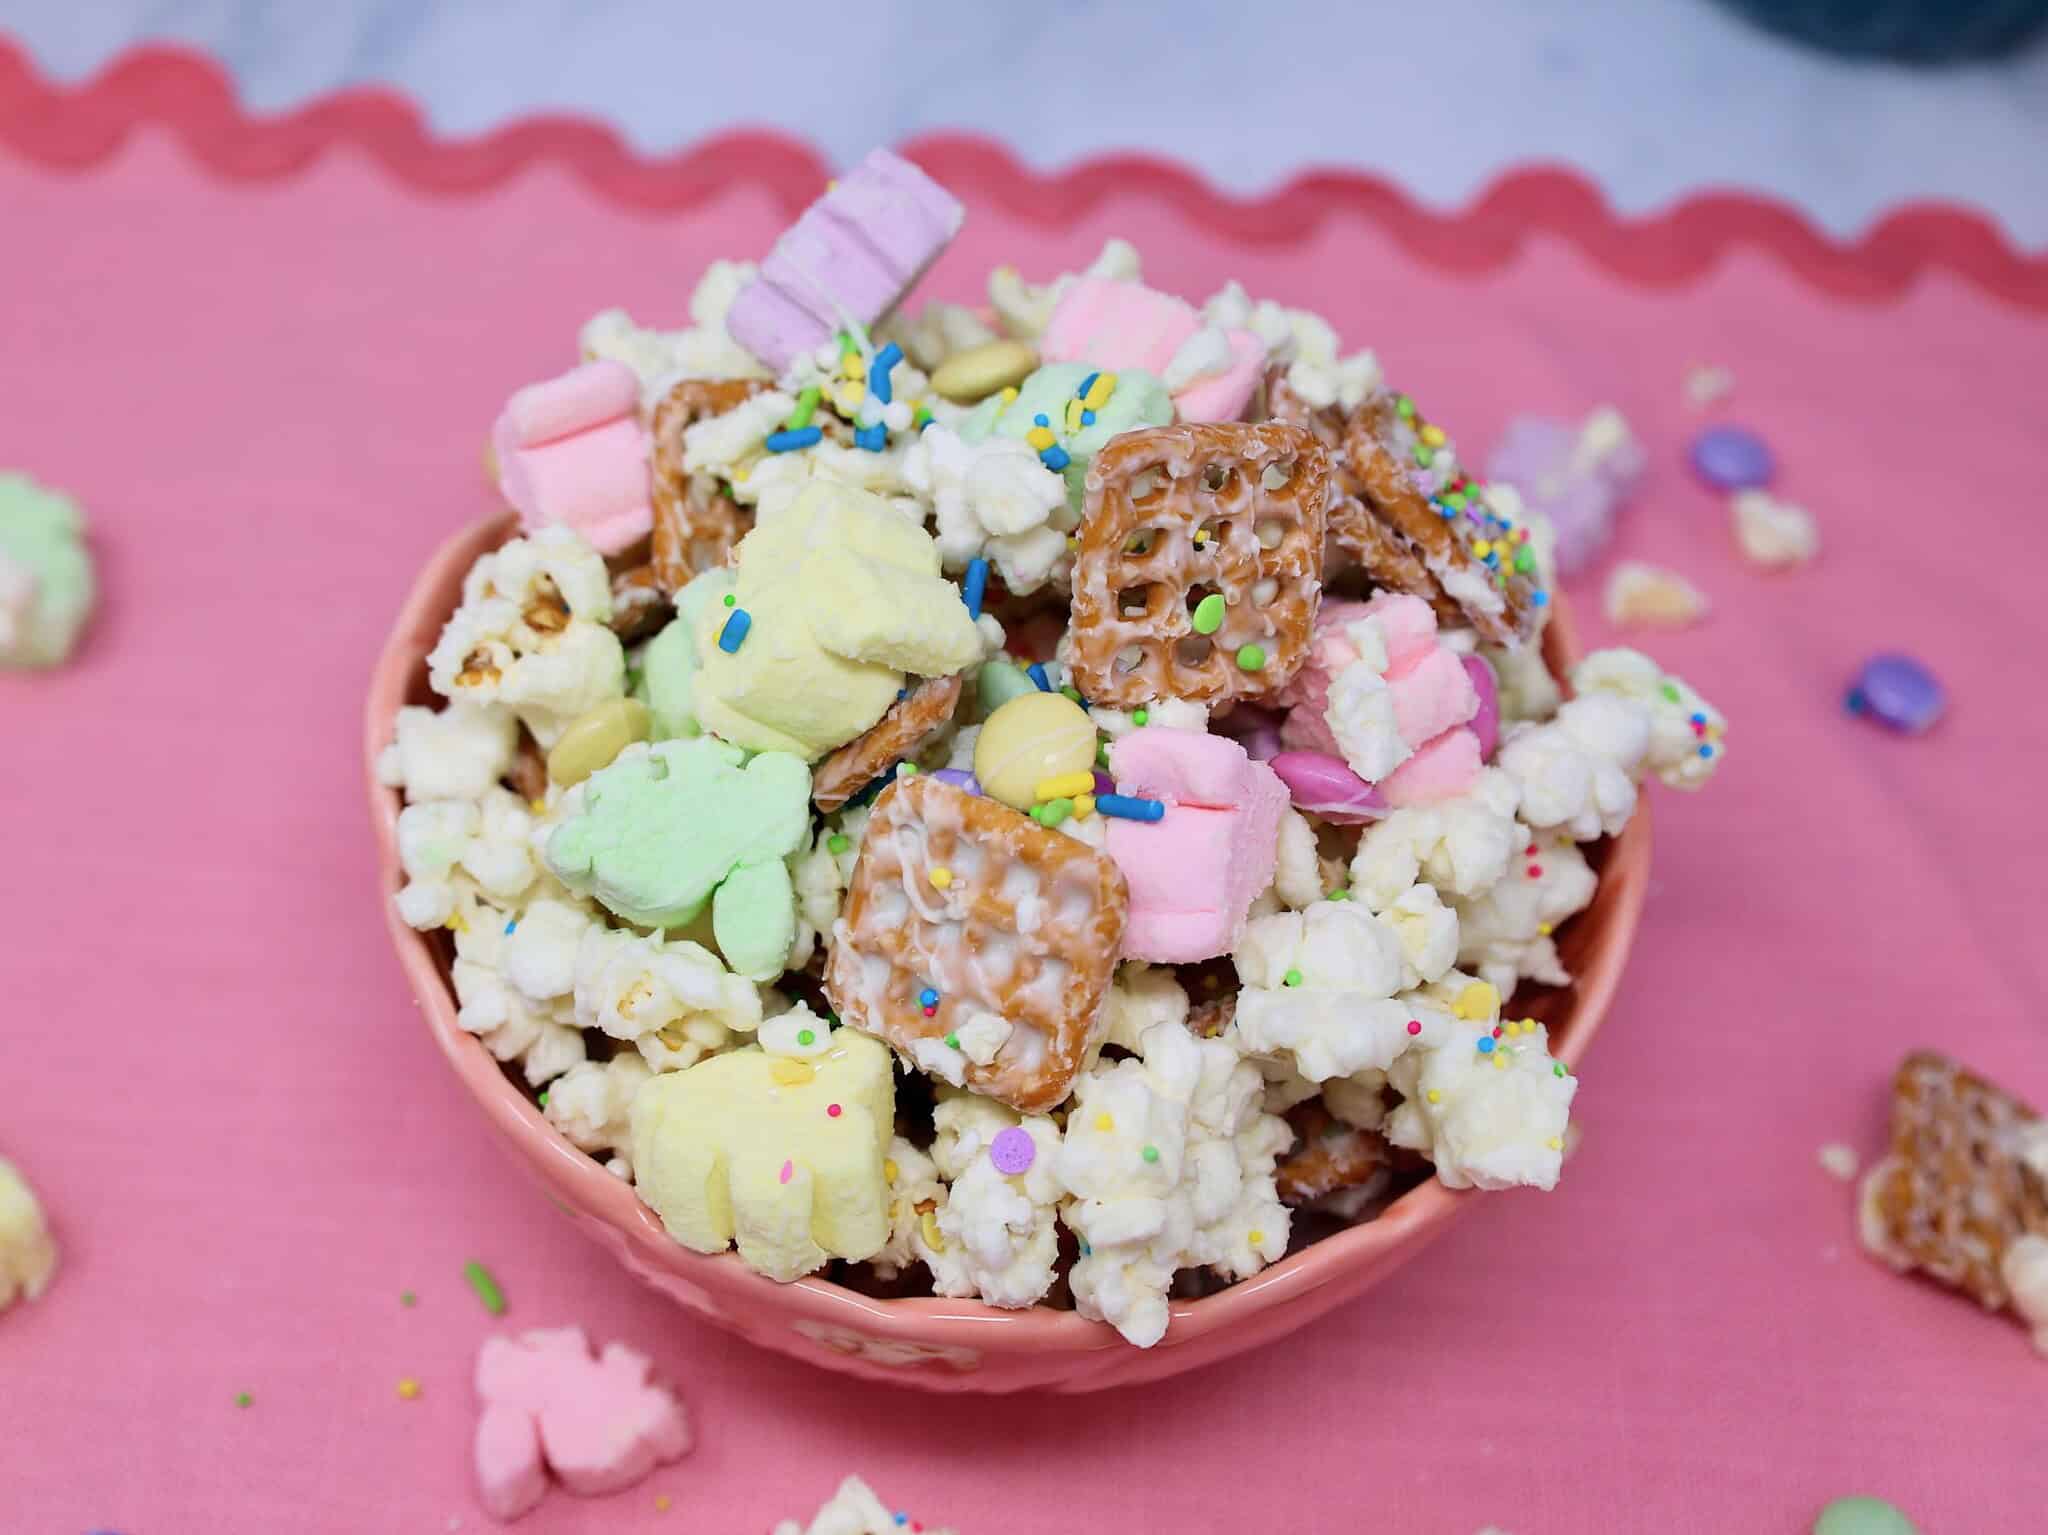
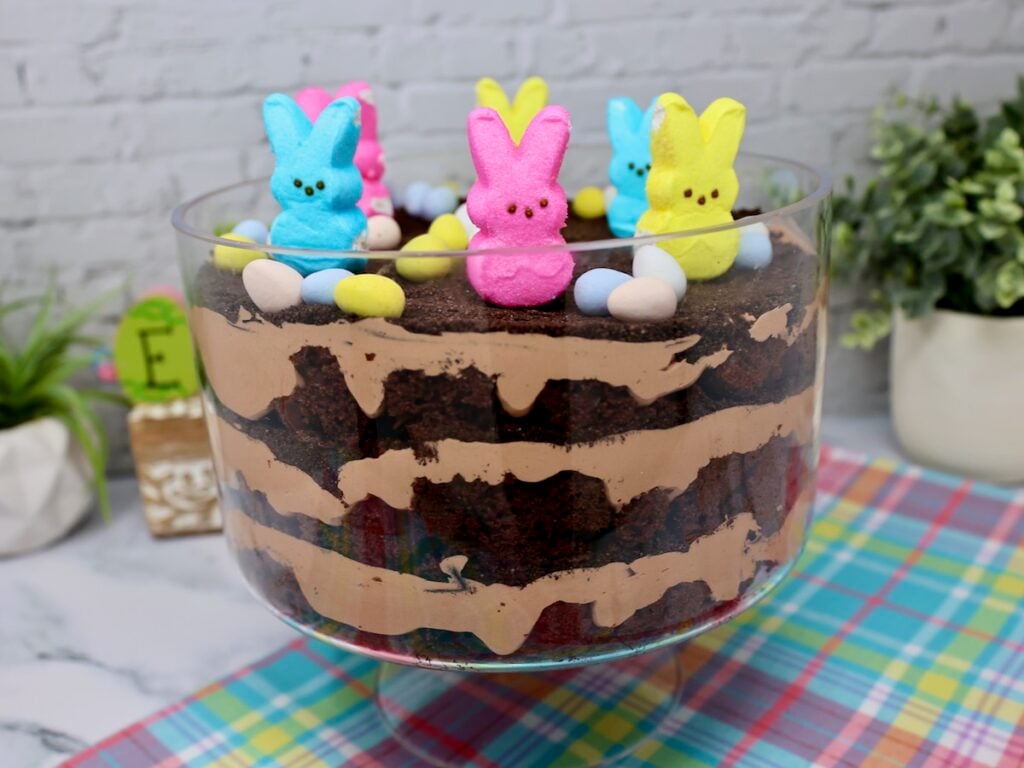
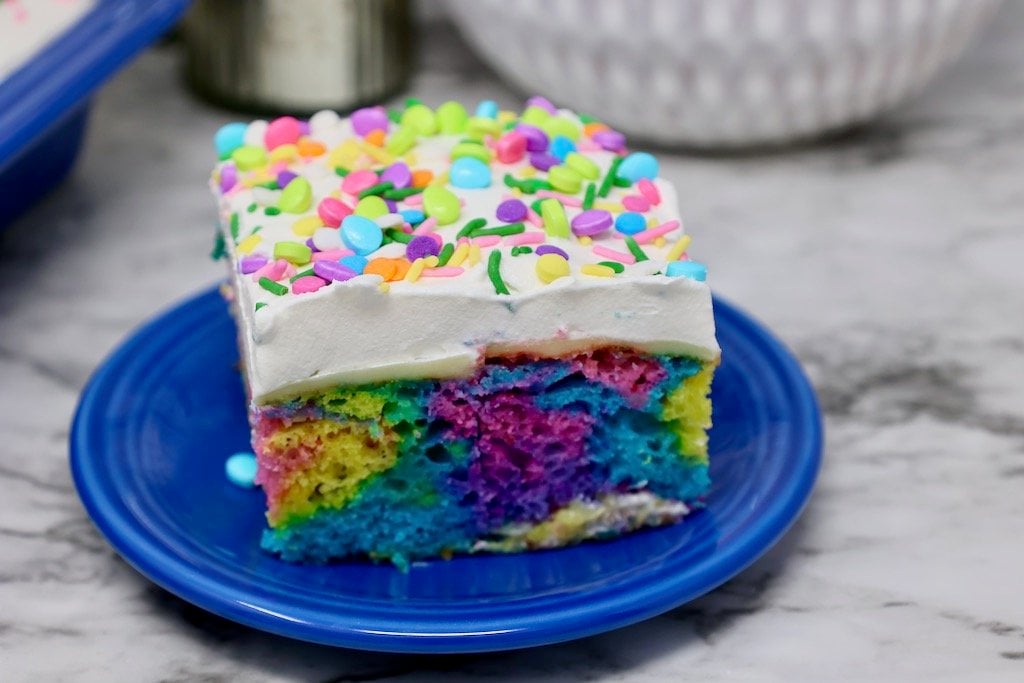
They are perfect alongside other favorites like Easter Poke Cake, Peeps Brownie Easter Eggs, or Lemon Blossoms when I am putting together a dessert table.
I love having a few reliable Easter candy recipes that I know will turn out every single time, and this one is always at the top of my list.
Table of contents
- Why These Cadbury Creme Bites Taste Like the Real Thing
- What Is Inside a Cadbury Creme Egg? (And How This Recipe Copies It)
- Ingredients for Homemade Cadbury Creme Egg Bites
- How to Make Cadbury Creme Bites
- Pro Tips for Perfect Chocolate Shells and Creamy Centers
- How to Serve Cadbury Creme Bites for Easter
- Recipe Variations
- Frequently Asked Questions
- More Easy Easter Treats
Why These Cadbury Creme Bites Taste Like the Real Thing
I love this recipe because it delivers that nostalgic Cadbury Creme Egg flavor in an easy, bite size form.
Making them in mini cupcake liners makes them simple to transport and serve, which is perfect for parties, church events, and school functions.
I also appreciate that this is a no bake Easter candy recipe, so I can make it without turning on the oven.
Best of all, I can get my favorite Easter sweet treat without having to go to the store.
What Is Inside a Cadbury Creme Egg? (And How This Recipe Copies It)
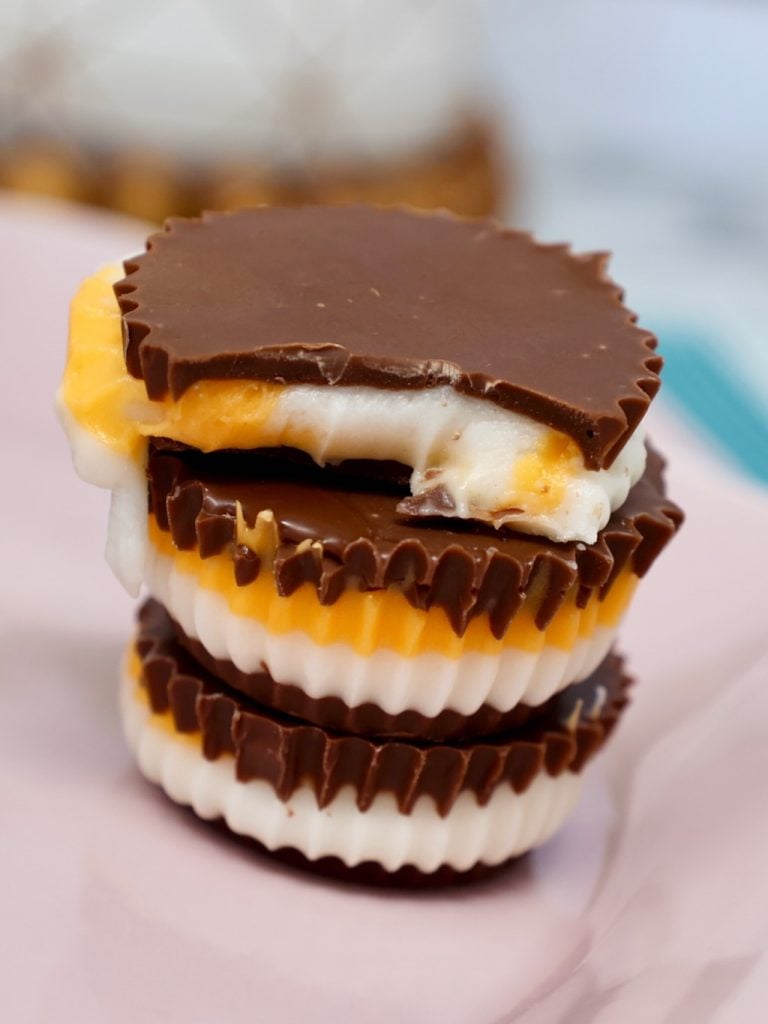
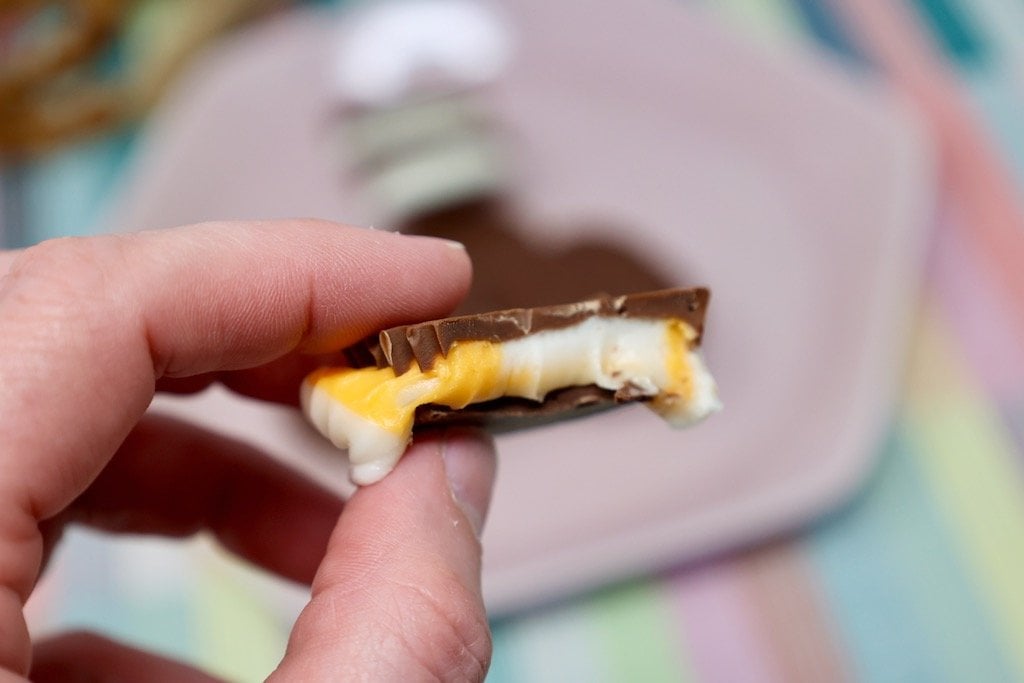
A Cadbury Creme Egg is filled with a soft, sweet fondant center made from sugar, corn syrup, and vanilla — with a white base and yellow “yolk” to look like a real egg.
This recipe recreates that same creamy filling using simple ingredients, then coats it in chocolate for that classic bite. The result is soft, sweet, and just a little gooey — just like the original, but easier to make at home.

Ingredients for Homemade Cadbury Creme Egg Bites
This recipe uses simple ingredients that come together to create that iconic creme filled chocolate center.
- Milk chocolate
This forms the outer shell of the candy and gives the bites that classic smooth chocolate flavor. I stick with milk chocolate to stay true to the original, but you can use a darker chocolate if you prefer a richer taste. - Light corn syrup
This is key for creating the signature creamy and slightly stretchy creme filling. There really is no perfect substitute here if you want that authentic texture. - Butter
Softened butter helps make the creme filling smooth and rich. Make sure it is truly softened so it blends easily. - Vanilla extract
Vanilla adds depth and warmth to the filling and balances the sweetness. - Powdered sugar
This sweetens and thickens the creme filling. I always sift mine first because it mixes in more smoothly. - Salt
A small amount of salt keeps the filling from being overly sweet and enhances the overall flavor. - Milk
Milk helps loosen the filling just enough to make it pipeable without becoming runny. - Orange gel food coloring
This creates the classic yolk color inside the creme. Gel food coloring works best because it does not thin the mixture. - Yellow gel food coloring
A single drop helps achieve that perfect Cadbury style orange shade.

How to Make Cadbury Creme Bites
These homemade Cadbury Creme Egg bites come together in layers, and once you get into a rhythm, the process goes quickly.
Pro Tips for Perfect Chocolate Shells and Creamy Centers
One trick that always works for me in my kitchen is letting the creme layers sit for a minute or two before topping with chocolate.
The filling naturally settles and smooths itself, which makes the finished bites look cleaner and more professional.
I also like to use bag clips to seal my piping bags between steps so nothing dries out or makes a mess.
How to Serve Cadbury Creme Bites for Easter
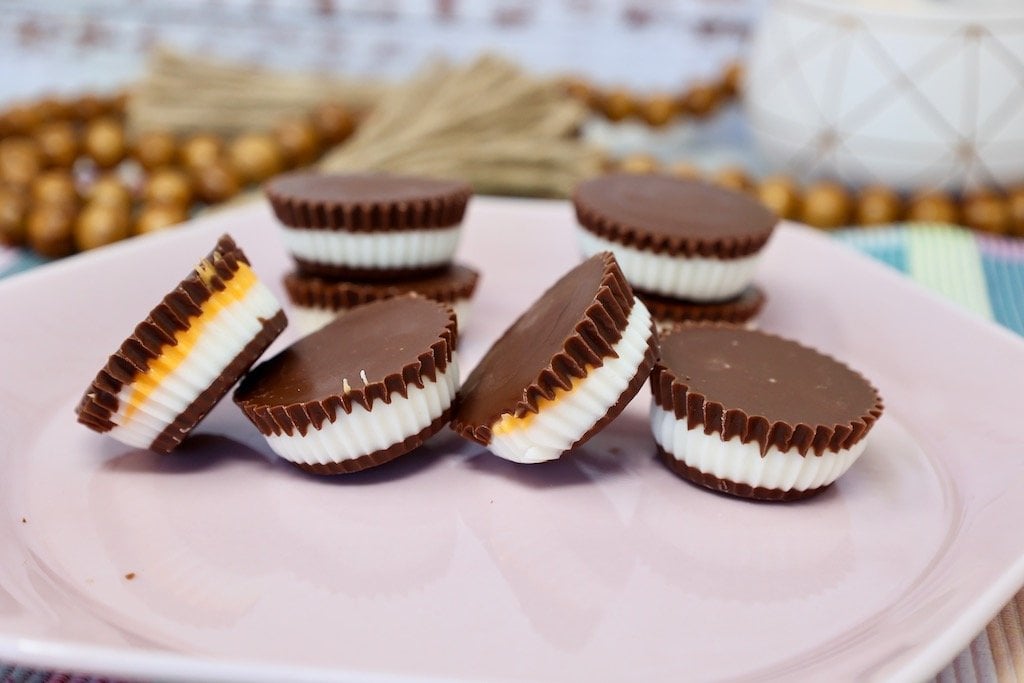
Serve these Cadbury Creme Bites chilled or at cool room temperature for the best texture.
They look beautiful arranged on a dessert tray with other Easter treats, like my favorite Easter Rice Krispie Brownies, or packaged individually in small treat bags for gifting.
These are perfect for Easter baskets, spring parties, or as a sweet addition to a holiday dessert spread.
Recipe Variations
If you love experimenting, there are a few easy ways to change these up.
Try using dark chocolate for a richer, less sweet candy.
You can also add a tiny splash of coconut extract along with the vanilla for a subtle twist.
For a fun presentation, use pastel colored liners to make them even more festive for Easter.
Frequently Asked Questions
Stored in an airtight container in the refrigerator, they will keep well for up to one week.
Yes, this is a great make ahead Easter candy. I often prepare them a day or two before an event and keep them chilled until serving.
If the filling is too stiff, mix in a tiny splash of milk until it pipes easily. If it is too soft, add a little more powdered sugar until it firms up.
Piping bags make the process much easier and cleaner, but you can also use zip top bags with the corner snipped if needed.
Cadbury Creme Bites are one of those recipes that always make people smile, and I hope you give them a try this Easter season.
If you make them, I would love to hear how they turned out for you.
Leave a comment below and let me know if they became a new holiday favorite in your kitchen too.
Cadbury Creme Bites
Ingredients
- 2 pkgs, 16 oz each milk chocolate, melted
- 1 cup light corn syrup
- ½ cup butter, softened
- 2 tsp vanilla extract
- 6 cups powdered sugar
- ½ tsp salt
- 2 Tbsp milk
- 2 drops orange gel food coloring
- 1 drop yellow gel food coloring
Directions
- Line 48 mini muffin cups with parchment paper liners.
- In a microwave-safe bowl, microwave 16 ounces of milk chocolate on HIGH power for 30 seconds. Stir well. Continue melting in 20-second increments until chocolate is melted and smooth.
- Pour melted chocolate into a piping bag. Snip off the tip of the bag and pipe a thin layer of melted chocolate into the bottoms of the paper liners. Gently tap the muffin pan on the counter to help distribute the chocolate evenly. (Squeeze any extra chocolate back into the bowl for re-melting.)
- In the bowl of a stand mixer, beat the butter and corn syrup together. Add milk, vanilla and salt. Slowly add the powdered sugar, mixing well after each addition. Mixture will be stiff. Spoon 2/3 of the creme mixture into a piping bag.
- Add 2 drops of orange gel food coloring and 1 drop of yellow gel food coloring to the remaining creme mixture. Mix well until the creme is a consistent color and the desired shade of orange. Spoon the orange creme mixture into a separate piping bag.
- Cut the tip off the bag of white creme to where the opening is about 1/2-inch in diameter. Pipe a thick layer of creme on top of the chocolate layer.
- Cut the tip off the bag of orange creme to where the opening is about 1/4-inch in diameter. Pipe the orange creme onto the middle of the white creme layer. Tap the muffin pan on the counter to smooth out the creme layers. The longer the creme sits, the more it will smooth out.
- Add the remaining 16 ounces of milk chocolate to the bowl of chocolate and re-melt it in the microwave. Pour the melted chocolate into a clean piping bag and cut off the tip.
- Pipe the melted chocolate on top of the creme layer, making sure the chocolate completely covers all the way to the edges. Tap the pan on the counter to help smooth out the chocolate.
- Refrigerate for 30 minutes until chocolate is set.
Equipment
Nutrition Facts
⭐ Leave a comment and rating below — it helps other readers!
👩🍳 Did you make any changes or substitutions?
I’d love to hear how it turned out in your kitchen.
📌 Save this recipe so you can make it again.
📧 Want more easy family dinners like this in your inbox?
Join my free Dinner Idea Box newsletter for simple family dinners every week.
More Easy Easter Treats
If you’re planning your Easter menu, here are a few more easy favorites:


This looks so good! What a great combination of flavors!
I made these for my kid who can’t eat regular Cadbury cream eggs. They’re similar in taste – essentially what’s frosting sandwiches between chocolate disks. put we did find them kind of impossible to eat. Getting them out of the silicone cupcake molds was difficult, then you had to let them come to room temp to make the chocolate “biteable,” at which point all the cream had oozed out onto the plate 😂. Using a hollow egg mold so all the cream is fully contained could work.
Did mine turn out like they should or did I go wrong? In the photos the cream appears to hold up shape on its own.