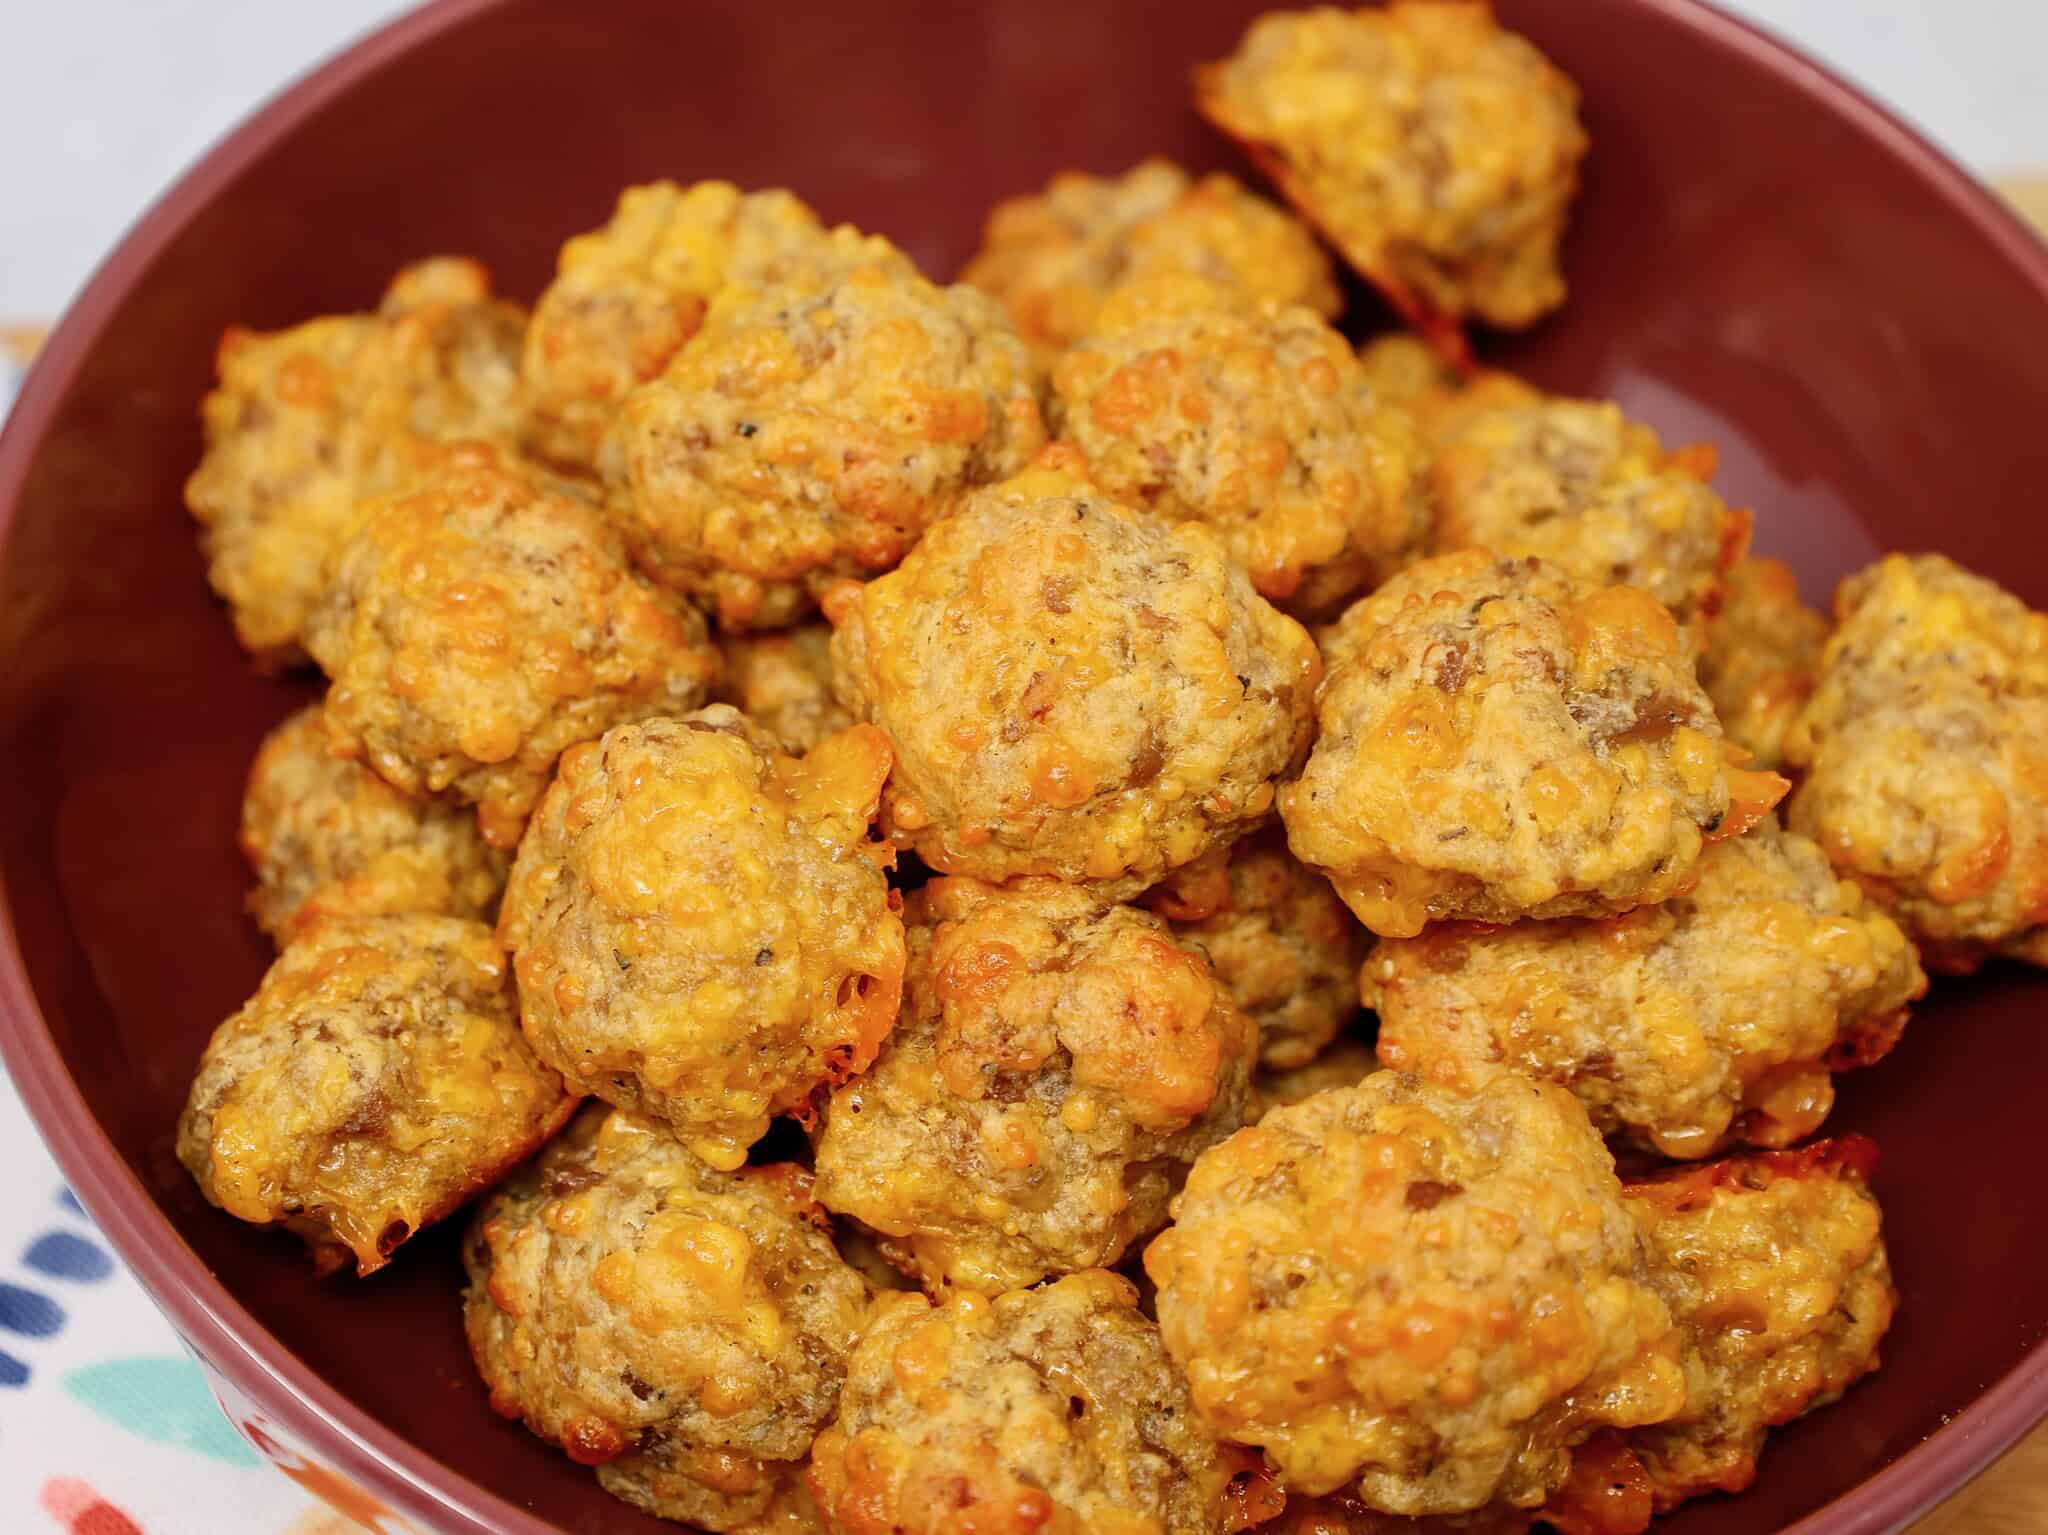
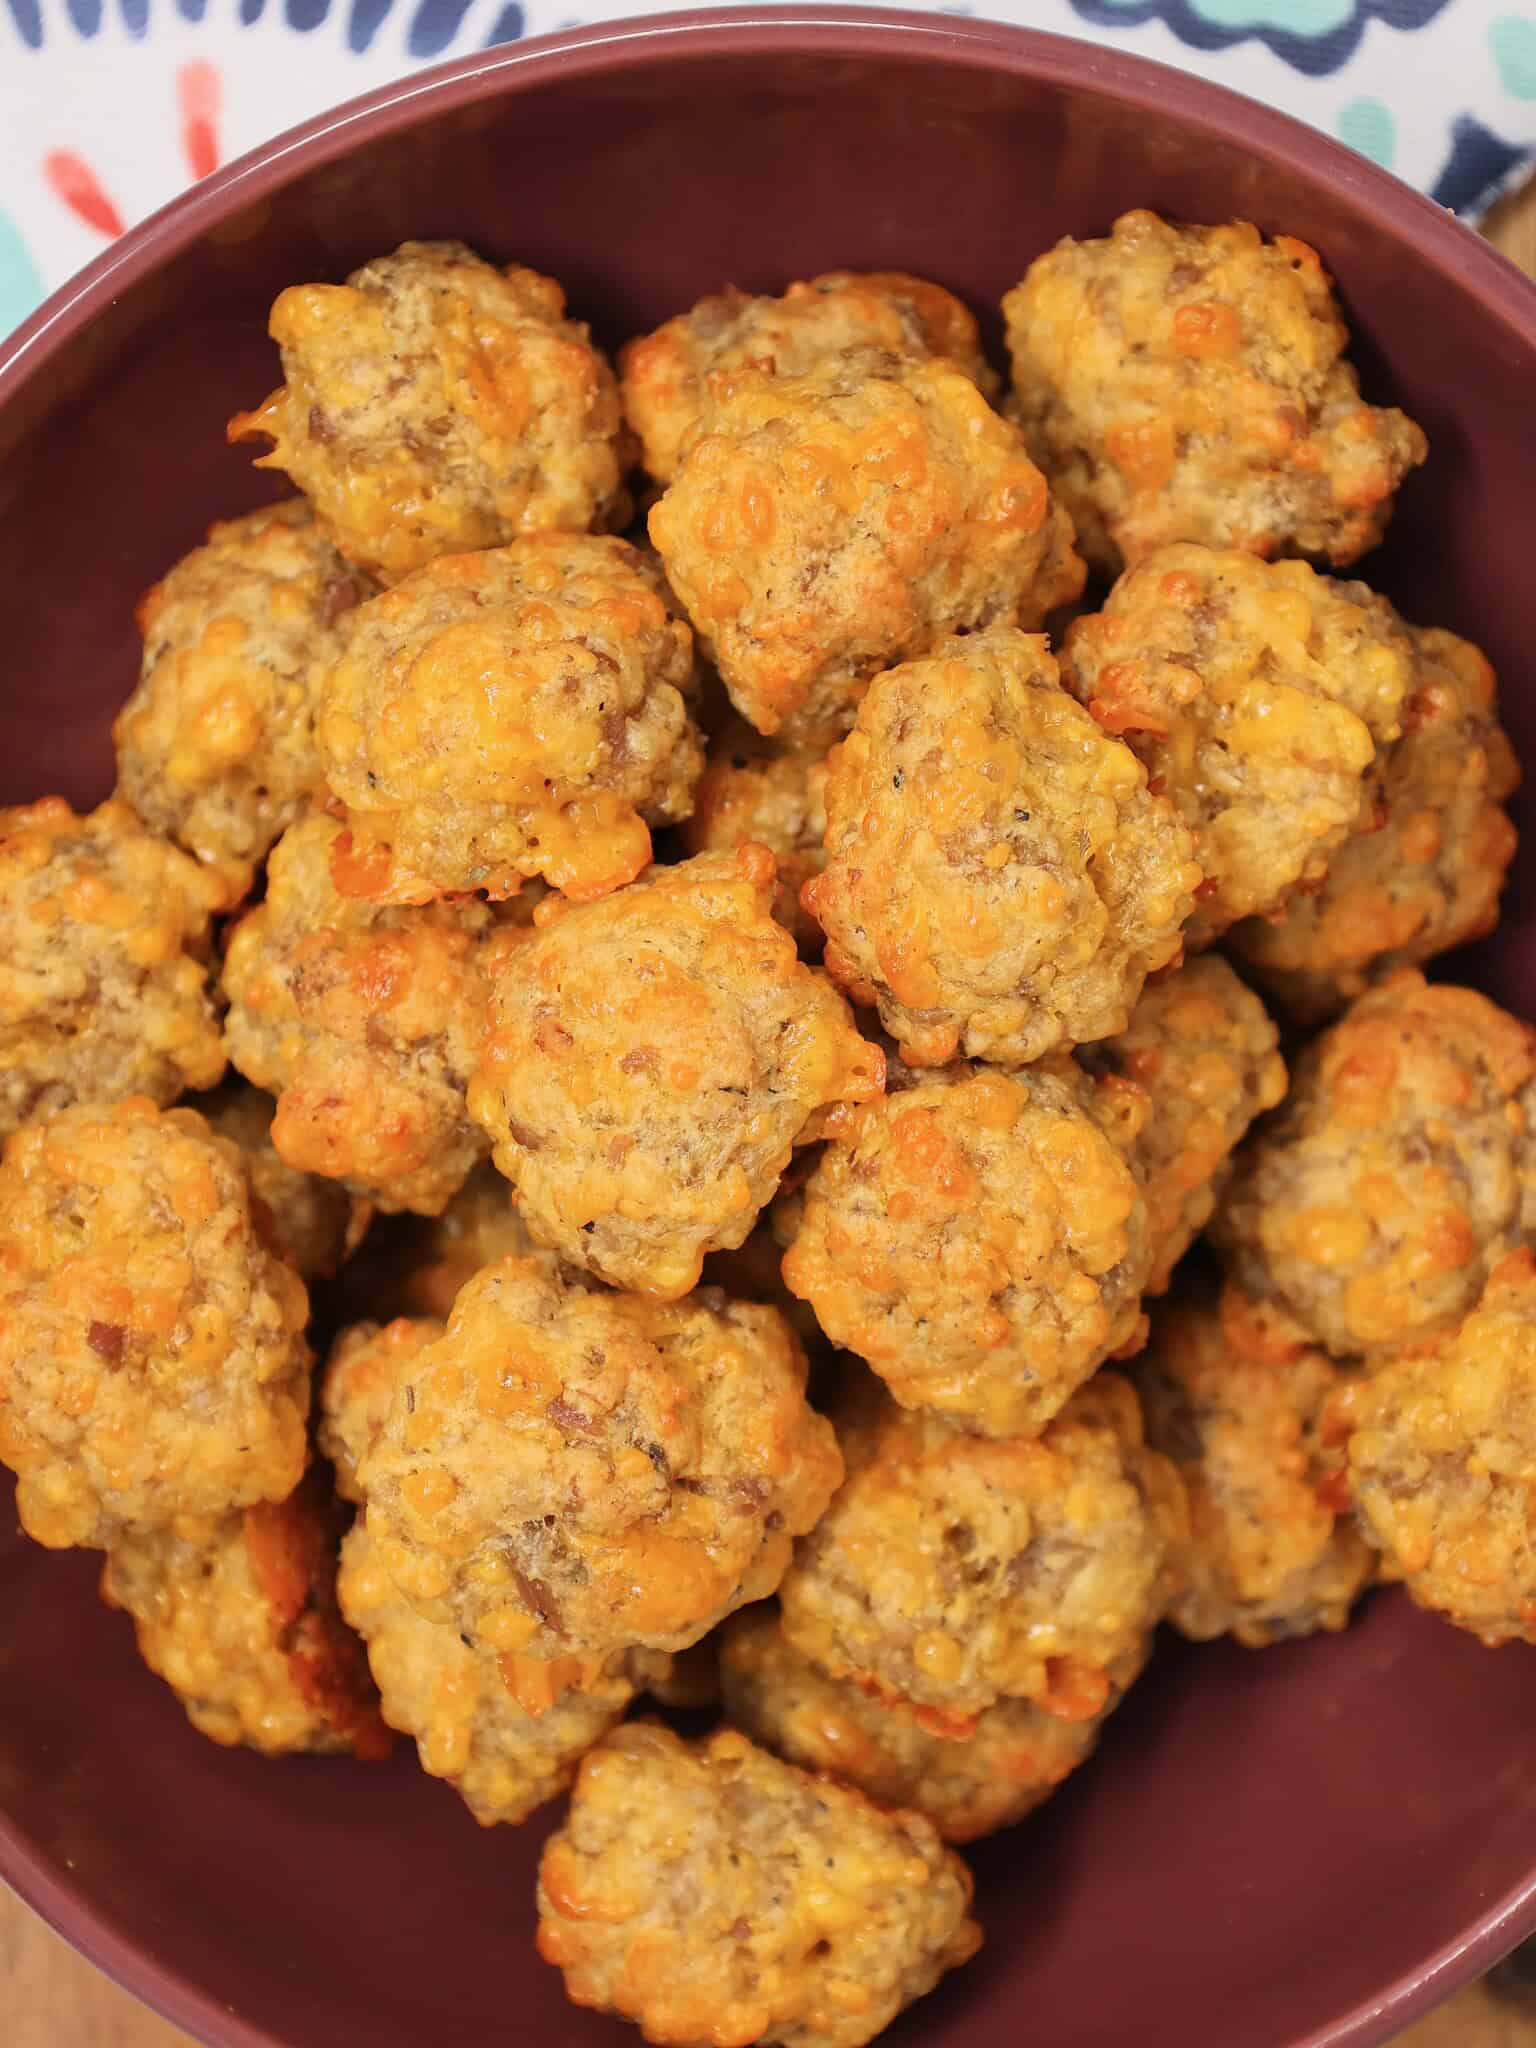
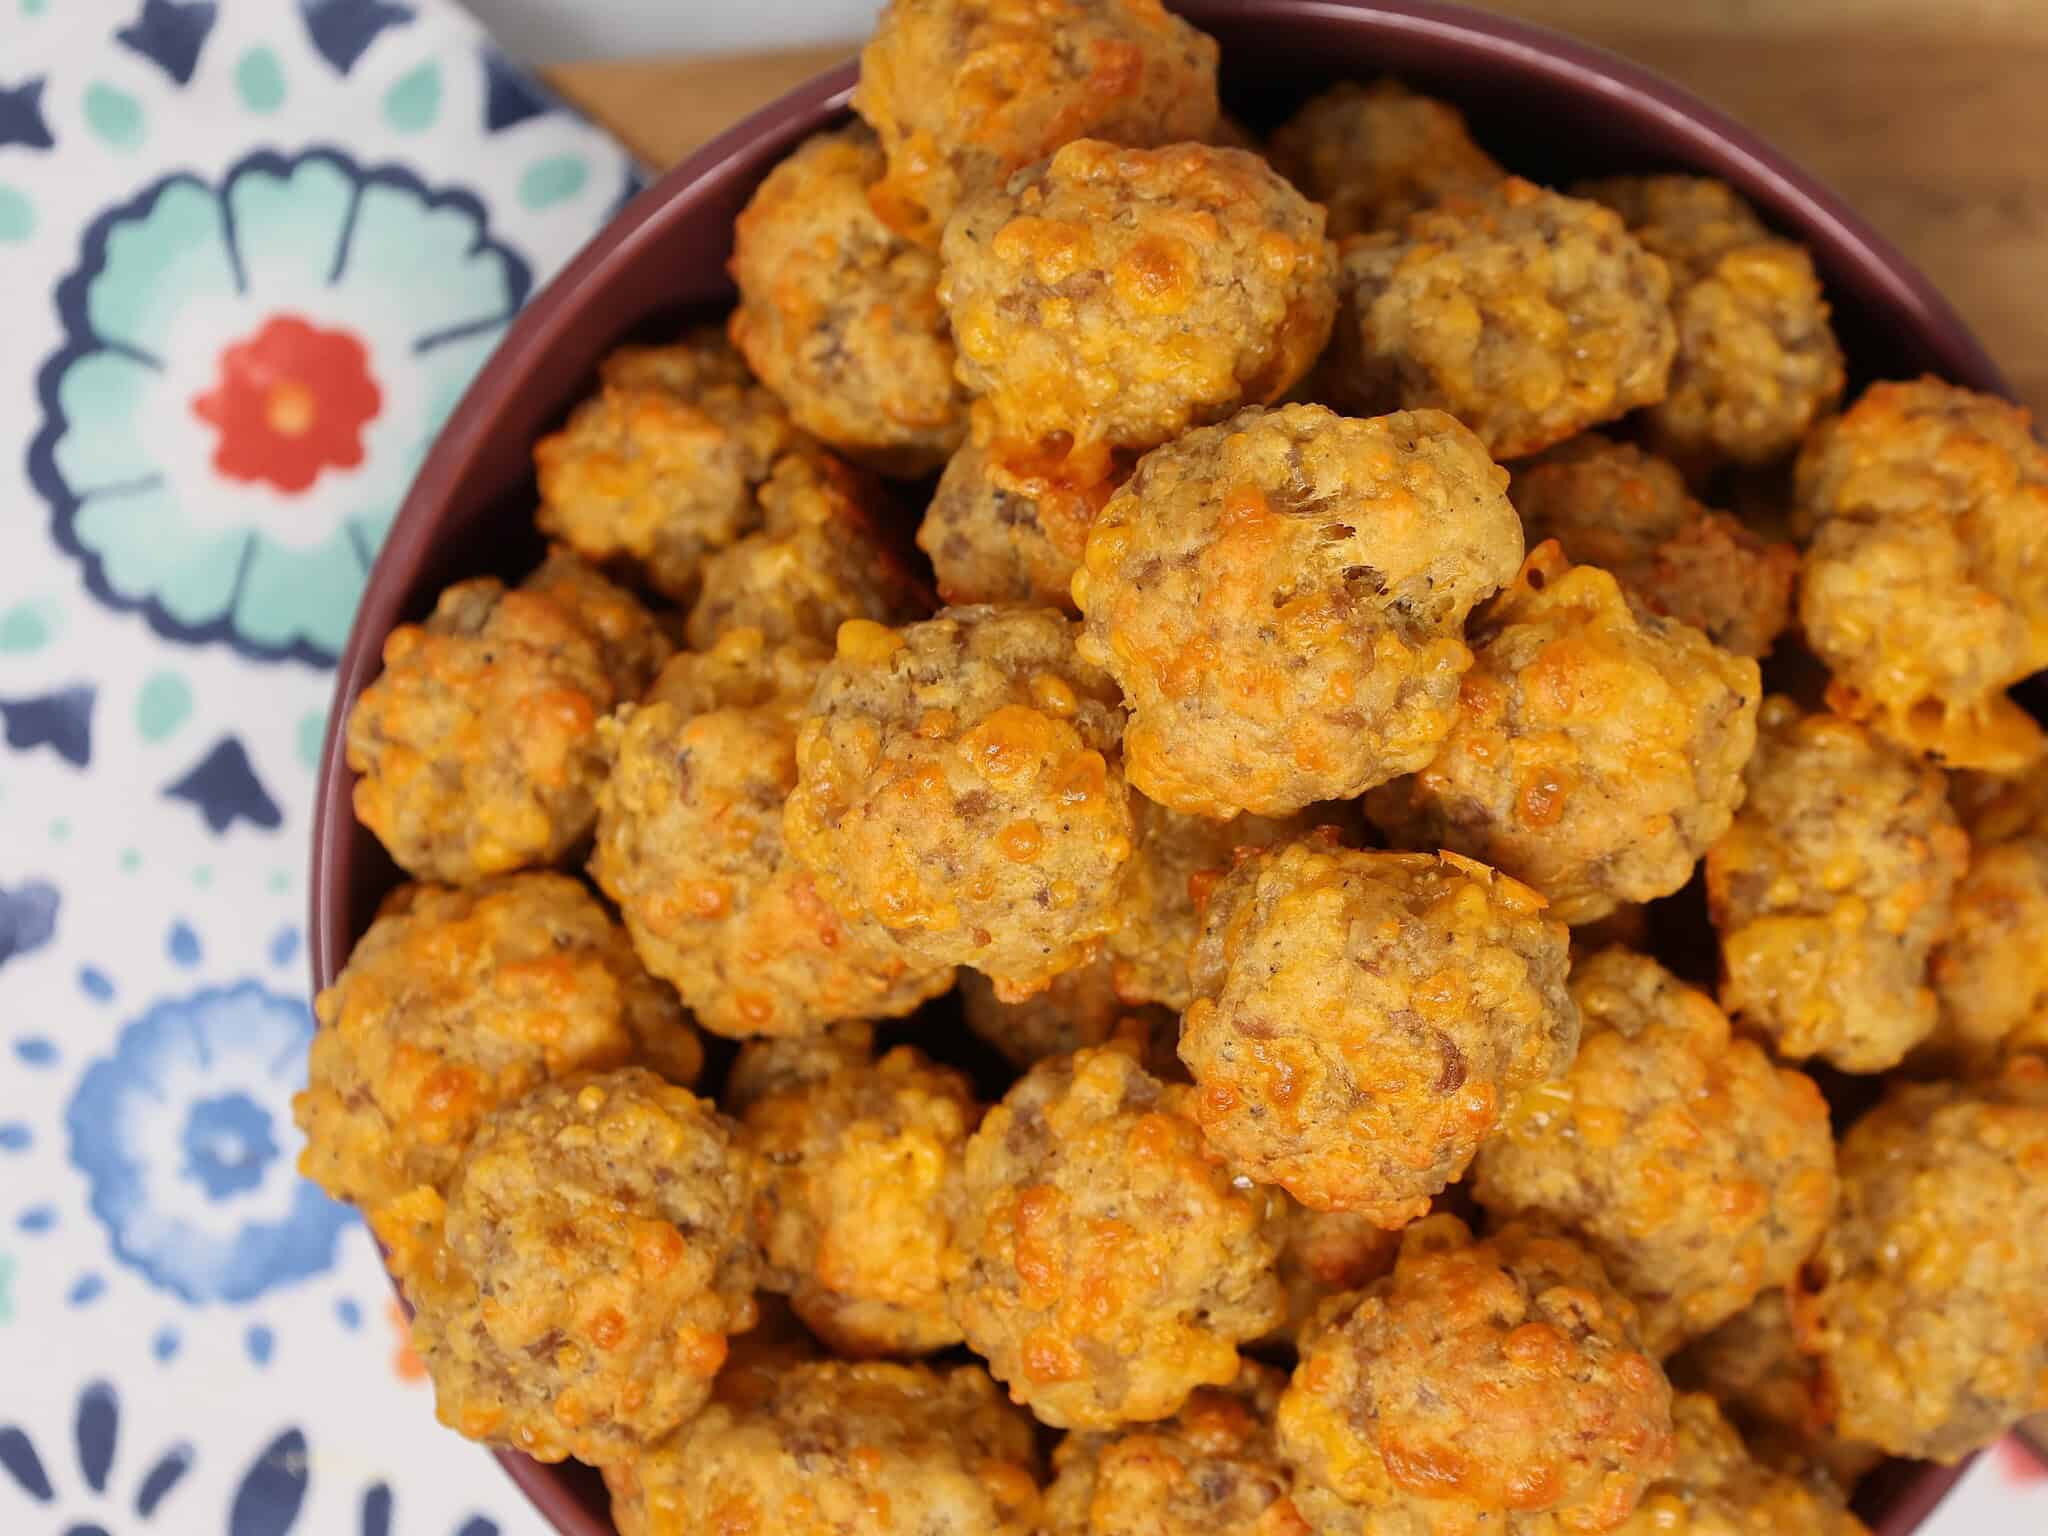
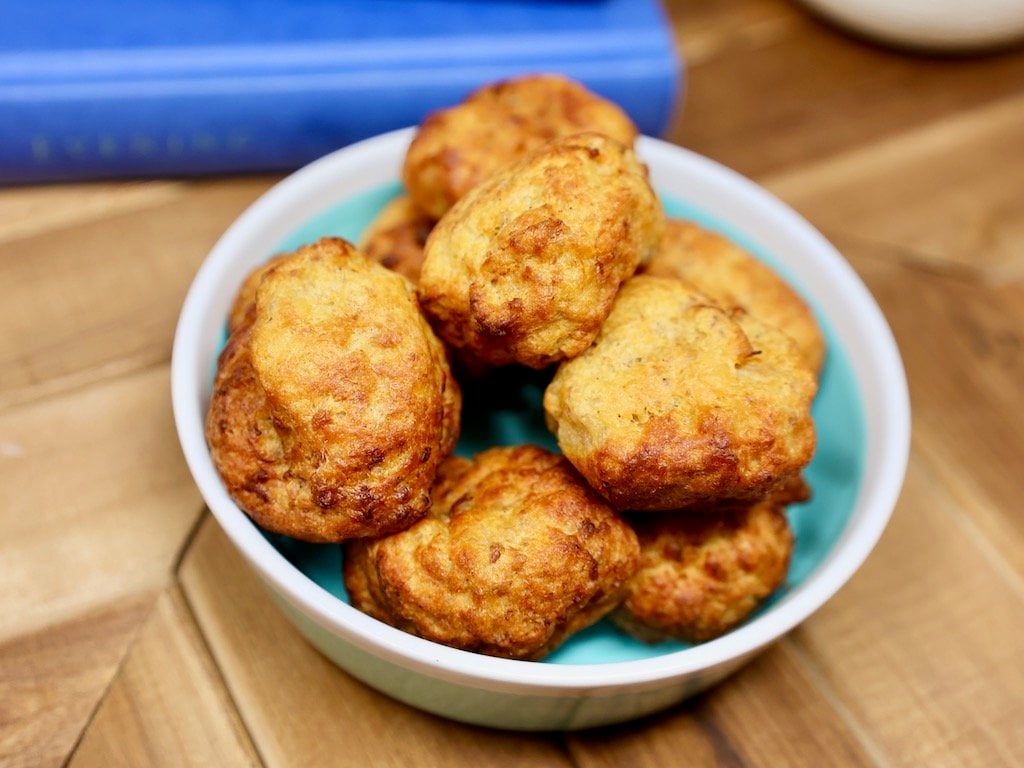
Easy Bisquick Sausage Balls with Cheddar Cheese
Disclosure: This post may contain affiliate links.If you make a purchase through links on our site, we may earn a commission.
If you’re looking for a crowd-pleasing bite that’s as effortless as it is delicious, these Easy Bisquick Sausage Balls with Cheddar Cheese are always a winning choice. I’ve made them for everything from holiday gatherings to game-day spreads, and there’s never a single one left. They’re golden, cheesy, savory little bites that take almost no time to prep—and everyone always asks for the recipe.

I’ve been making these sausage balls for years, and they’ve truly become one of my go-to appetizers.
I love recipes like this that come together quickly but taste like you spent way more time in the kitchen.
If you enjoy easy finger foods, you might also love my Ham and Cheese Pinwheels or Hot Italian Sliders.
These sausage balls fit right in with the kind of recipes I reach for again and again—simple, comforting, and always delicious.
Table of contents
Why I Love This Recipe
I love this recipe because it hits that perfect balance of simple ingredients and big flavor.
There’s no fussing with special tools or fancy techniques, and everything mixes together in one bowl.
I also love that the leftovers reheat beautifully, making these great for breakfast meal prep or quick snacks during busy weeks.
Plus, they freeze well—so I often double the batch and stash some away for later.

Ingredients & Substitutions
Here’s what you’ll need to bring these sausage balls together:
- Bisquick baking mix
I use Bisquick for that classic fluffy-yet-structured texture. It also helps bind everything together. A generic biscuit mix works too if that’s what you have. - Jimmy Dean pork sausage
This adds all the savory flavor and richness. I love Jimmy Dean because it seasons consistently, but any regular pork breakfast sausage works well. - Sharp cheddar cheese, grated
Sharp cheddar gives the best flavor payoff here. You can swap in mild cheddar, Colby Jack, or even pepper jack if you want a little heat. - Milk
The milk helps moisten the mixture and bring the dough together. Any dairy milk works, and in a pinch, unsweetened almond milk can be used. - Italian seasoning
Just enough to give the sausage balls a little herby depth. You can substitute your favorite all-purpose seasoning blend or even add a pinch of garlic powder.
How to Make Cheddar Cheese Sausage Balls
These sausage balls come together quickly and easily—perfect for busy mornings or party prep.
- Preheat oven to 350°F. Line a rimmed baking sheet with parchment paper or spray with nonstick spray.
- In a large bowl, mix together Bisquick, sausage, cheddar cheese, milk, and Italian seasoning until well combined.
- Scoop mixture into 1-inch portions with a cookie scoop or spoon.
- Roll into balls, pressing gently so they hold their shape.
- Place on the prepared baking sheet, leaving space between each ball.
- Bake for 20–25 minutes, or until golden brown and cooked through.
- Serve warm with dipping sauce, if desired.
Pro Tips
Grate your own cheese — Pre-shredded cheese is convenient but tends to include anti-caking agents that make the mixture a little drier. Freshly grated melts better.
Use a cookie scoop — This keeps the balls uniform in size so they bake evenly.
Don’t overmix — Mix just until combined. Overmixing can make the sausage balls tough.
Test bake one — If you want to adjust seasoning or texture, bake a single ball first and tweak the mixture before baking the full tray.
Serving Recommendations
These sausage balls are incredibly versatile.
Here are a few of my favorite ways to serve them:
- As a breakfast side with eggs and fruit
- On a brunch board next to muffins, fresh berries, and yogurt
- With dipping sauces like honey mustard, ranch, or spicy aioli
- As an appetizer alongside other finger foods for parties or holiday gatherings

Recipe Variations
Spicy Sausage Balls: Use hot breakfast sausage or add red pepper flakes.
Cheesy Ranch Sausage Balls: Substitute the Italian seasoning for ranch seasoning mix.
Gluten-Free: Swap Bisquick for a gluten-free biscuit baking mix.
Low-Carb: Replace Bisquick with almond flour and a pinch of baking powder (texture will vary).
Bacon Cheddar Sausage Balls: Add crumbled cooked bacon for extra smoky flavor.
Handpicked Recipe Favorites From My Kitchen, Just For You!


Frequently Asked Questions
Yes! You can assemble the raw sausage balls and refrigerate them for up to 24 hours before baking. They also freeze beautifully—just flash-freeze on a sheet pan, then store in a freezer bag. Bake from frozen, adding 3–5 extra minutes.
Store cooked sausage balls in an airtight container in the refrigerator for up to 4 days. Reheat in the microwave or oven.
Absolutely. Freeze them fully baked, then reheat at 350°F for about 10 minutes.
This can happen if the cheese wasn’t freshly grated or if the sausage mixture needed a splash more milk. The fat content of the sausage also matters—lean sausage tends to be drier.
Honey is always a favorite at my house, but ranch dressing, honey mustard, barbecue sauce, cheese dip, or even maple syrup for breakfast are fantastic options.
I hope you love these Easy Bisquick Cheddar Sausage Balls as much as my family and I do—they’re such a simple recipe, but they always feel special.
If you try them, I’d love to hear how they turned out for you, so be sure to leave a comment below.
Your feedback and variations are always welcome!
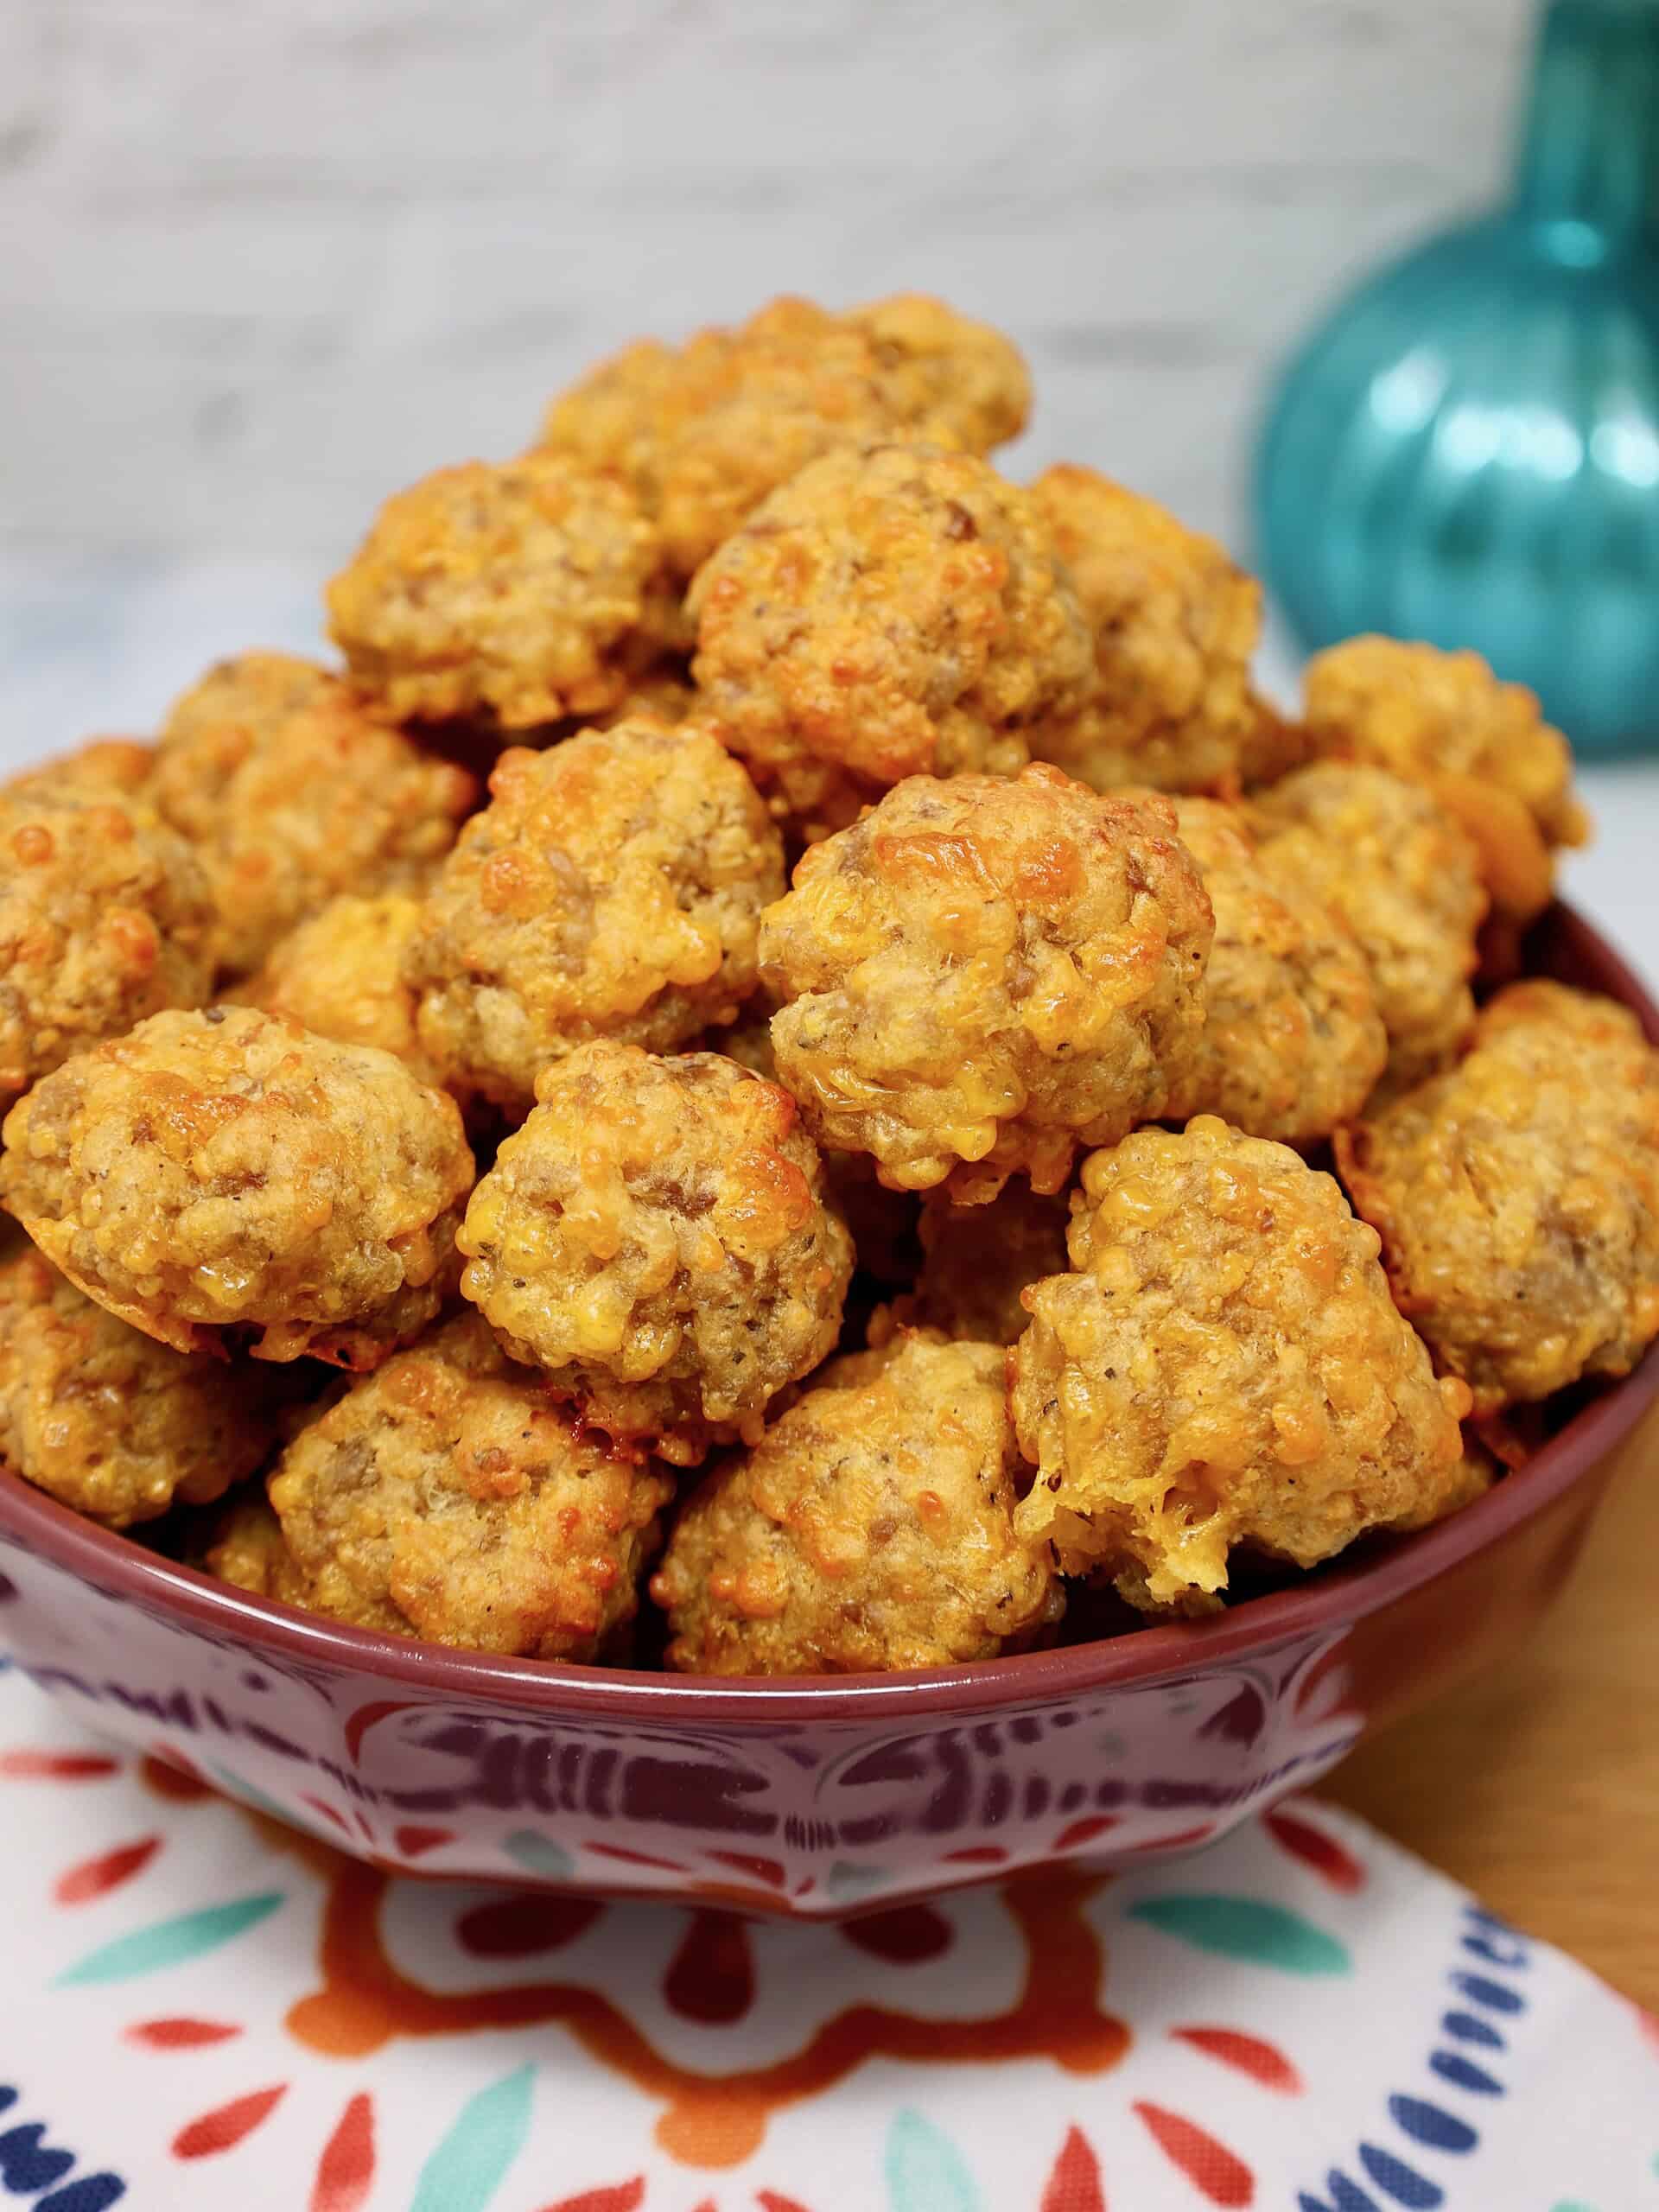
Easy Bisquick Cheddar Sausage Balls
Ingredients
- 2 cups Bisquick baking mix
- 1 pound Jimmy Dean pork sausage
- 16 oz sharp cheddar cheese, grated
- ½ cup milk
- 1 ½ tsp Italian seasoning
Directions
- Preheat oven to 350°F. Line a rimmed baking sheet with parchment paper or spray with nonstick spray.
- In a large bowl, mix together Bisquick, sausage, cheddar cheese, milk, and Italian seasoning until well combined.
- Scoop mixture into 1-inch portions with a cookie scoop or spoon.
- Roll into balls, pressing gently so they hold their shape.
- Place on the prepared baking sheet, leaving space between each ball.
- Bake for 20–25 minutes, or until golden brown and cooked through.
- Serve warm with dipping sauce, if desired.
Nutrition Facts
⭐ Leave a comment and rating below — it helps other readers!
👩🍳 Did you make any changes or substitutions?
I’d love to hear how it turned out in your kitchen.
📌 Save this recipe so you can make it again.
📧 Want more easy family dinners like this in your inbox?
Join my free Dinner Idea Box newsletter for simple family dinners every week.