Italian Breadsticks – Olive Garden Copycat Recipe
Disclosure: This post may contain affiliate links.If you make a purchase through links on our site, we may earn a commission.
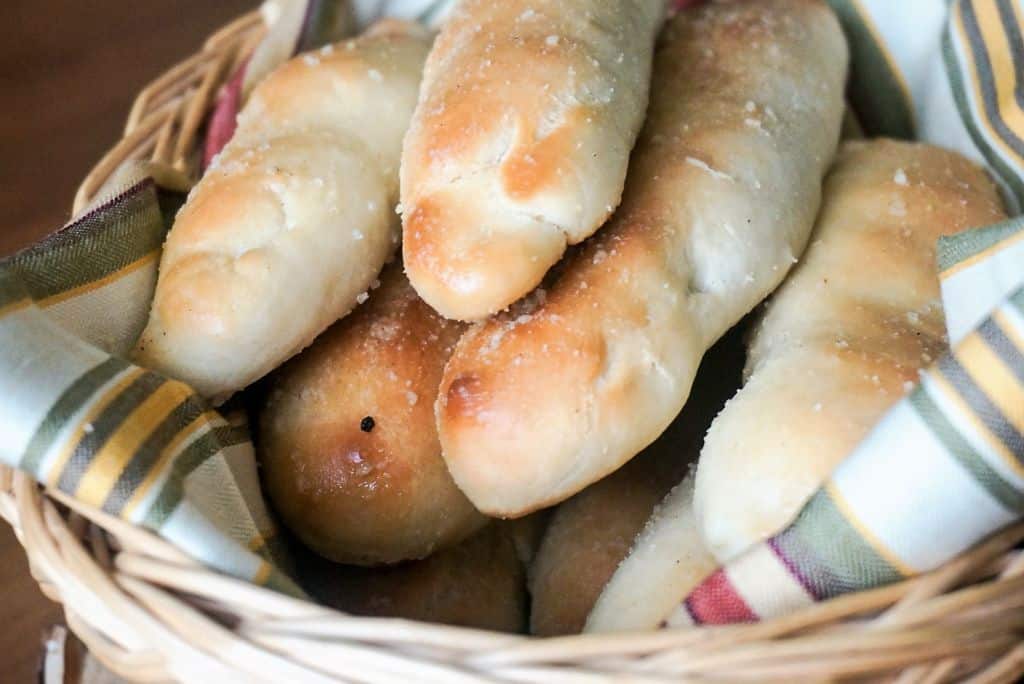
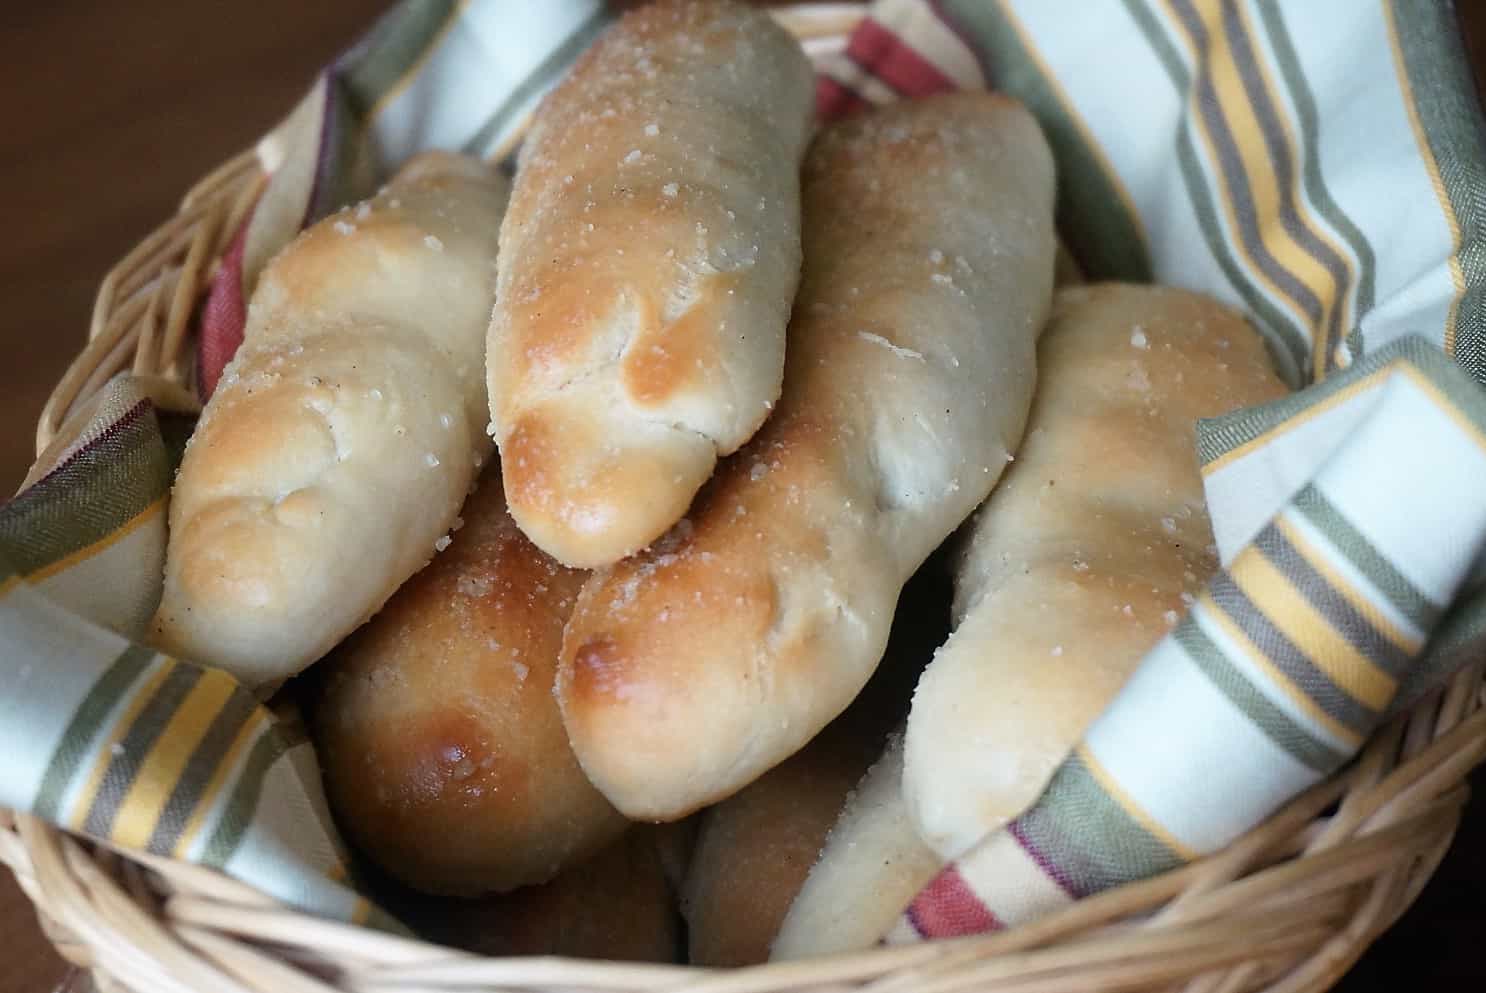
Italian Breadsticks are the perfect finishing touch to any meal. These Olive Garden Copycat Breadsticks are soft and buttery and take less time than you’d think. Don’t let the yeast scare you off because these breadsticks are worth the effort!
Key to Success #1 – The Yeast
I know that yeast is an intimidating ingredient but it doesn’t have to be!
I’ll tell you exactly how to use the yeast to make these delicious Olive Garden Breadsticks.
- Choose Active Dry Yeast – Active Dry Yeast can be found in little foil packets at your local grocery store. You’ll need two packets for this breadsticks recipe.
- Make Sure It’s Not Expired – Yeast will not activate after its expiration date so be sure to check the date!
- Make Sure Water is the Right Temp – The warm water needs to be approximately 100 degrees F. This is just slightly warmer than room temperature.
The first step is to “proof” the yeast.
You’ll put the warm water, sugar, and yeast in the bowl of your stand mixer and let it sit for about 10 minutes.
If your yeast doesn’t start to get a little foamy, then you’ll need to start over with two new packets of yeast.
Don’t waste your time and ingredients trying to bake breadsticks if the yeast doesn’t foam.
Key to Success #2 – The ‘Sticks
After you make the dough, roll it into a log then cut it into 12 equal-sized pieces.
There’s a trick for this!
Cut the log in half.
Then cut each half into half again so that you have four quarters.
Take each quarter and cut it into three equal pieces.
Voila! Twelve breadsticks.
Roll each piece of dough into a 6-inch long snake.
You want to make the dough snakes as uniform as possible but don’t overthink it.
It really doesn’t take all that much effort to roll the dough into snakes.
Place the breadstick dough on two greased cookie sheets then put them in the 170 degree F oven.
Yes, 170 degrees Fahrenheit.
You’re not trying to cook the dough.
You’re just trying to make the breadsticks rise faster.
Key to Success #3 – Garlic Butter
Perhaps this one should have about a dozen exclamation points after it, but I’ll let you be the judge.
After the dough is doubled in size, remove it from the oven. Increase the oven temperature to 400 degrees F.
While the oven is heating up, brush melted butter over the breadsticks and sprinkle them with sea salt.
I highly recommend baking the two pans of breadsticks separately so that they will bake evenly.
If you choose to bake them at the same time, you’ll want to rotate the pans halfway through baking and watch them carefully.
While the breadsticks are baking, mix together your melted butter and garlic powder.
After the breadsticks come out of the oven, brush them with your homemade garlic butter.
Or rather slather on the homemade garlic butter.
Emily did the buttering for our breadsticks and they were very nice and buttery.
She can butter my breadsticks any time.

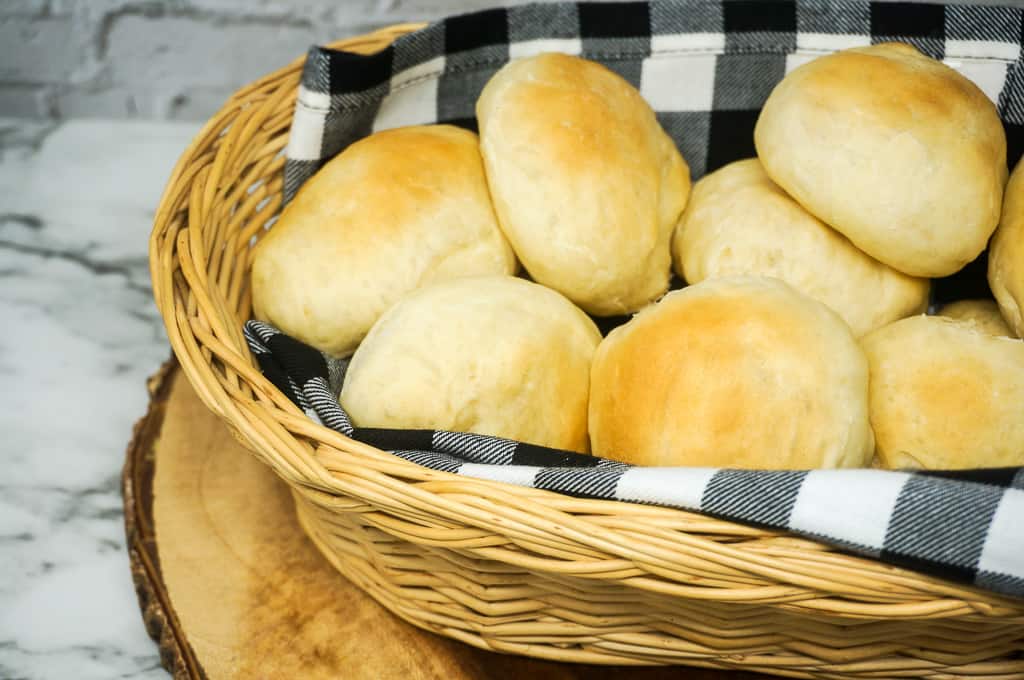
These beautiful breadsticks bake up light and fluffy inside and have a pretty, golden brown and buttery top.
I think the pictures don’t really do them justice but they were really fantastic.
Here are some of the kitchen tools I used for this recipe:
- Kitchenaid Mixer – They come in so many pretty colors. Mine is cornflower blue.
- Pastry Brush – It has very fine bristles so that you can really get the butter to completely cover the breadsticks
- Air Bake Cookie Sheets – I use the Air Bake Cookie Sheets because they are great for even heat distribution
- Parchment Paper – I like to cover my baking sheets with parchment paper to make cleanup a breeze
For more great recipes and kitchen tips, please follow us on Pinterest and share this recipe!
Handpicked Recipe Favorites from My Kitchen, Just for You!


Frequently Asked Questions
Absolutely! You can prepare the dough in advance and store it in the refrigerator for up to 24 hours. Just make sure to let it return to room temperature before you shape and bake the breadsticks.
No problem! You can mix and knead the dough by hand. It will take a bit more elbow grease, but the results will be just as delicious.
To make gluten-free breadsticks, substitute the all-purpose flour with a gluten-free flour blend. Look for one that includes xanthan gum or add it separately for the best texture.
Yes, you can use instant yeast. If you do, there’s no need to let it sit in warm water first. Just mix it right in with the dry ingredients.
Feel free to get creative with your toppings! Parmesan cheese, Italian seasoning, or even a sprinkle of crushed red pepper flakes can add a fantastic twist to these breadsticks.
Store any leftover breadsticks in an airtight container at room temperature for up to 2 days. If you want them to last longer, you can freeze them and reheat in the oven when ready to enjoy.
Italian Breadsticks
Ingredients
For the Breadsticks
- 1 ½ cups warm water
- 2 Tbsp granulated sugar
- 2 pkgs Active Dry Yeast
- 1 Tbsp salt
- 2 Tbsp butter, softened
- 4-5 cups all-purpose flour
For Garlic Butter:
- 6 Tbsp butter, melted
- ½ tsp garlic powder
- sea salt
Directions
- Preheat oven to 170 degrees F.
- Pour warm water in bowl of stand mixer with sugar and yeast. Let sit for 10 minutes until yeast froths.
- Add salt, butter, and 2 cups flour. Mix on low until combined. Add the rest of the flour 1/2 cup at a time until the dough pulls away from the side of the bowl. (I used just under 4 cups of flour.)
- Knead dough in stand mixer on low-medium speed about 5 minutes until dough is soft and easy to work with.
- Roll dough into long log then cut into 12-14 equal pieces. Take each piece and roll into a 6-inch long snake. Place breadstick dough on two grease cookie sheets, leaving about 2 inches between each.
- Place both cookie sheets in 170 degree oven for 20-30 minutes until doubled in size. Remove pans from oven and increase temperature to 400 degrees F.
- Once oven is heated to 400 degrees, brush breadsticks with melted butter and sprinkle with sea salt then bake in the oven for 12-15 minutes until golden brown.
- Remove from oven and brush garlic butter (melted butter + garlic powder) on breadsticks.
Equipment
Nutrition Facts
⭐ Leave a comment and rating below — it helps other readers!
👩🍳 Did you make any changes or substitutions?
I’d love to hear how it turned out in your kitchen.
📌 Save this recipe so you can make it again.
📧 Want more easy family dinners like this in your inbox?
Join my free Dinner Idea Box newsletter for simple family dinners every week.


