Cookie Decorating Party Tips and Ideas
Disclosure: This post may contain affiliate links.If you make a purchase through links on our site, we may earn a commission.
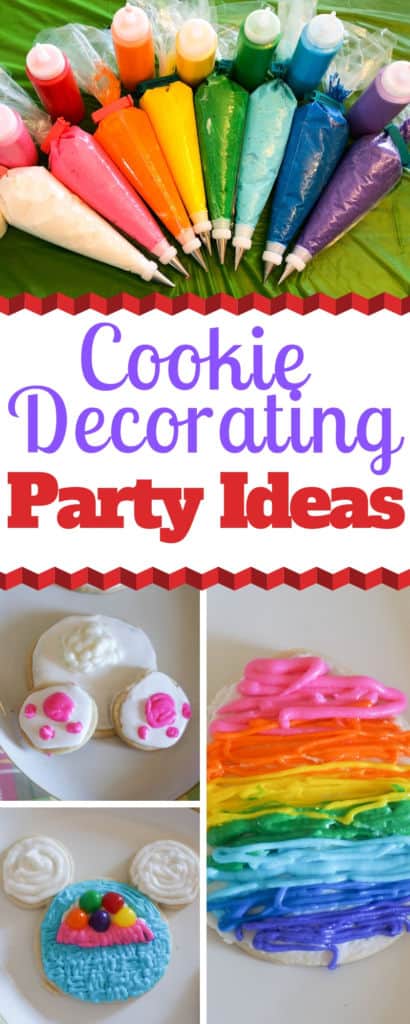
Cookie Decorating Parties are such a unique way to bring people together during the holidays or for any special occasion. It’s so much fun to look around the table and see everyone showing off their creativity. Using these tips and tricks, your Cookie Decorating Party will be a huge success!
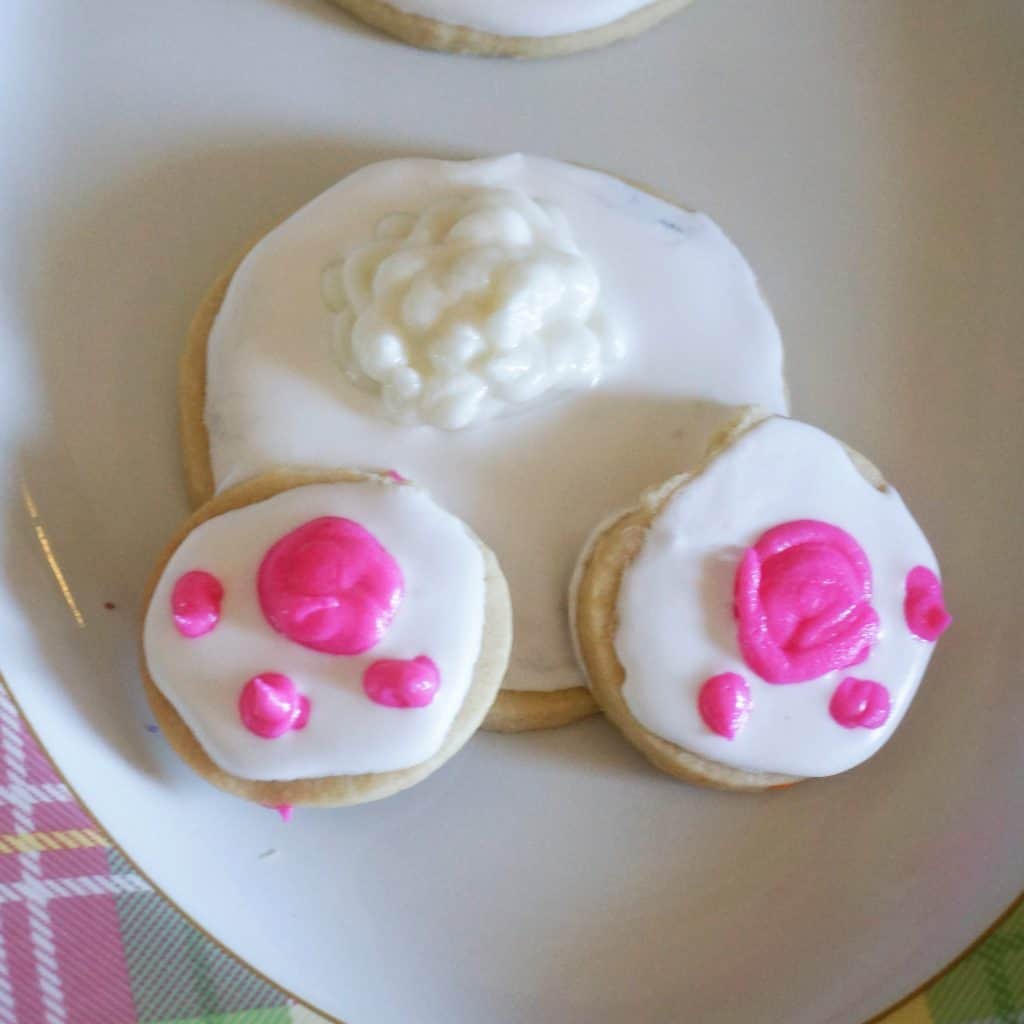
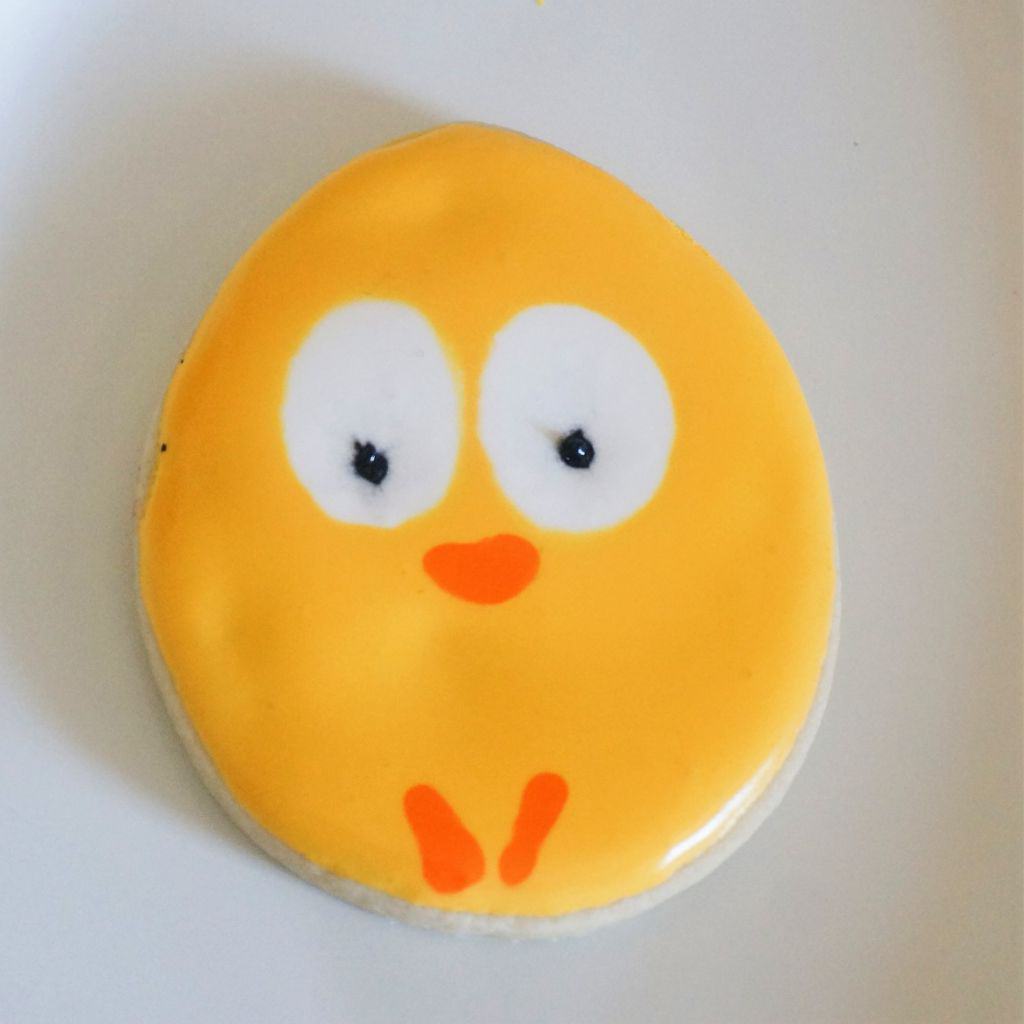
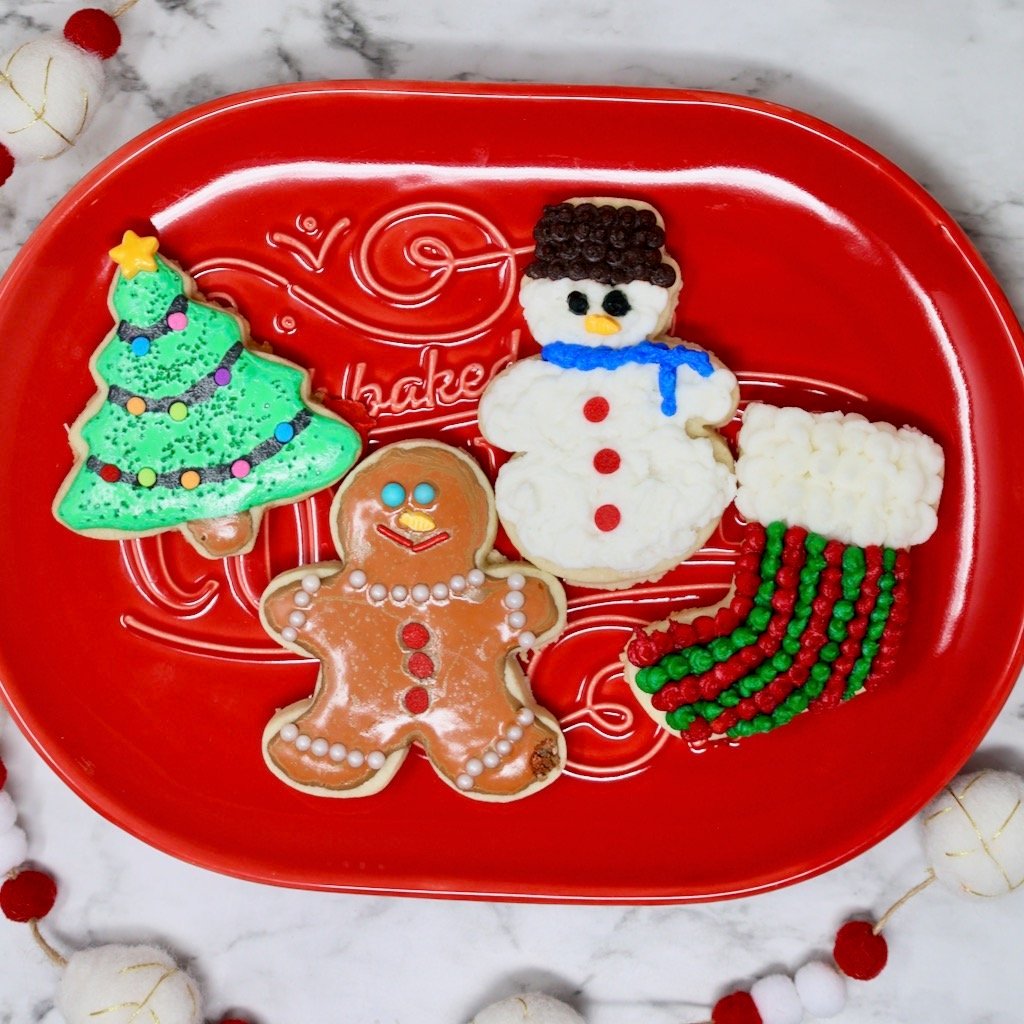
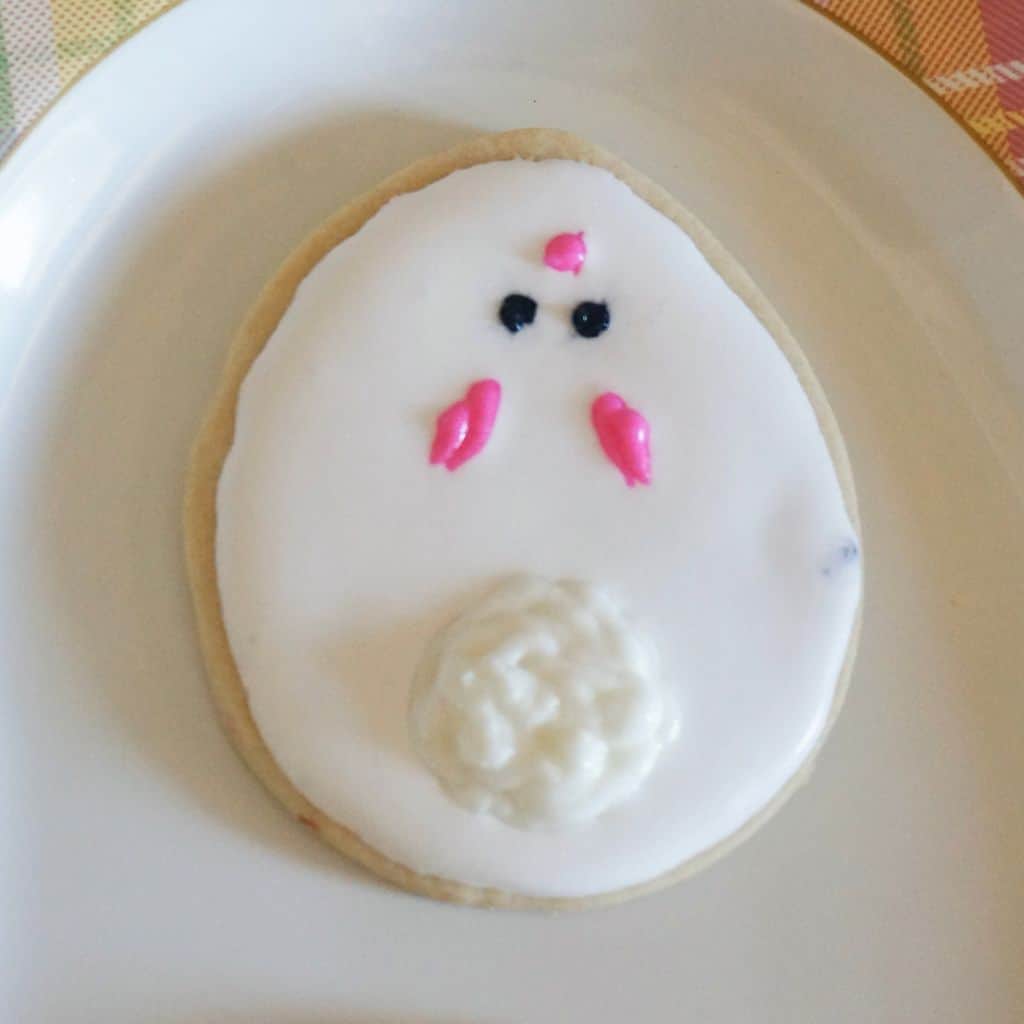
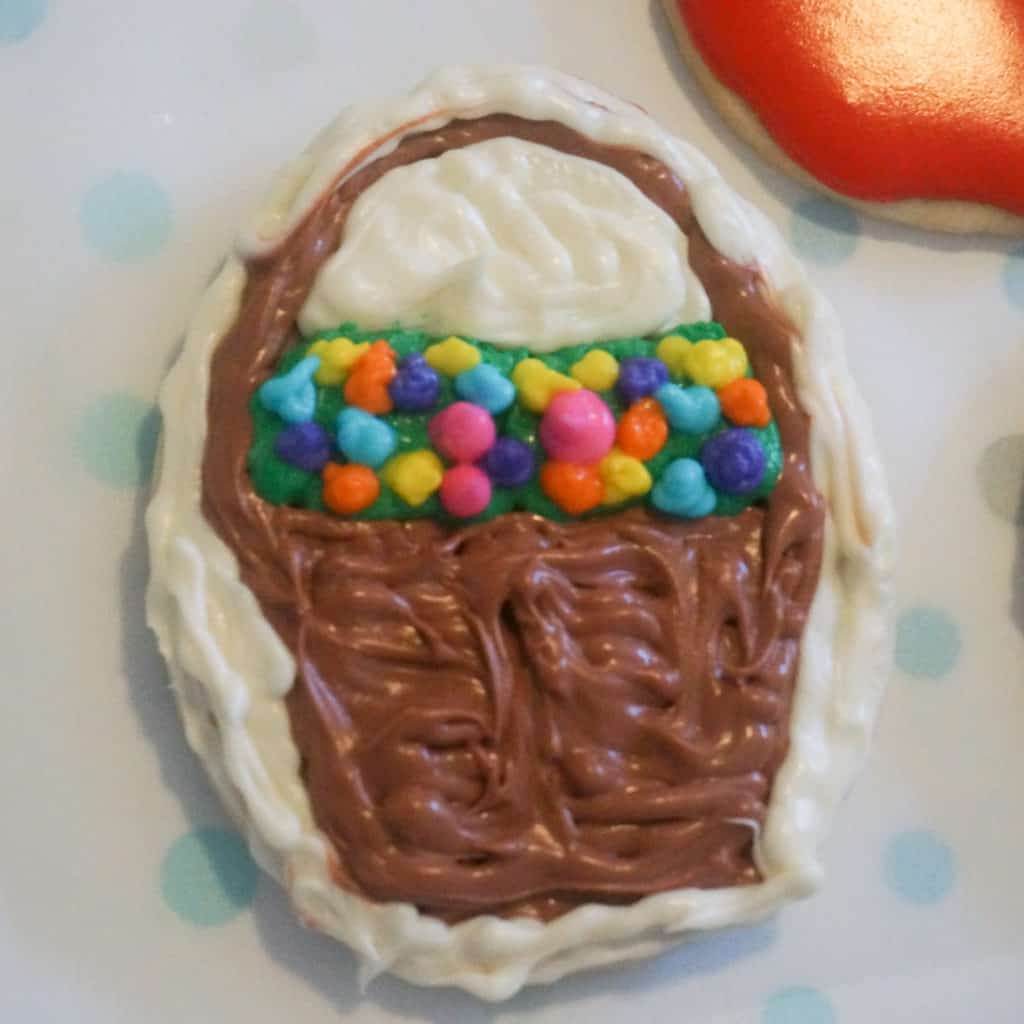
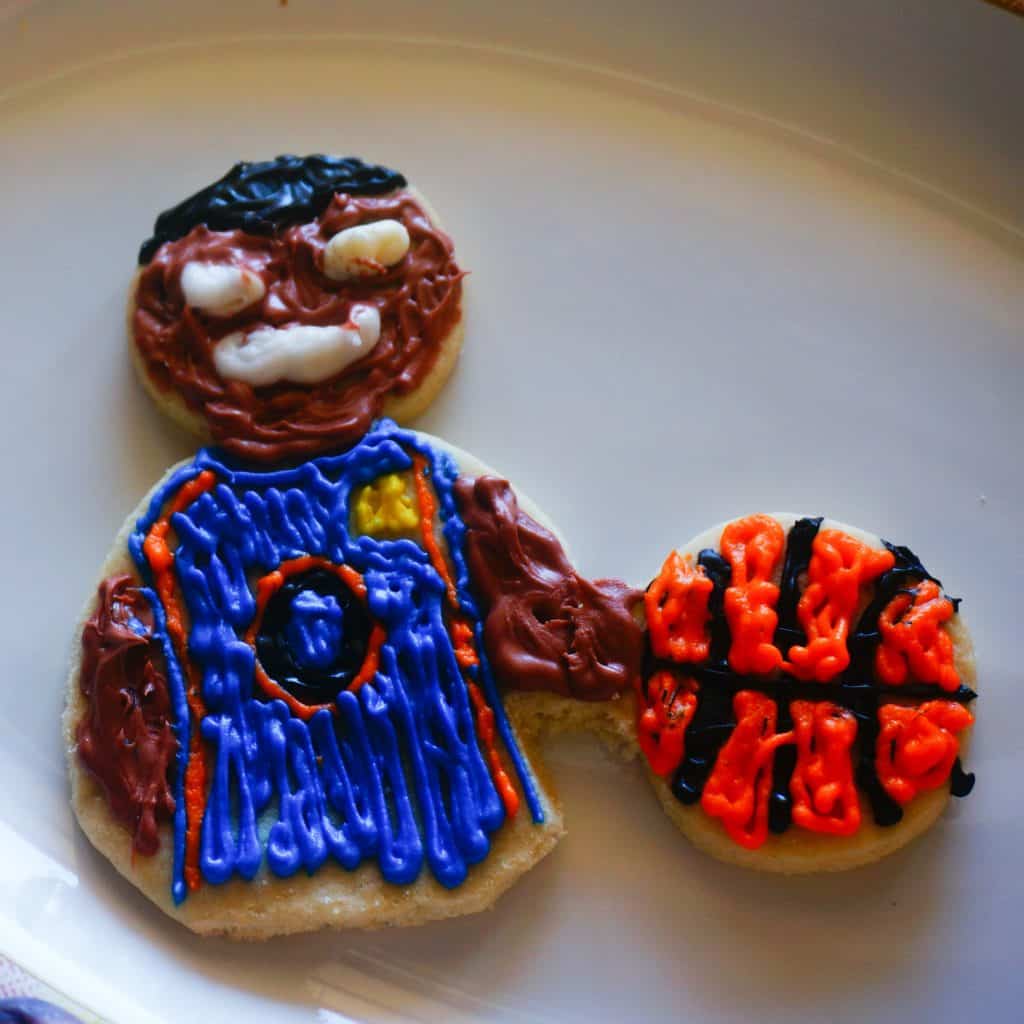
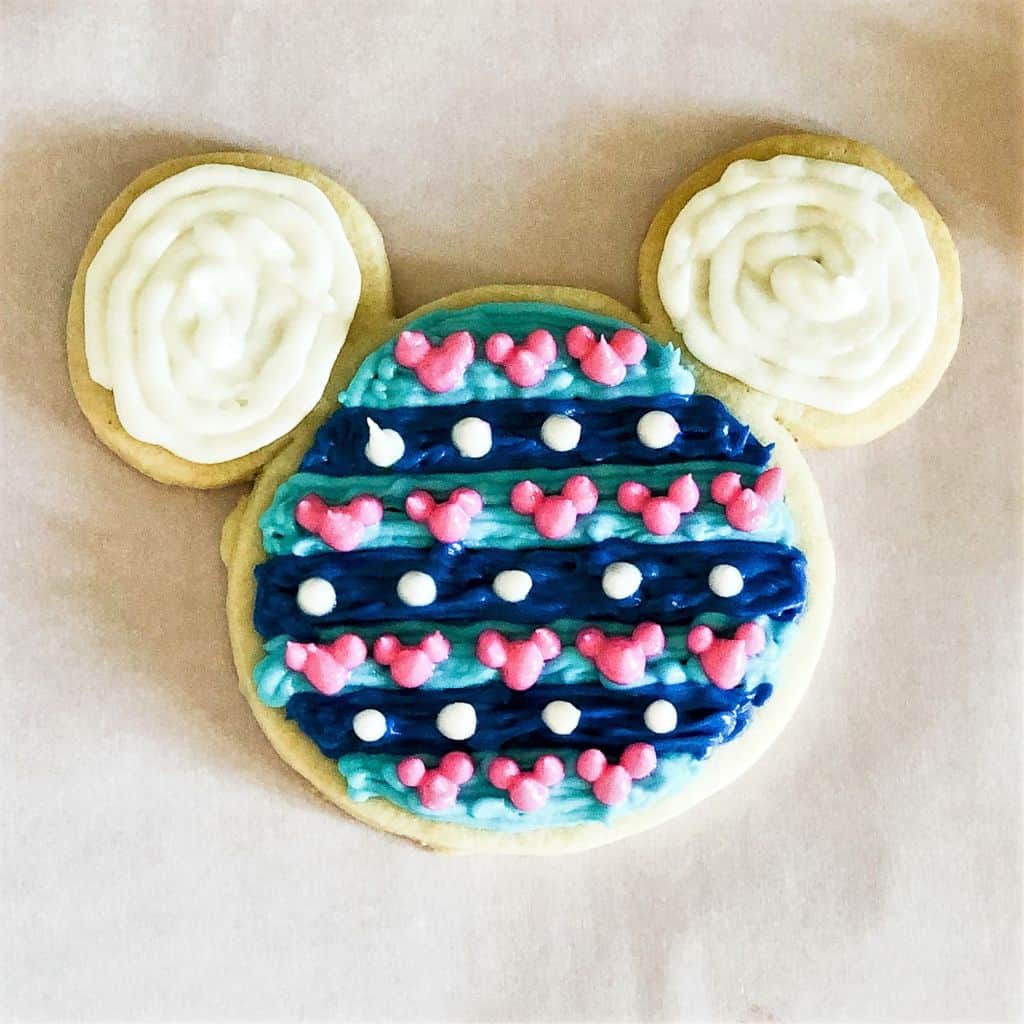
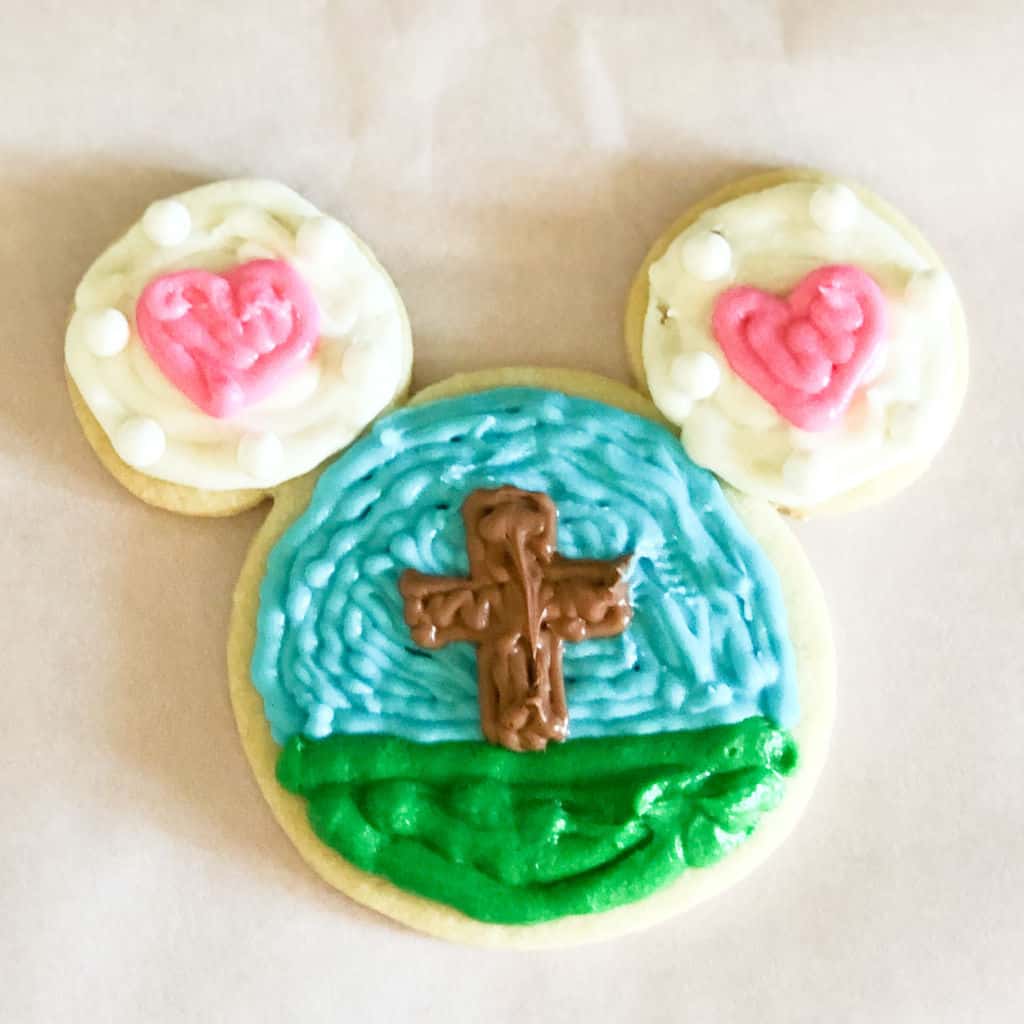
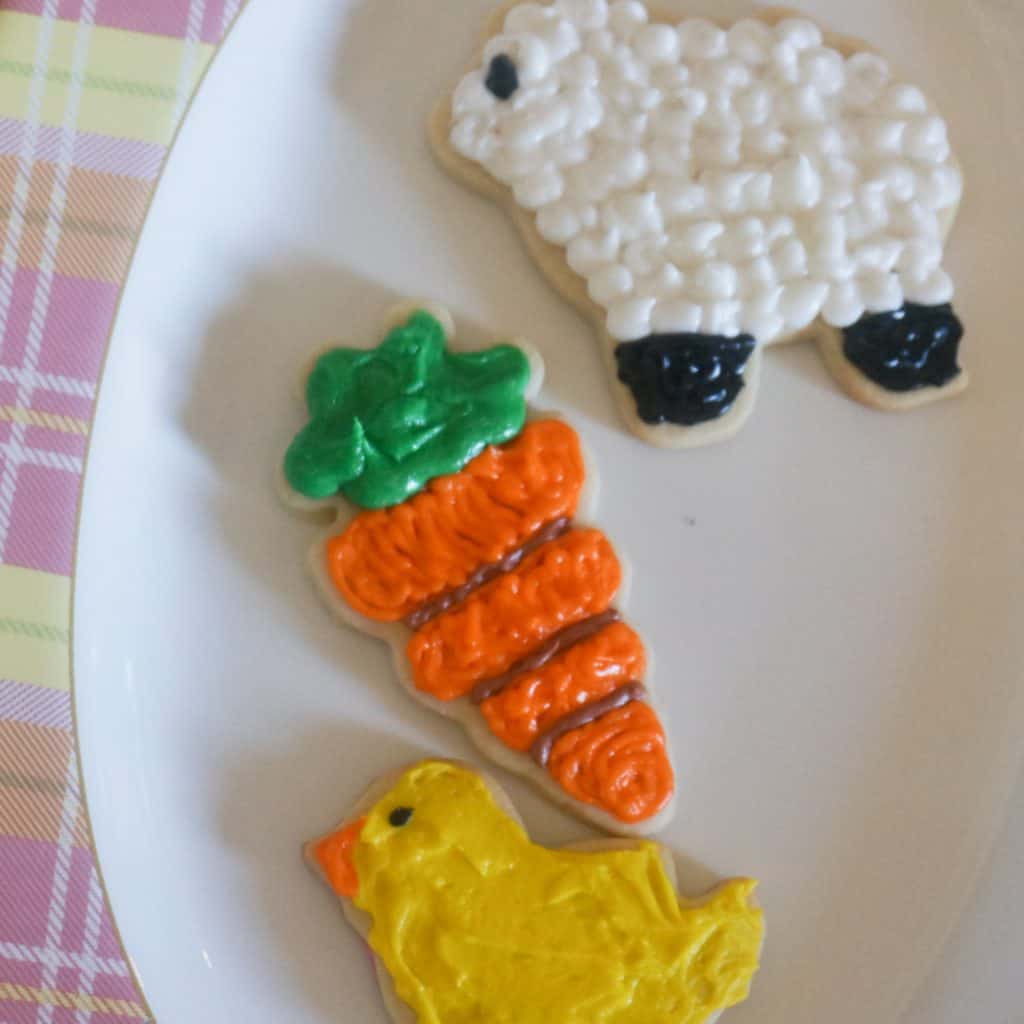
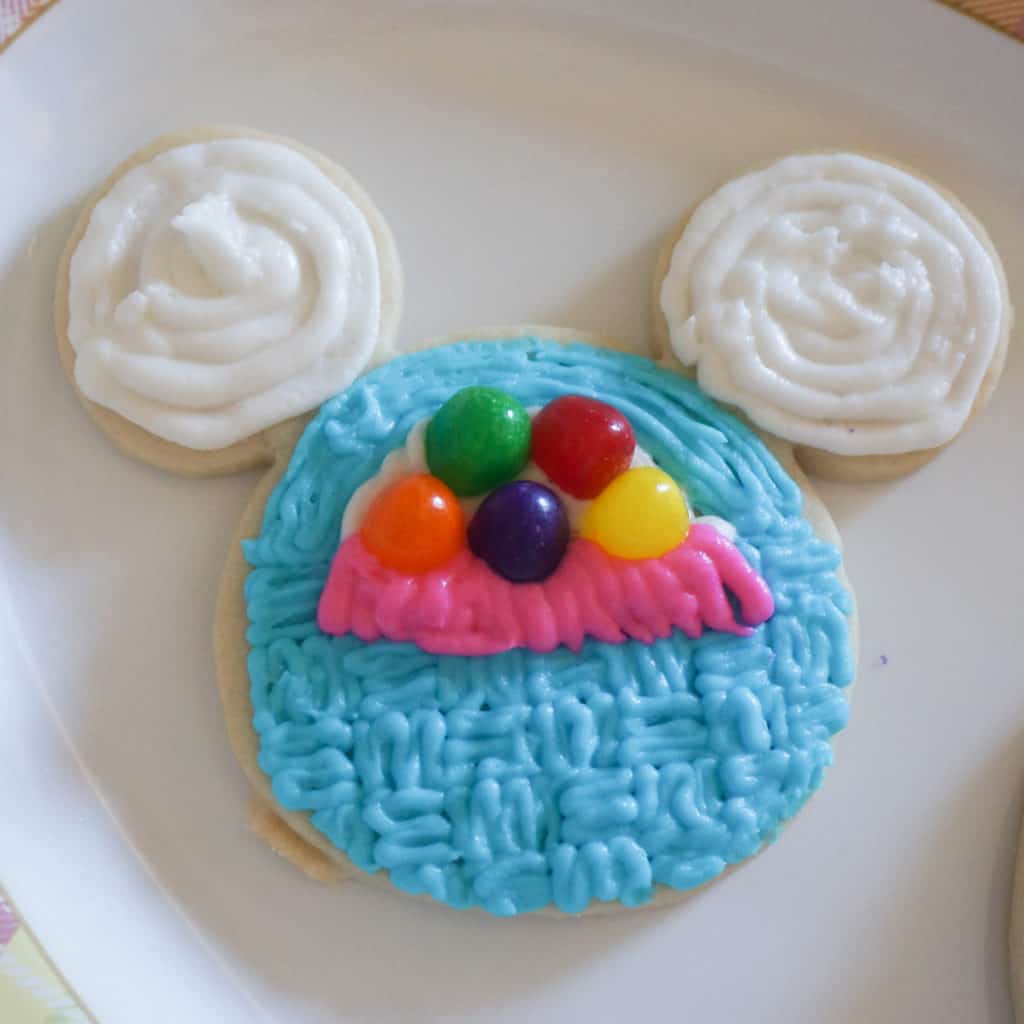
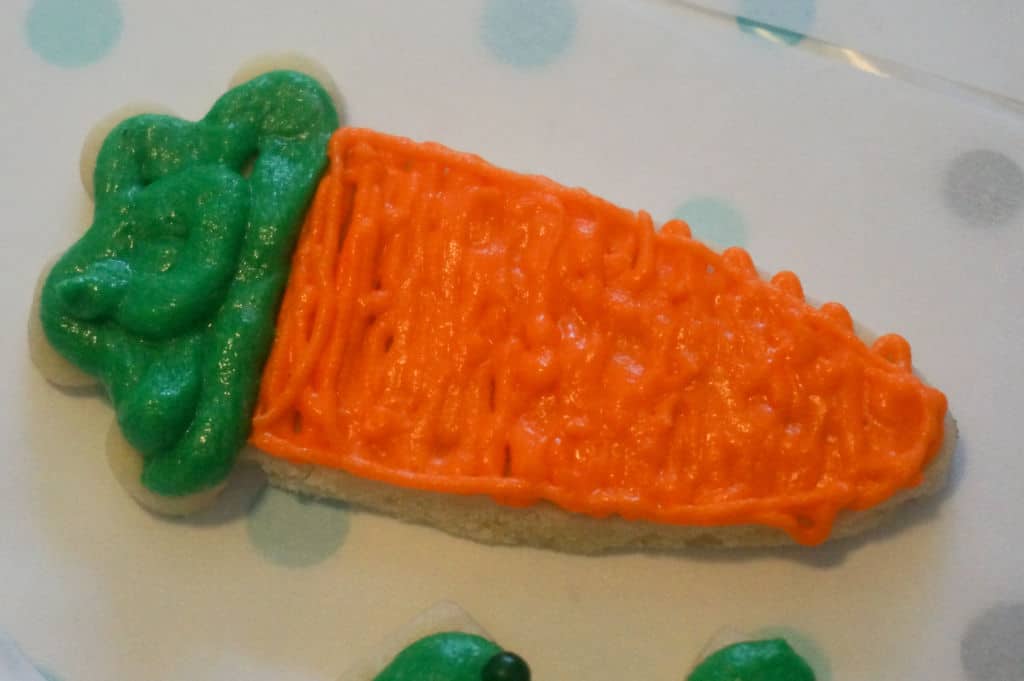
Full disclosure – nearly all the cookies you see in this post were decorated by kids!
At our Easter Cookie Decorating Party, we had boys and girls from ages 1 to 16.
They really impressed us with their creativity.
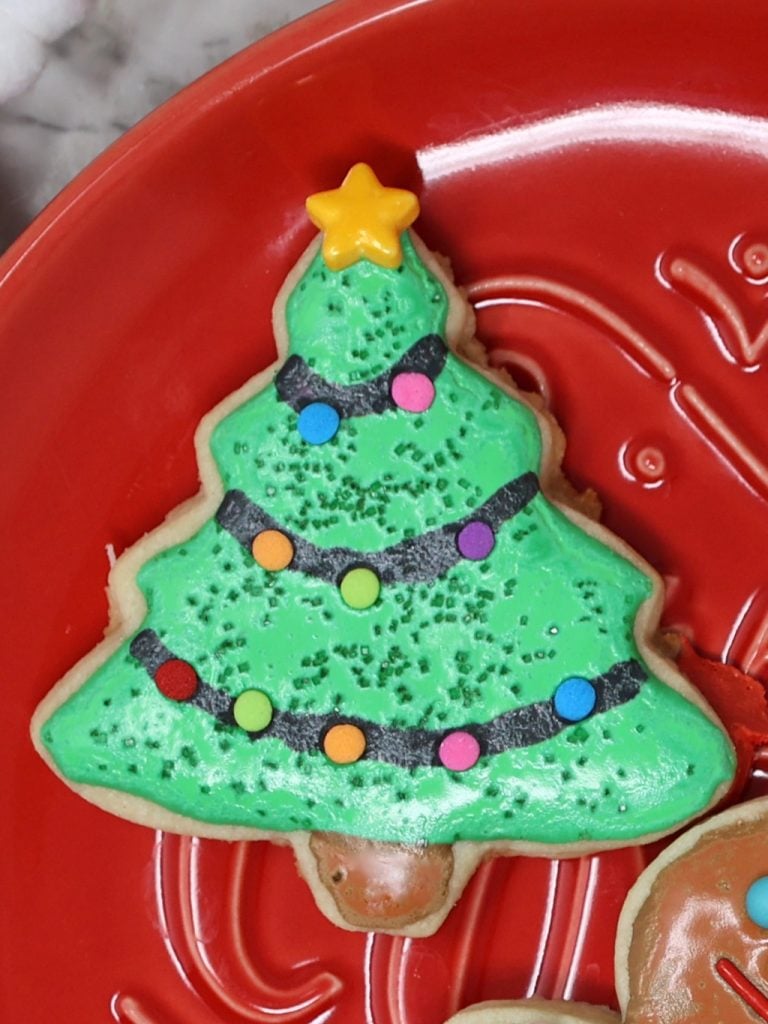
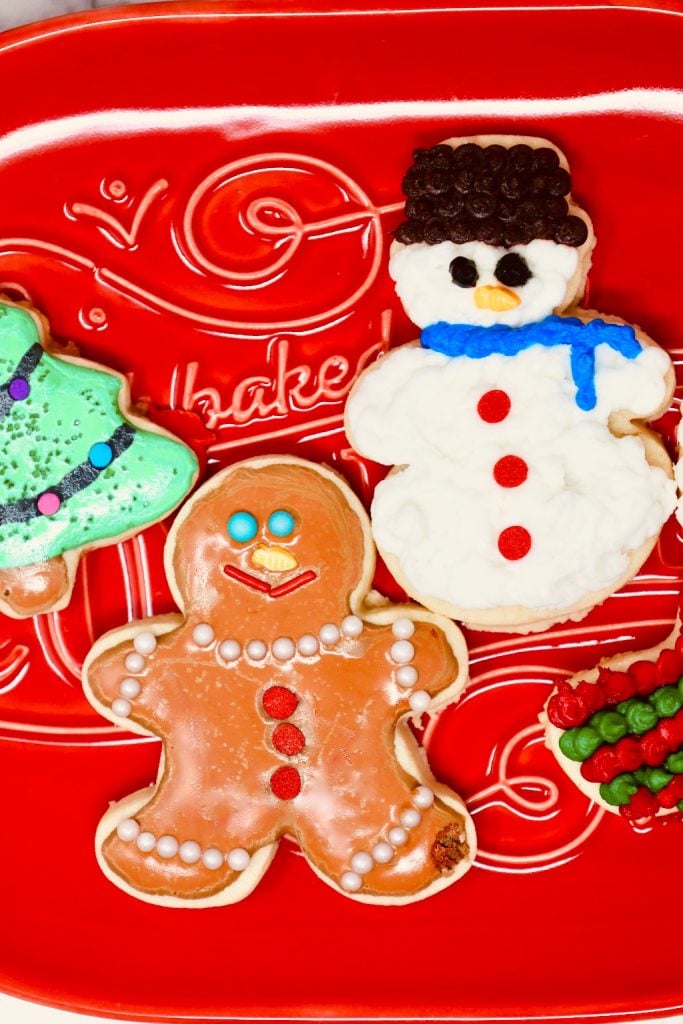
Don’t their cookies look great?
Key to Success #1 – Start with the Perfect Cookies
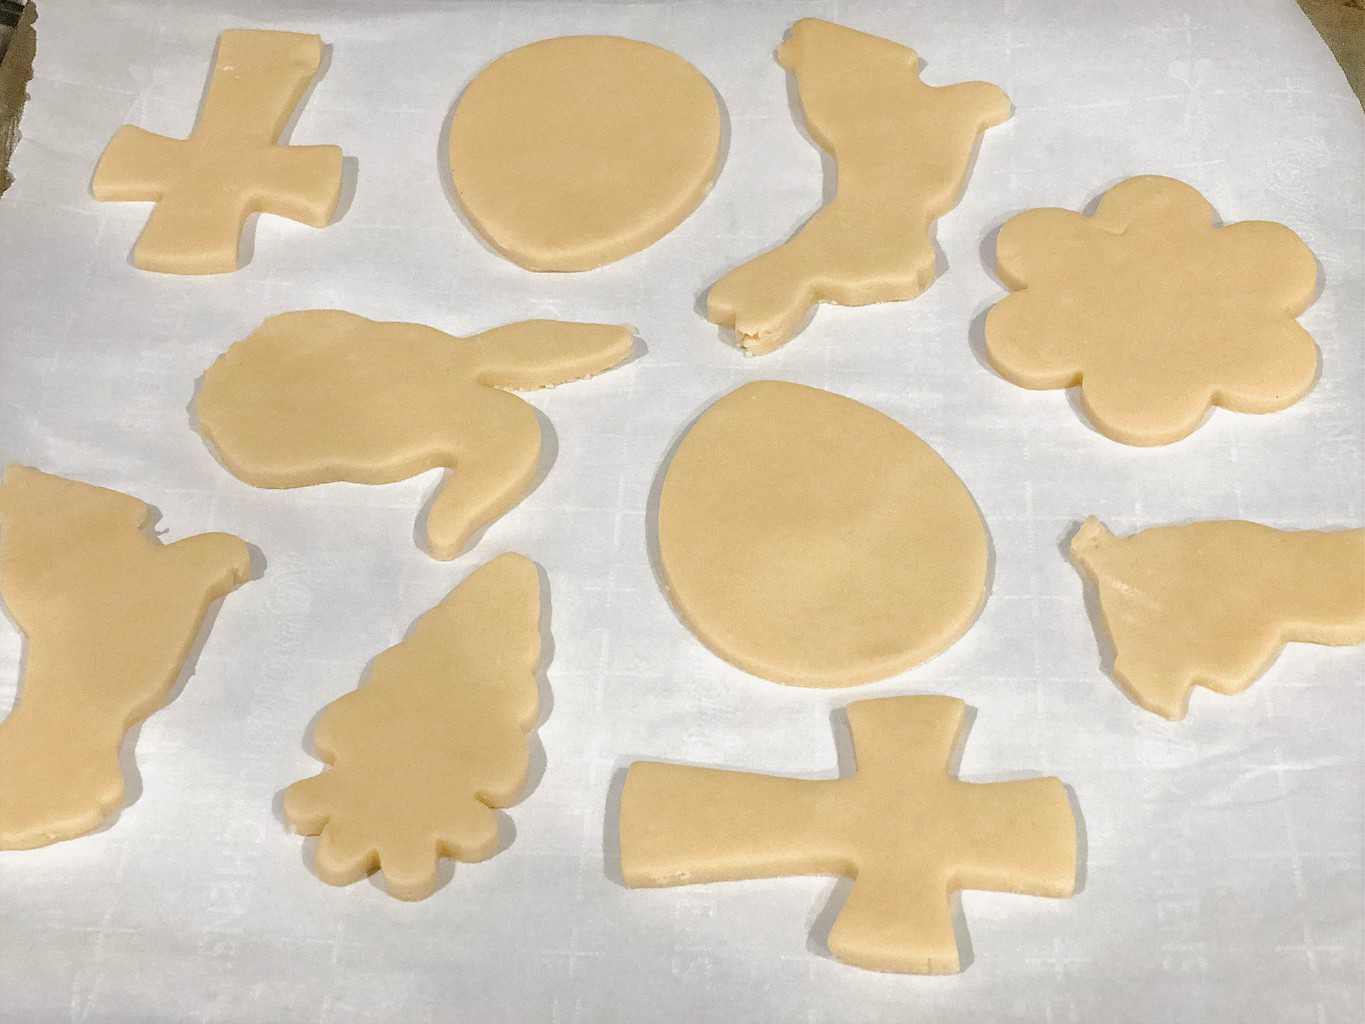
A perfect Cookie Decorating Party starts off with the Perfect Cut Out Sugar Cookies.
I have high expectations for sugar cookies and this cookie recipe checks all the boxes.
These wonderful cookies are tender and flavorful and sturdy enough to stand up to plenty of icing and decorations.
Perfect Cut Out Sugar Cookies
Ingredients
- 1 ½ cups butter, softened
- 1 ½ cups granulated sugar
- 2 eggs
- 2 tsp vanilla extract
- ½ tsp almond extract
- 4 ½ cups all-purpose flour
- 1 tsp baking powder
- ½ tsp salt
Directions
- In large mixing bowl, cream together butter and sugar until light and fluffy, about 4-5 minutes. Add eggs, vanilla, and almond extract. Mix 1-2 minutes to combine.
- Add baking powder, salt, and half the flour. Mix on low speed until just barely combined. Add the other half of the flour and mix on low just until combined. Do not overmix.
- Divide cookie dough in half. Roll each portion of dough out onto a piece of parchment paper to 1/4 inch thickness.
- Place both portions of dough in the refrigerator to chill for 30-60 minutes.
- Preheat oven to 350 degrees F. Line baking sheets with parchment paper. One at a time, remove the dough from the refrigerator and use cookie cutters to cut shapes.
- Place cookie shapes on prepared baking sheets. Re-roll remaining dough and continue cutting shapes until all dough is used. Bake 9-11 minutes, until cookies are very lightly browned around the edges. Do not overbake.
- Allow cookies to cool 5 minutes before removing from pan. Cool completely before icing.
Notes
Nutrition Facts
⭐ Leave a comment and rating below — it helps other readers!
👩🍳 Did you make any changes or substitutions?
I’d love to hear how it turned out in your kitchen.
📌 Save this recipe so you can make it again.
📧 Want more easy family dinners like this in your inbox?
Join my free Dinner Idea Box newsletter for simple family dinners every week.
I really love the tin-plated steel cookie cutters.
They create a nice crisp edge and the dough comes right out of even the tightest angles on the cookie cutters.
There are endless possibilities for cookie cutters out there.
Etsy.com is also a great resource for custom cookie cutters if you’re not finding what you need from other retailers.
For our cookie decorating party, we had 8 kids plus several adults and we made 4 batches of these Sugar Cookies.
Some of our cookie cutters were larger than others but I think we ended up with close to 100 cookies so everybody got to decorate 8-10 cookies.
It may be tempting to double this recipe, but be careful!
You don’t want to overload your mixer.
I recommend making two batches.
Key to Success #2 – Provide Icing Choices
The Perfect Cut-Out Sugar Cookies beg for great icing.
We always make Royal Icing as well as cookie frosting.
Choice 1 – Royal Icing
With Royal Icing, we make the icing and color it in advance.
If you have the icing in advance, it’s imperative that you keep it covered so that it will not dry out.
I have some Ziploc Twist ‘n Loc food storage containers that are perfect for temporarily storing the icing.
The little bowls that I have will hold about 2 cups of icing and they have a lid that screws on securely.
This is important to me because I often carry the icing in the car to the cookie decorating party and do not want a mess.
The Ziploc Twist ‘n Loc containers have never let me down.
I whip up the Royal Icing in the bowl of my electric mixer until it is the right consistency.
Then I divide the icing into the storage containers before coloring it.
Ingredients
- 4 cups powdered sugar
- 3 Tbsp meringue powder
- 8 Tbsp water, room temperature
Directions
- In bowl of stand mixer fitted with whisk attachment or mixing bowl with hand mixer, combine all ingredients. Beat on high speed for about 5 minutes.
- Test icing by dipping a spoon in the icing and letting a drop fall back into the icing bowl. If the icing completely smooths out in 10-12 seconds, your icing is the right consistency. Add more water or more powdered sugar as needed. Do not overmix.
Nutrition Facts
⭐ Leave a comment and rating below — it helps other readers!
👩🍳 Did you make any changes or substitutions?
I’d love to hear how it turned out in your kitchen.
📌 Save this recipe so you can make it again.
📧 Want more easy family dinners like this in your inbox?
Join my free Dinner Idea Box newsletter for simple family dinners every week.
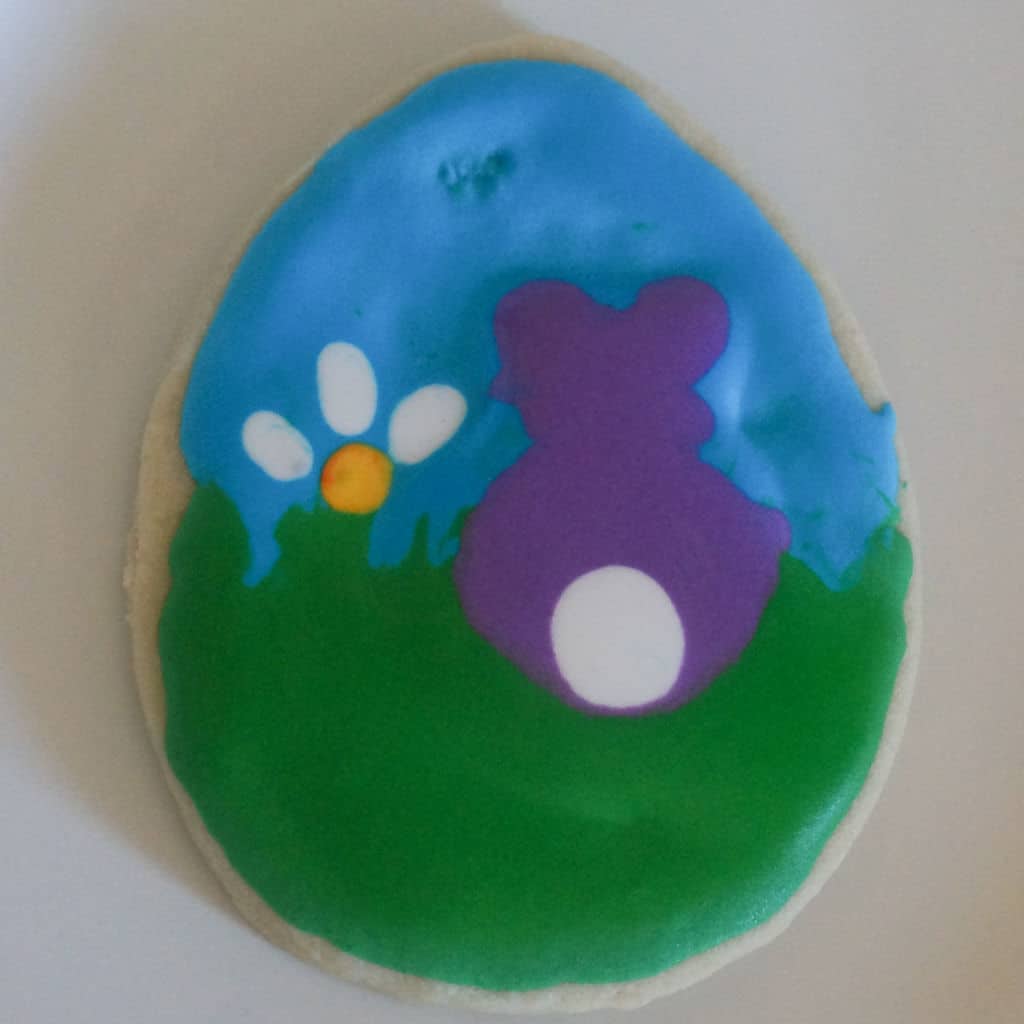
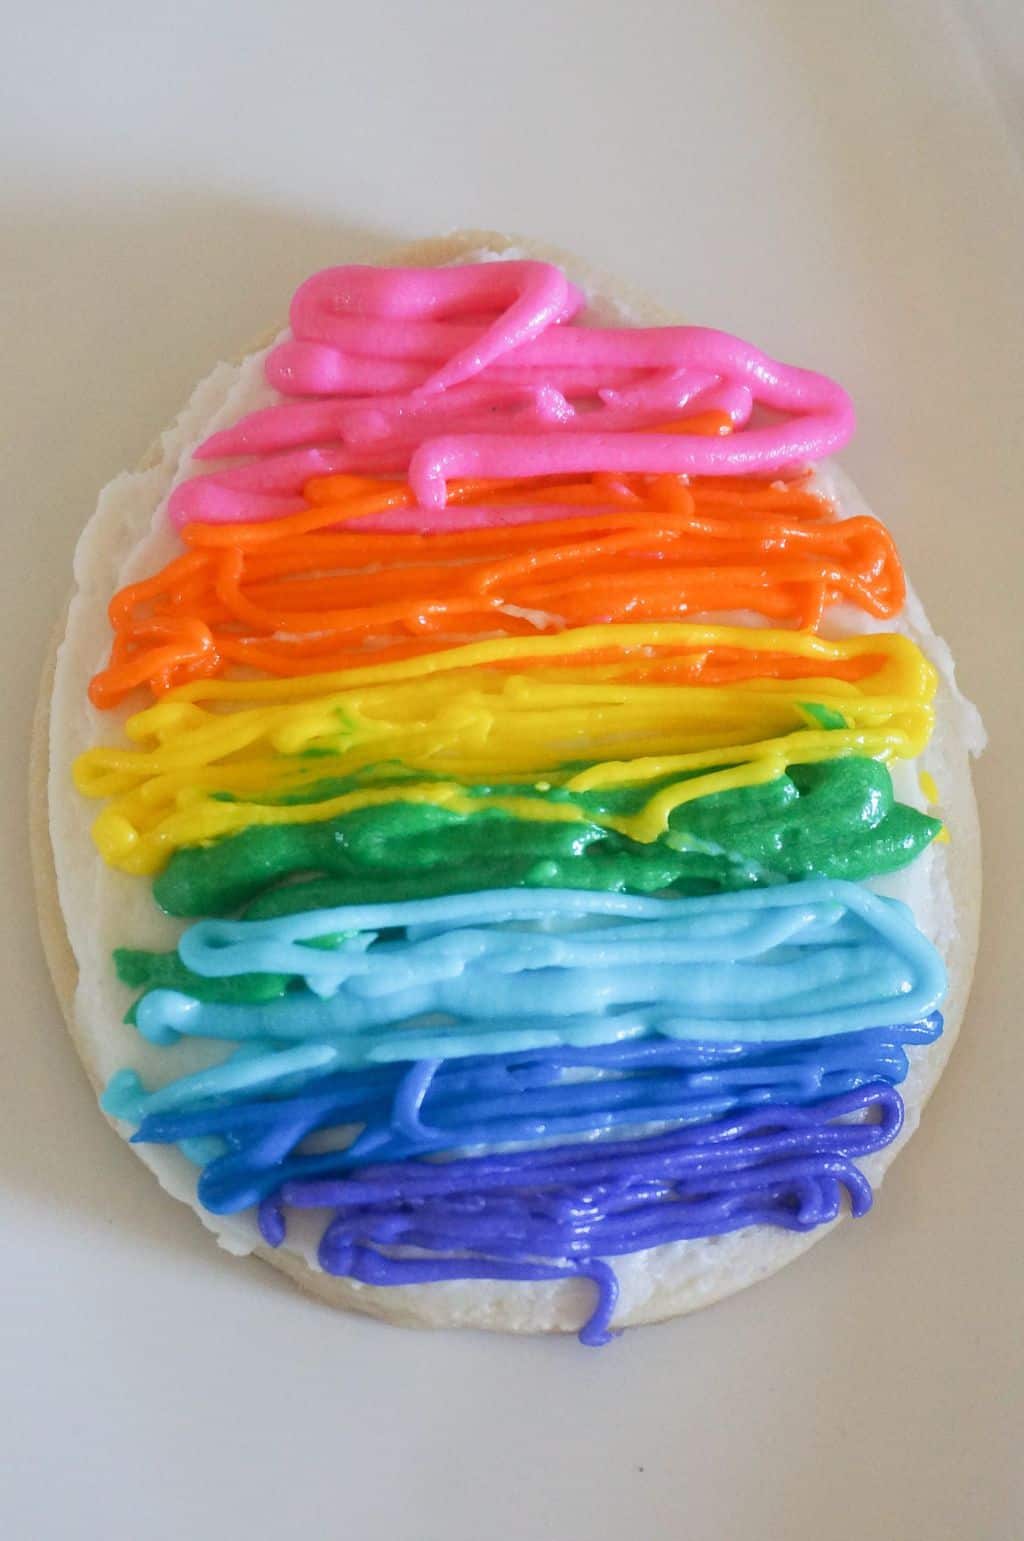
Royal Icing makes a smooth and fluid cover for the cookies.
You can do a lot of fun things with the different colors and make pretty swirls and designs.
I use meringue powder in my Royal Icing because I don’t want to have to mess with making icing with raw egg whites.
The Meringue Powder makes the icing so easy to work with and the cookies will dry in about 2 hours at room temperature.
For our cookie decorating party, I made two batches of this Royal Icing and we had plenty left over.
Choice 2 – Cookie Frosting
The cookie frosting is similar to buttercream frosting except that it’s made with vegetable shortening (Crisco) instead of butter.
The reason for this is two-fold –
1) the frosting will turn out snow-white
2) the frosting with shortening will crisp up and dry so that they can be stacked and handled more easily.
Perfect Cookie Frosting
Ingredients
- 1 cup vegetable shortening, such as Crisco
- 1 tsp vanilla extract
- 1 tsp almond extract
- 2 pounds about 8 cups powdered sugar
- ½ cup or more whole milk
Directions
- In large mixing bowl, cream together shortening, vanilla and almond extract. Add powdered sugar 1 cup at a time.
- When frosting starts to get dry, begin adding milk a little at a time until all ingredients have been added and you reach desired consistency.
Nutrition Facts
⭐ Leave a comment and rating below — it helps other readers!
👩🍳 Did you make any changes or substitutions?
I’d love to hear how it turned out in your kitchen.
📌 Save this recipe so you can make it again.
📧 Want more easy family dinners like this in your inbox?
Join my free Dinner Idea Box newsletter for simple family dinners every week.
I like to wait until closer to cookie decorating time to make the cookie frosting because it will dry out and start to harden up.

The cookie frosting is a tasty alternative to Royal Icing.
It offers a lot of decorating techniques that offer more texture than Royal Icing does.
You can use different piping tips to add different shapes or textures to your cookies.
You can pipe stars or grass or hair or cute little fluffy bunny buns.
For our cookie decorating party, we made two batches of this cookie frosting and we had plenty left over.
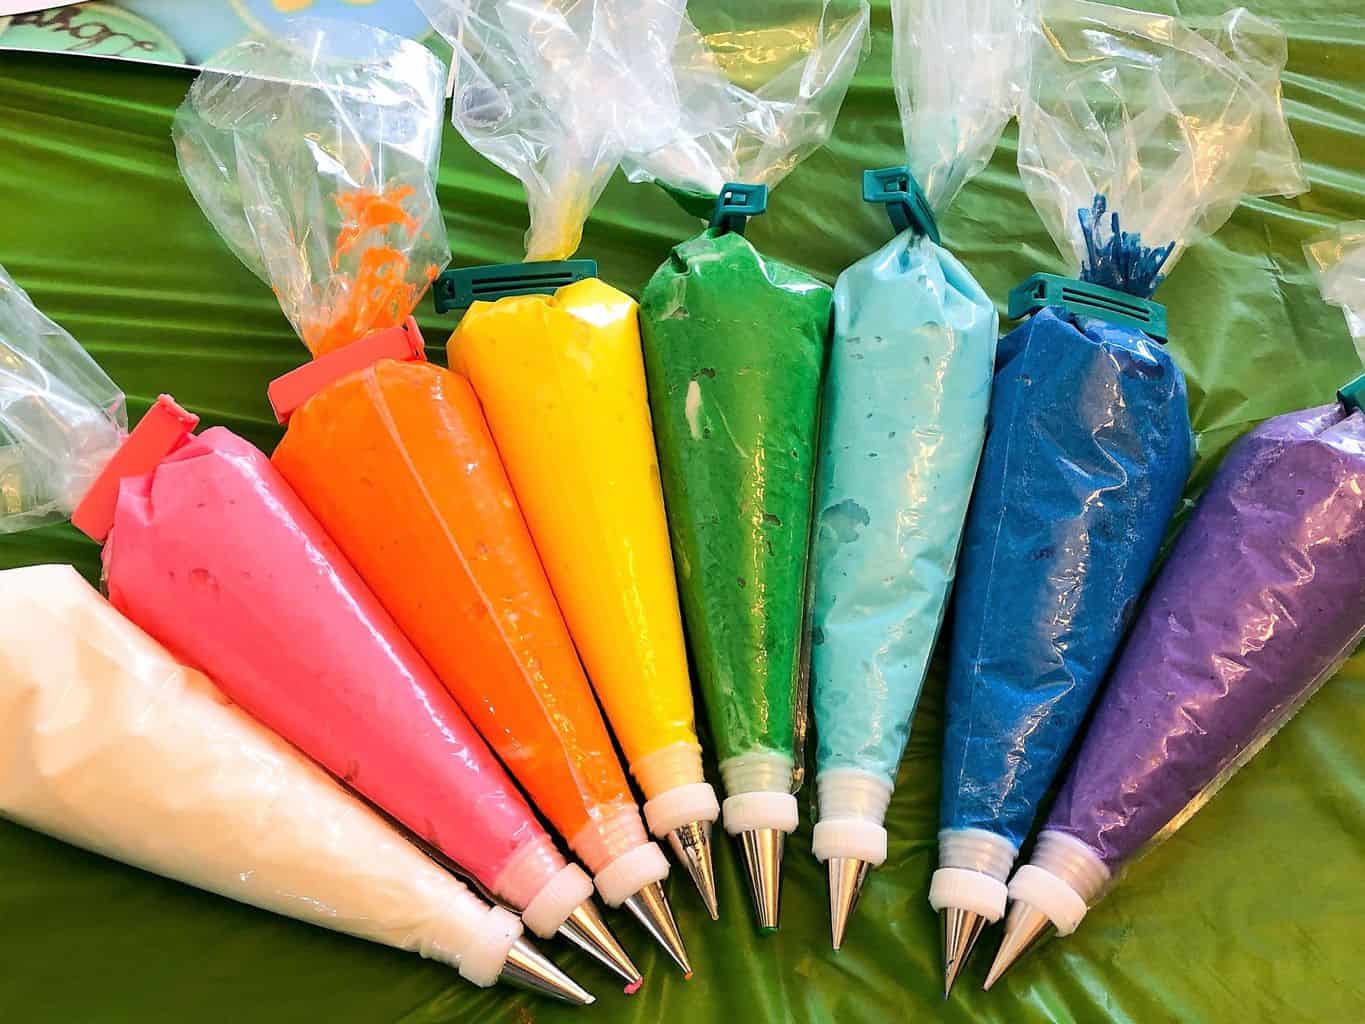
Key to Success #3 – Color the Frosting
I highly recommend that you invest in some good high-quality gel food coloring.
My favorite brand is the Americolor gel food coloring.
I have been very impressed with these colors and how nice and vibrant they are.
Wilton also has some gel food color that looks nice.
You can pick the best colors for your cookie decorating party, but I would suggest always having white and black in both types of icing/frosting.
Inevitably, we always end up needing these colors for accents or outlining, or eyeballs.
Yes, there is black food coloring available.
And yes, you’ll need to use quite a bit of it to get a nice black color.
For the white, you can just leave some frosting uncolored.
And don’t forget about brown either.
Depending on what your cookie shapes, you might need some brown for crosses, tree trunks, chocolate bunnies, or dirt.
I’m just saying!
With gel food coloring, you will only need a few drops to make a nice, vibrant color.
If you use too much, you could end up with some unintended frosting colors, and it might separate as you’re working with it.
I would be cautious about using liquid food coloring from the grocery store.
You would have to use so much food coloring that it would likely change the consistency of your frosting and make it too thin.

Key to Success #4 – Make the Icing Easy to Handle
You may be thinking that all the icing sounds like a big mess!
Luckily, we have some tricks to help.
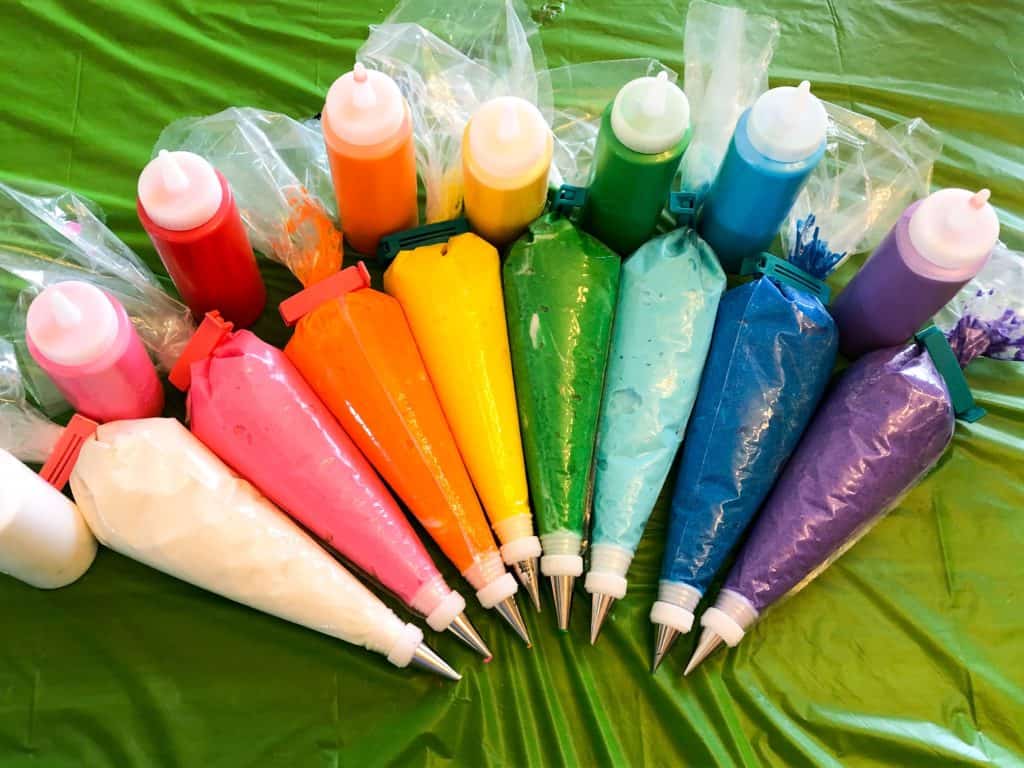
- Put Royal Icing in squeeze bottles
- Keep the tips/covers on the squeeze bottles until you’re ready to start decorating. This will keep the icing from drying out.
- Put Cookie Frosting in 16-inch piping bags
- Use these bag clips to secure the end of the piping bags, this will keep the frosting from leaking out as the bag is squeezed
- Get small piping tips to use with the Cookie Frosting, I prefer Wilton #2 tips, anything bigger than this will let some frosting leak out when handling the bag
- If you want to pipe flowers or stars, get a piping tip kit so you’ll have options
- If you’re planning to switch tips with the same color frosting, you’ll need some couplers for your piping bags
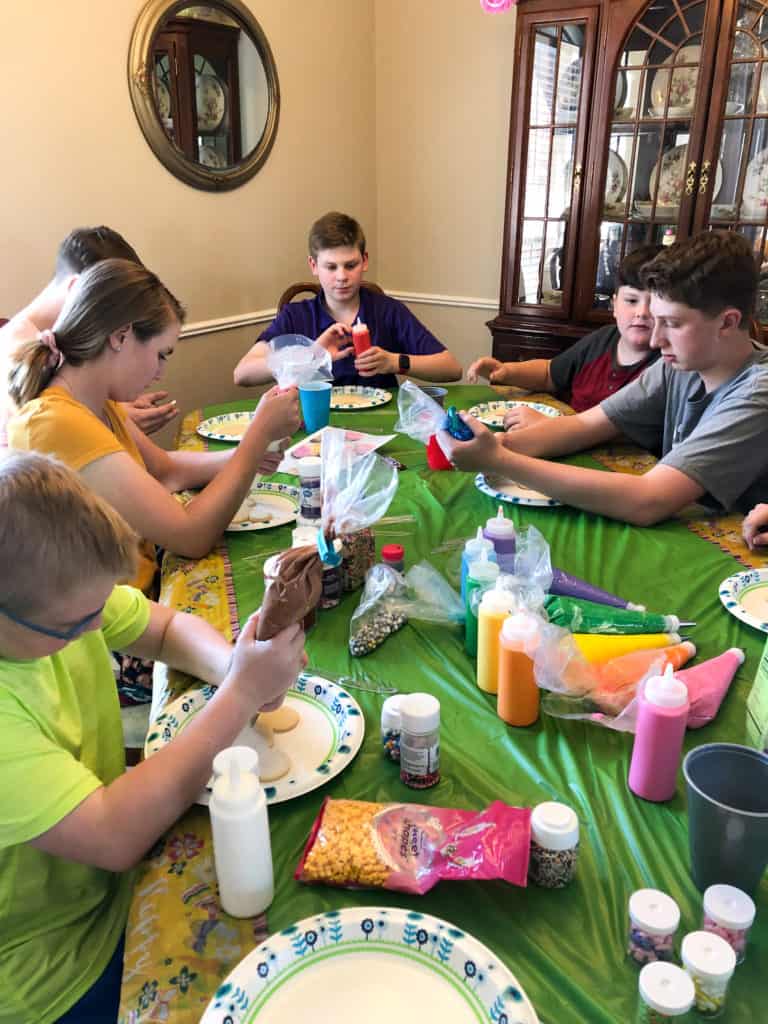
Key to Success #5 – Prep Your Cookie Decorating Surface
One of the fun things about a cookie decorating party is being able to see your friends’ creations.
We prefer to use one long table so that everyone can see one another.
But I know sometimes that is not possible.
You’ll want to make sure you have a disposable tablecloth on your table.
This will protect your work surface and make cleanup a breeze.
If you’re concerned about your floor, you can put down a protective covering on the floor as well.
By the way, if you need a folding table for your cookie decorating party, these are fantastic.
They fold up to a compact size that is easy to store and very sturdy.
Everyone gets a paper plate to decorate their cookies on.
If it gets frosting on it, it can be easily switched out for a clean one.
The paper plates also make it easier to transport the cookies to their drying table.
Key to Success #6 – Set Up A Drying Table
You are going to need plenty of space to let the cookies set and dry out a bit so that they can be packed up.
We write each person or family’s name on a sheet of waxed paper and set them on the drying table to give everyone a place to put their cookies.
The cookies will take at least a couple of hours to dry at room temperature.
You’ll want to make sure the drying table is in a location where it’s not going to get knocked into but close enough that it’s convenient.
Key to Success #7 – Gather Your Tools
In addition to the paper plates and waxed paper drying sheets, we have a few tools that are super handy to have nearby.
- Paper towels – for wiping hands and cleaning up frosting from the table or tablecloth
- Plastic knives – great for spreading frosting on cookies
- Toothpicks – perfect for filling in the Royal Icing or other intricate decorating needs
- Extra paper plates – swap these out any time they get too dirty
- Plenty of small candies, sprinkles, and sanding sugar in festive colors
Key to Success #8 – Set the Rules
We have one rule at our party – DO NOT LICK YOUR FINGERS!
Other than that, we just go with the flow.
If they want to combine Royal Icing and Cookie Frosting on the same cookie, it’s okay.
If their Royal Icing floods all the way off the side of the cookie, it’s fine.
If they put 10,000 sprinkles on one cookie, it’s cool.
They’re kids and they’re learning what works and what doesn’t work.
Key to Success #9 – Have Plenty of Adult Help
We try to do our best to be the “gophers” so that the kids don’t have to get up from the table.
We transport cookies to the drying table, bring new cookies in the requested shapes, pass icing and frosting from one end of the table to the other, and hand out sprinkles.
If you can keep the kiddos in their chairs, I think it helps to reduce the mess quite a lot.
We really don’t have a lot of problems with the icing getting all over the place.
The squirt bottles and piping bags keep it pretty well contained.
Key to Success #10 – Relax and Have Fun!
We don’t specifically limit the number of cookies that each child can decorate or try to make them each have an equal number.
Some kids don’t want to sit there and decorate 10 cookies in a row.
They get tired, and they want to do something else.
Other kids want to stay until the very last cookie is beautifully decorated.
As some of the kids leave, we usually have adults that want to come and sit down and decorate a cookie or two.
It all evens itself out in the end.
With these 10 Keys to Success, I think you’re all set to have a great Cookie Decorating Party.
If you have any questions, please leave them in the comments and I’ll respond.
Pin the Cookie Decorating Party image below to your Kids Party board!